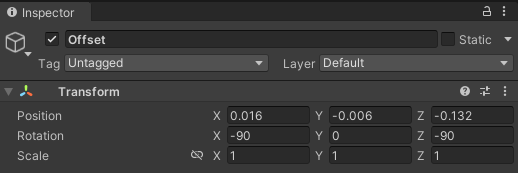
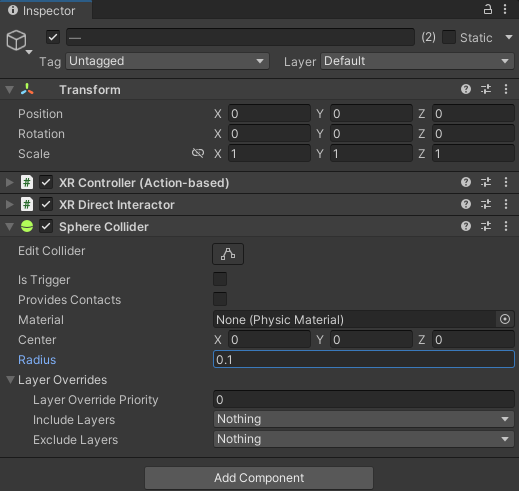
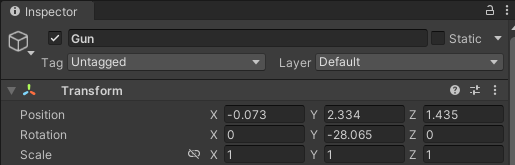
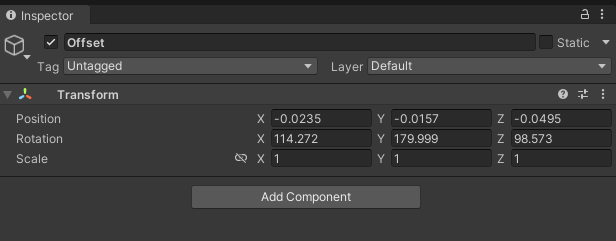
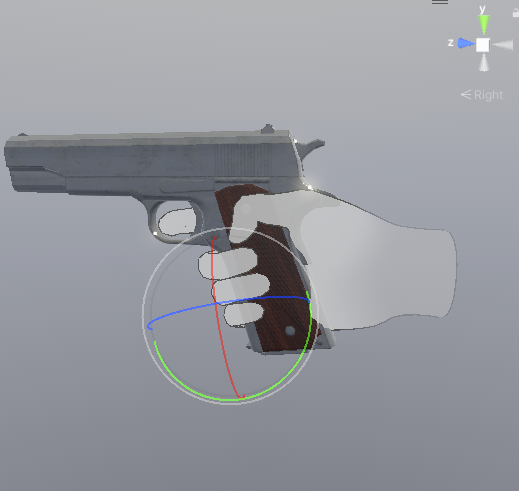
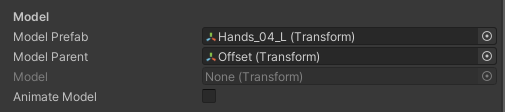
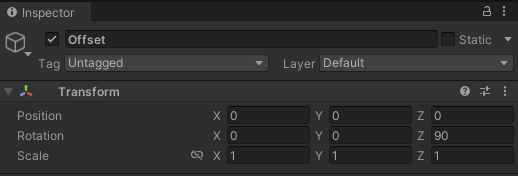
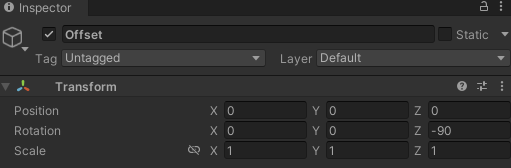
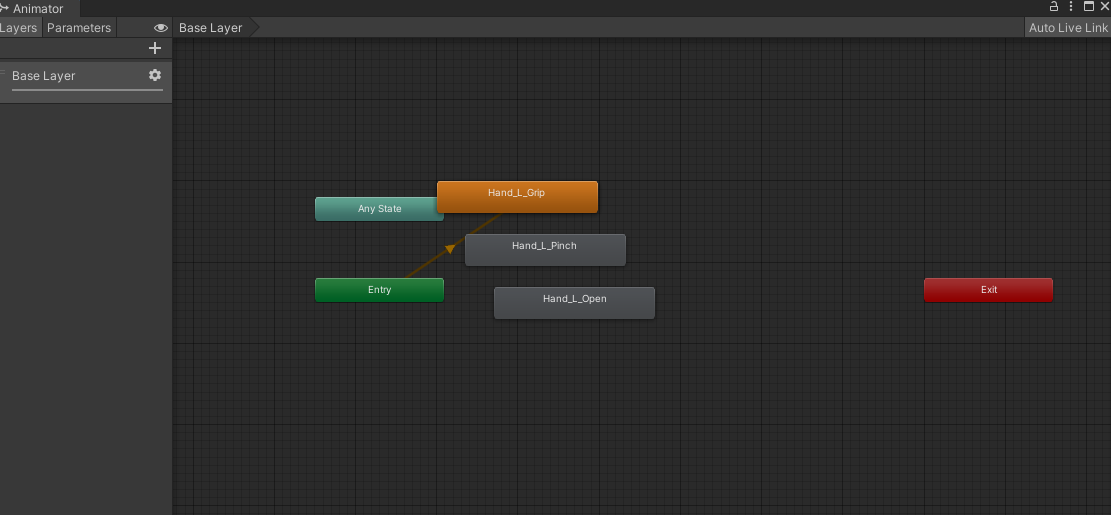
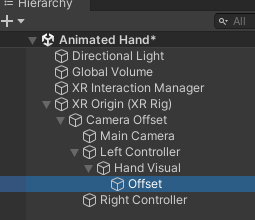
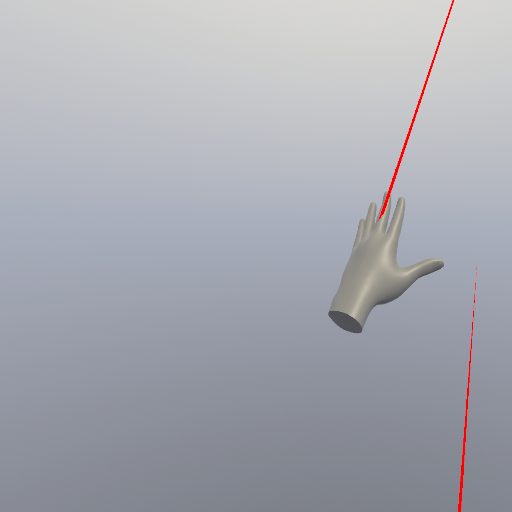
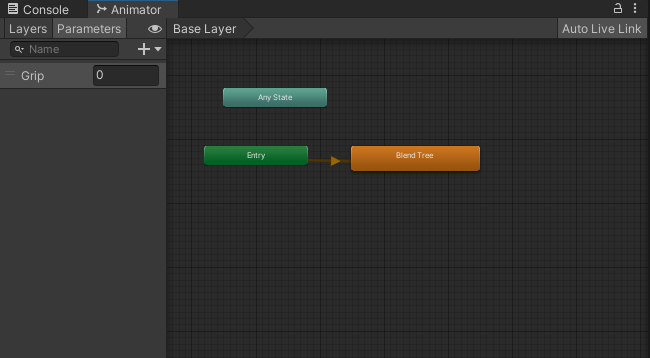
그랩이 잘 되는지 확인 한다 손의 Offset위치에 따라 잡는 위치가 달라지니 적당히 조절 한다
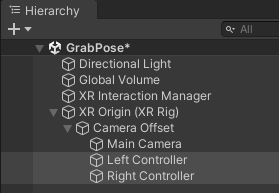
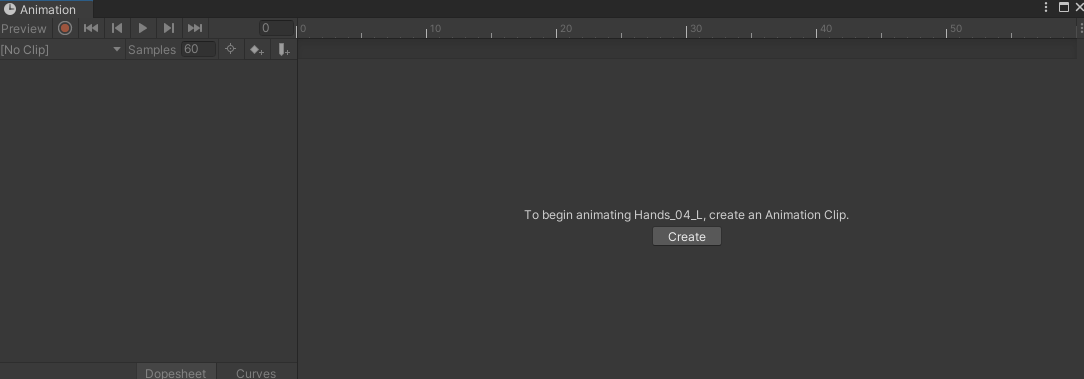
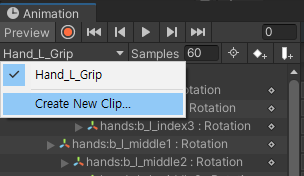
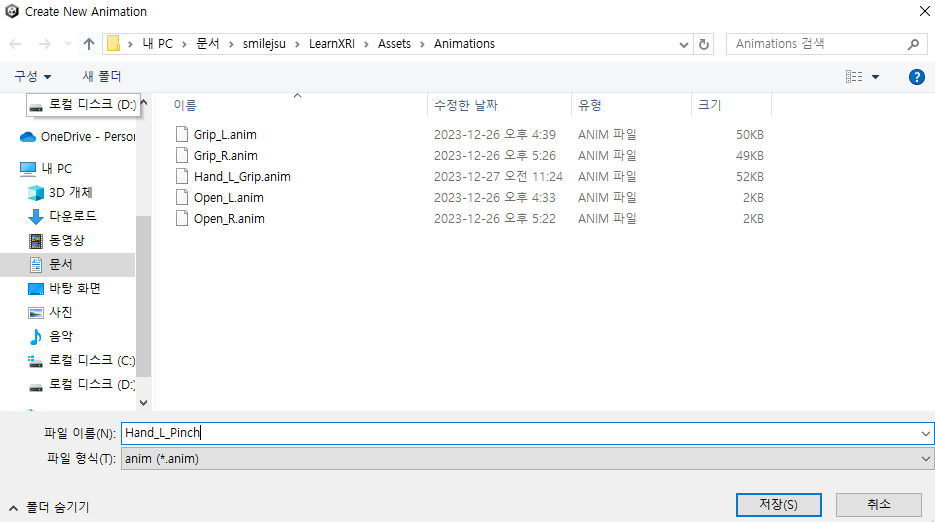
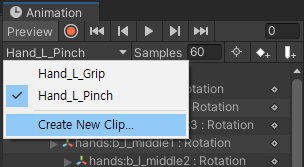
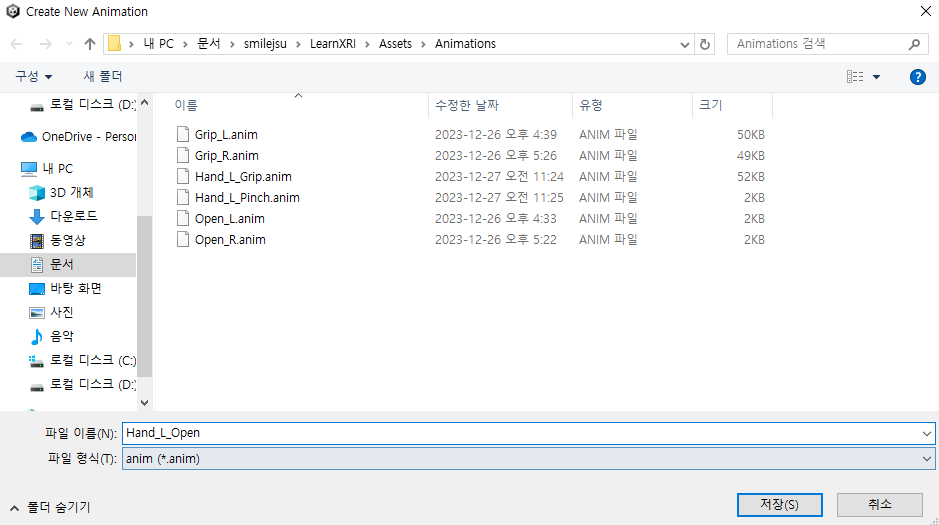
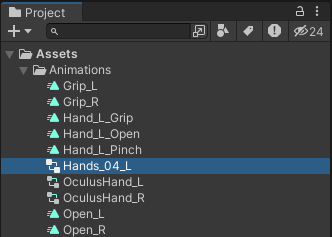
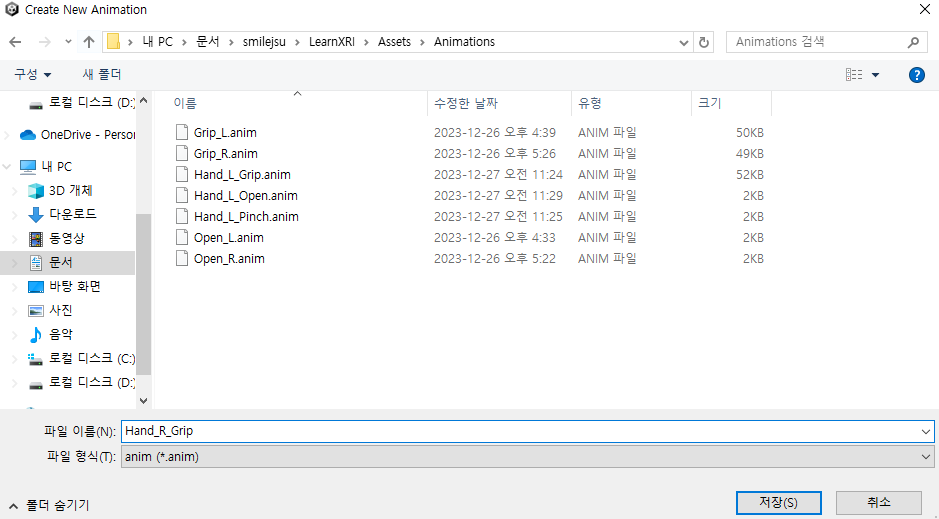
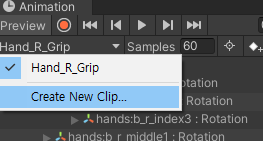
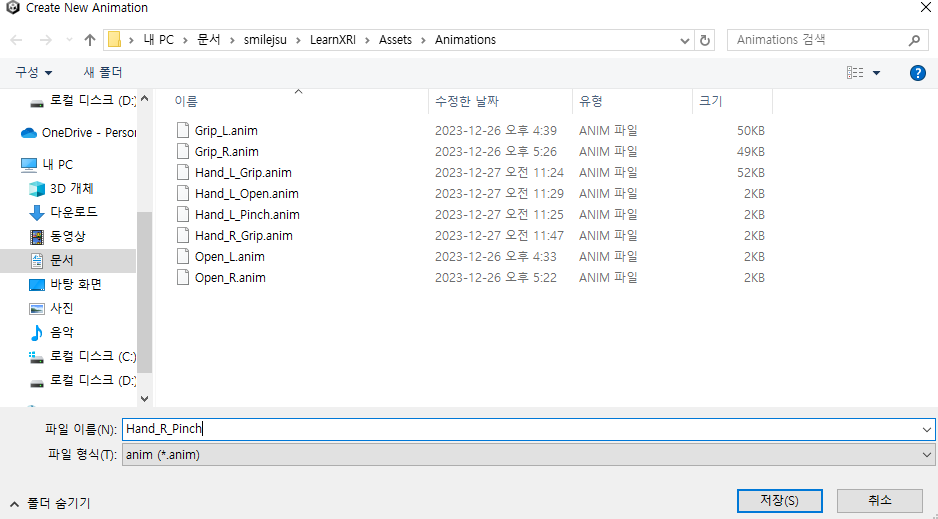
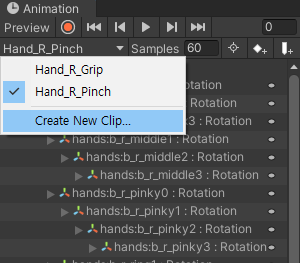
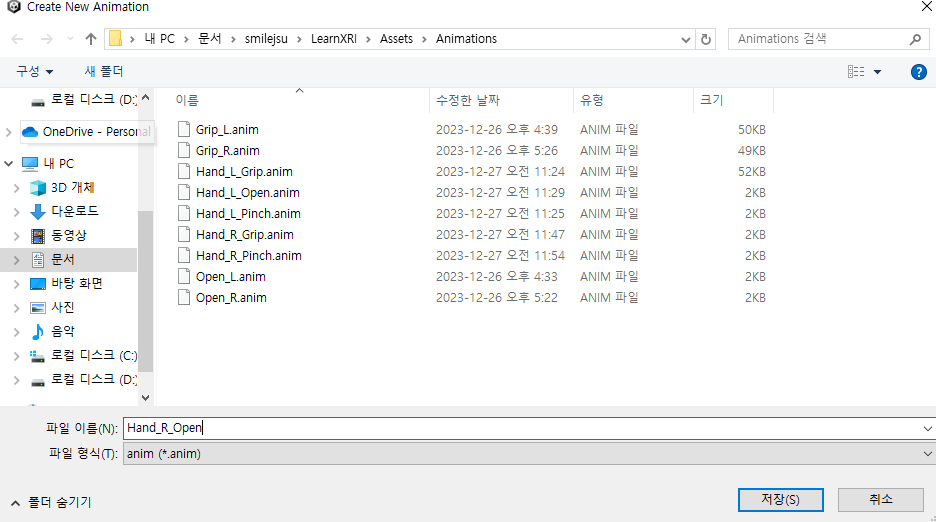
커스텀 핸드 포즈 만들기
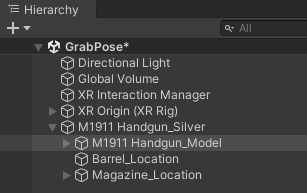
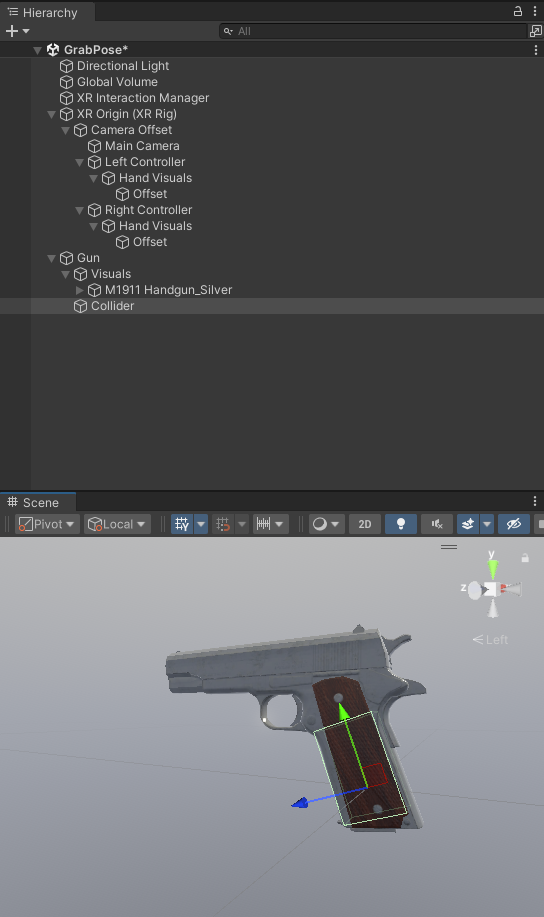
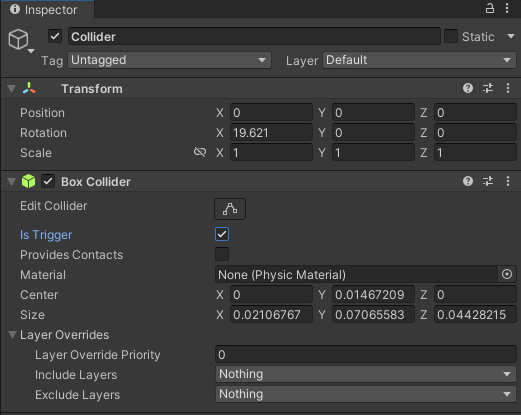
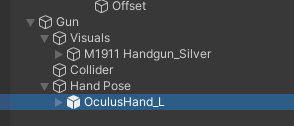
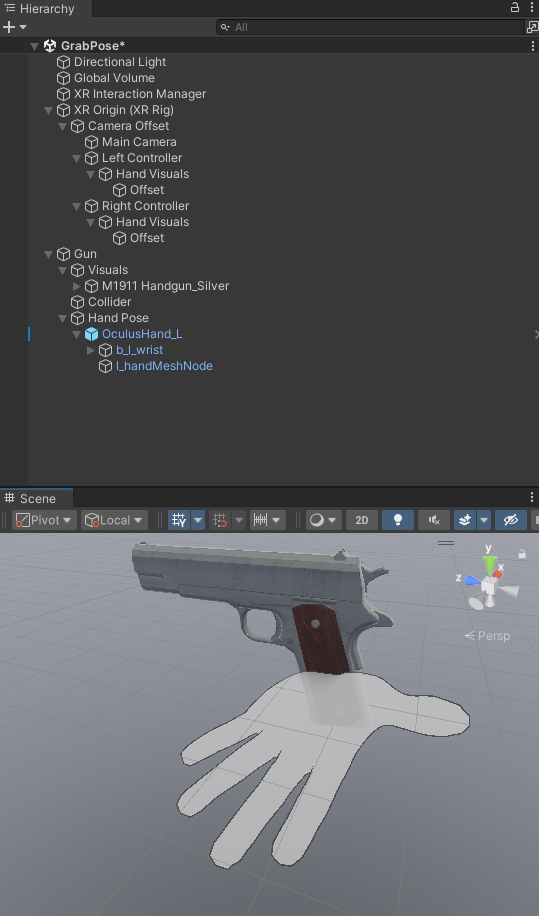
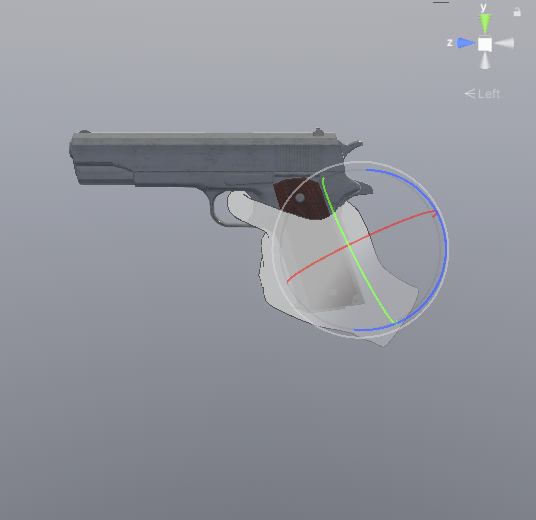
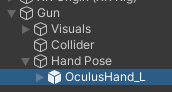
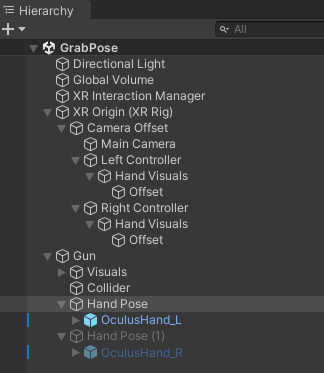
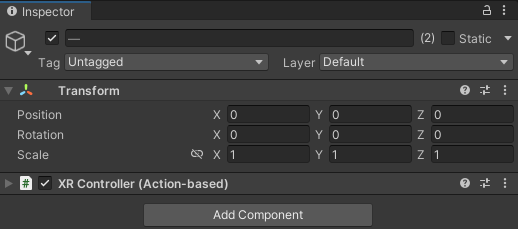
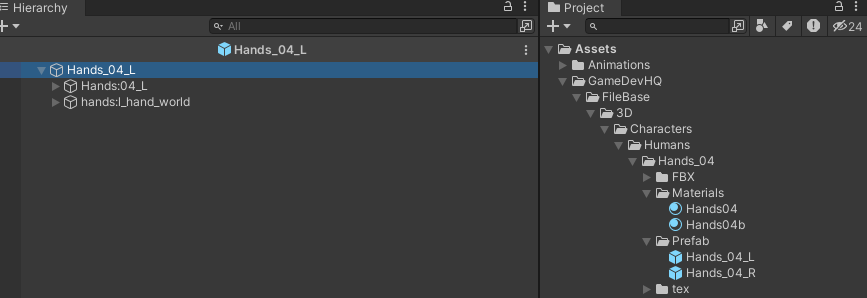
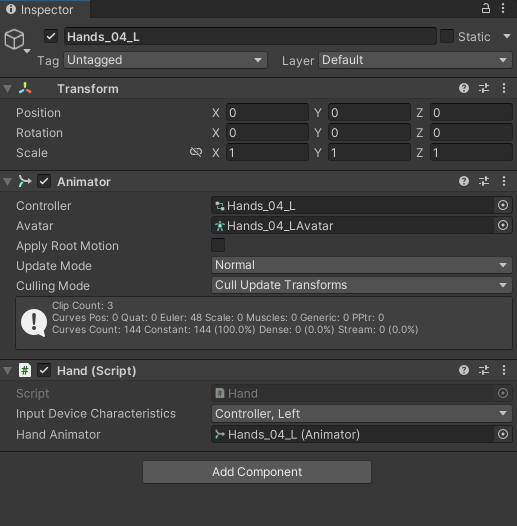
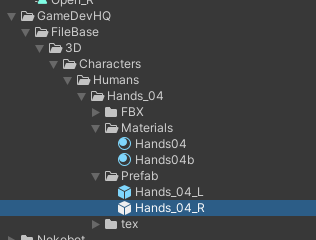
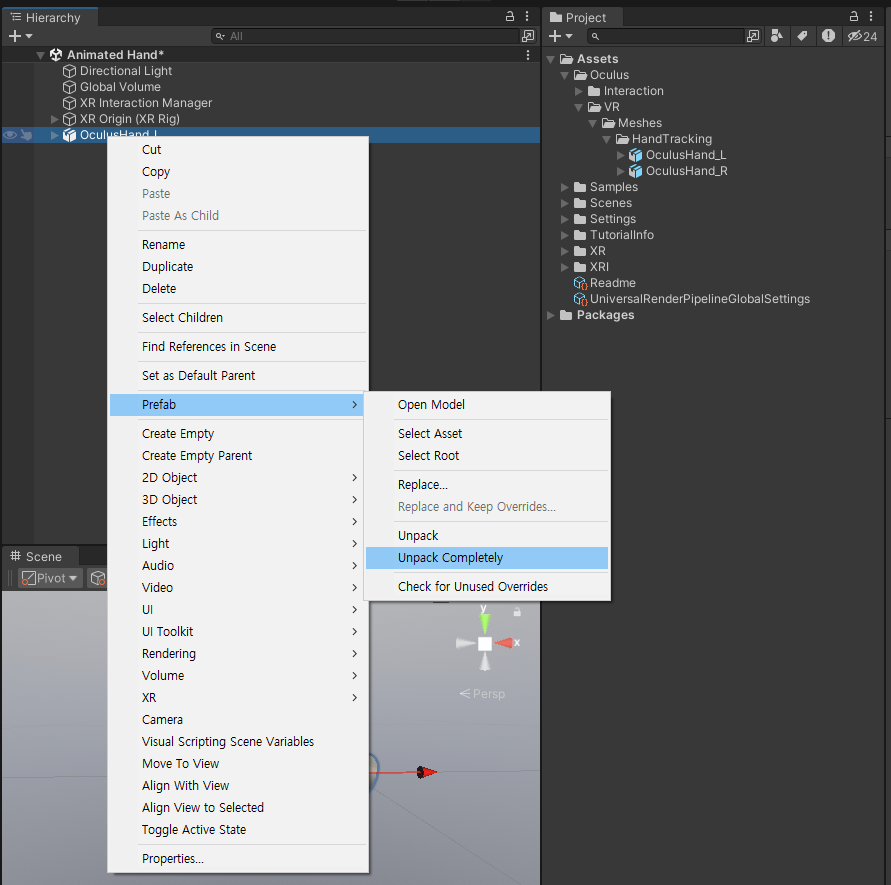
Gun을 선택 하고 빈오브젝트를 만들고 (Hand Pose) 그 자식으로 핸드 프리팹을 넣어준다
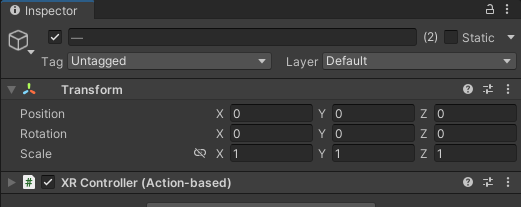
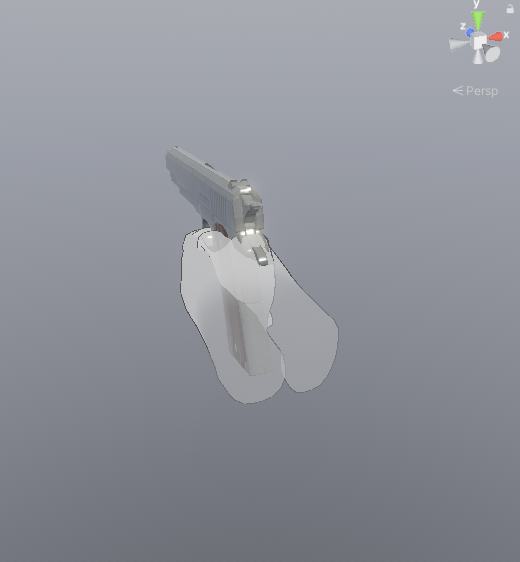
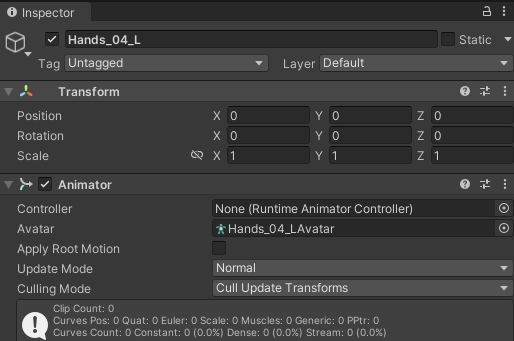
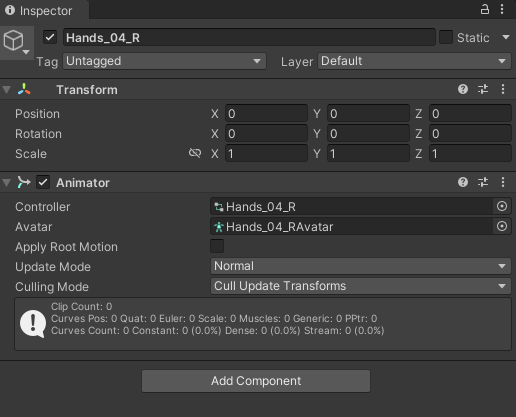
Animator와 Hand컴포넌트는 제거 한다
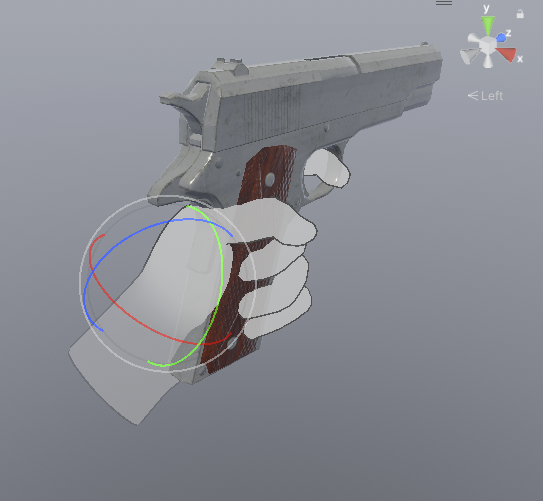
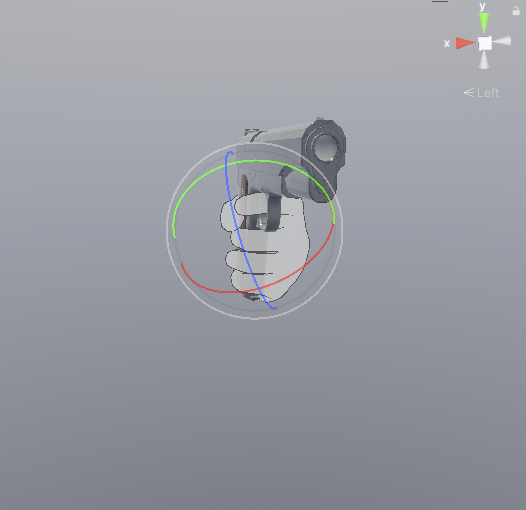
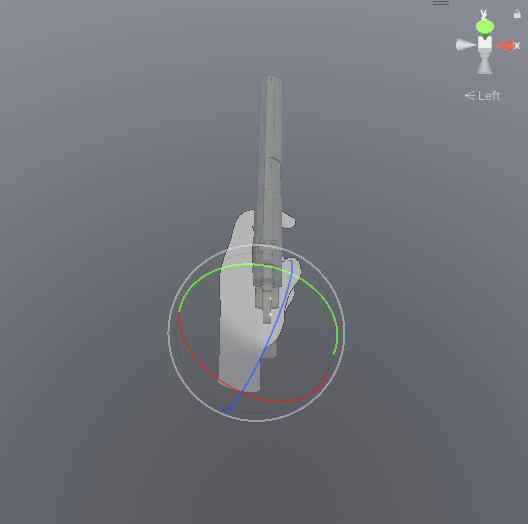
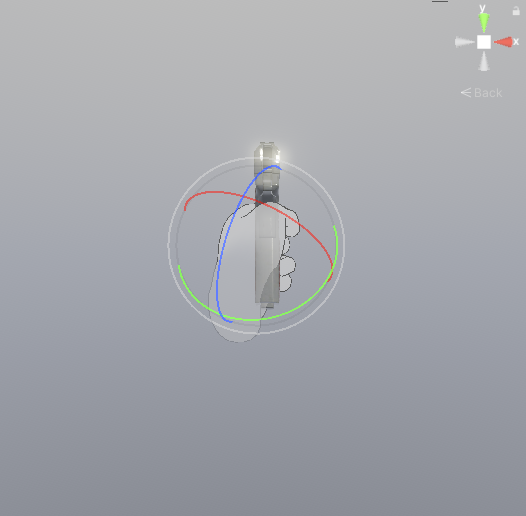
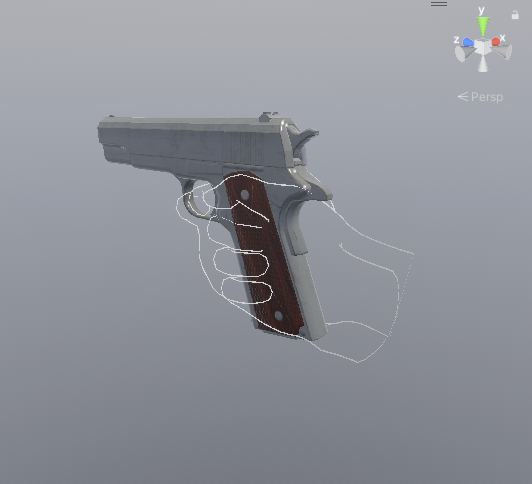
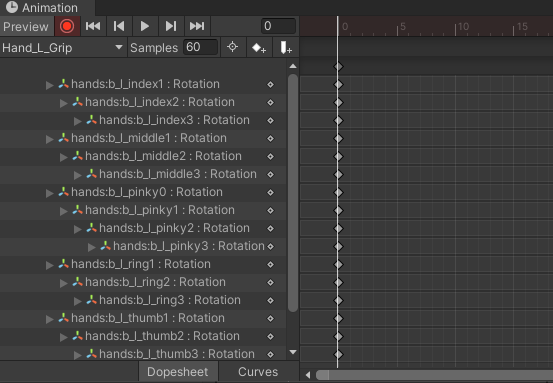
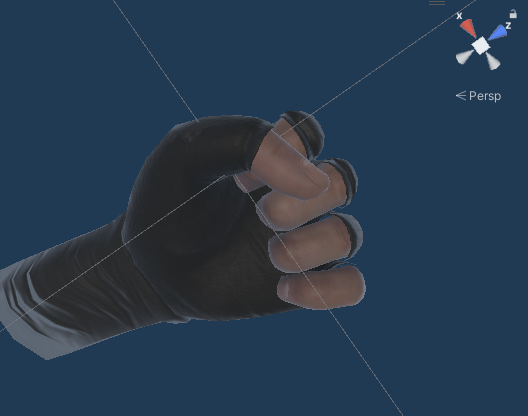
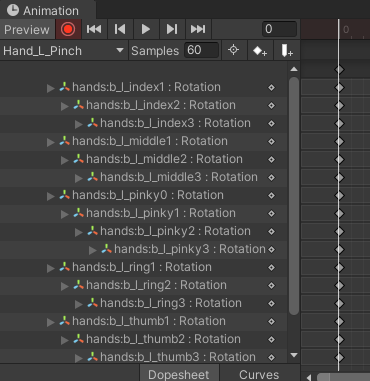
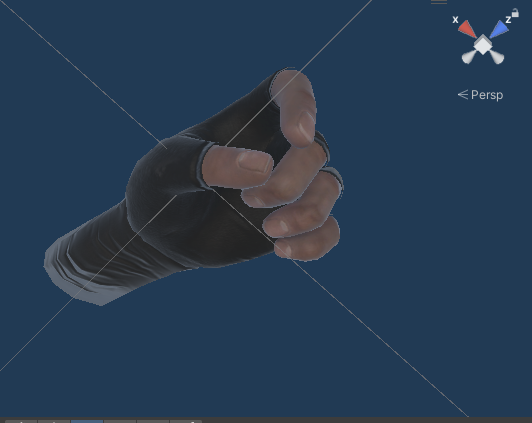
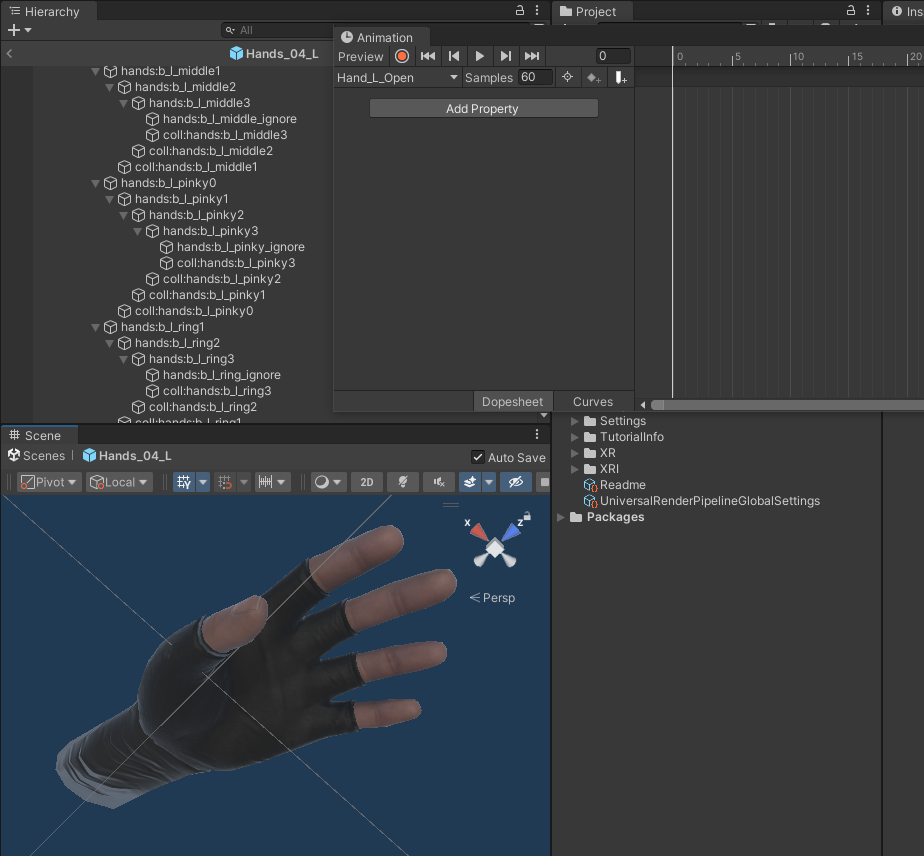
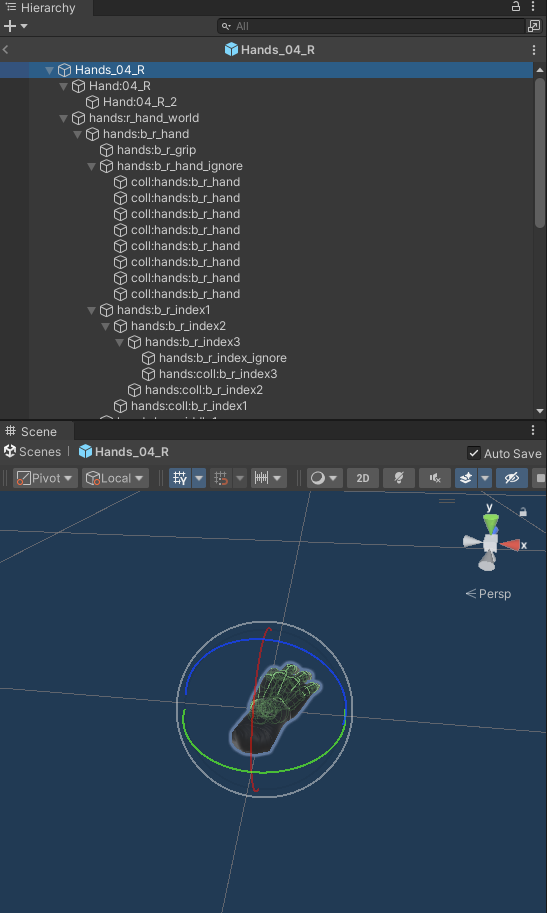
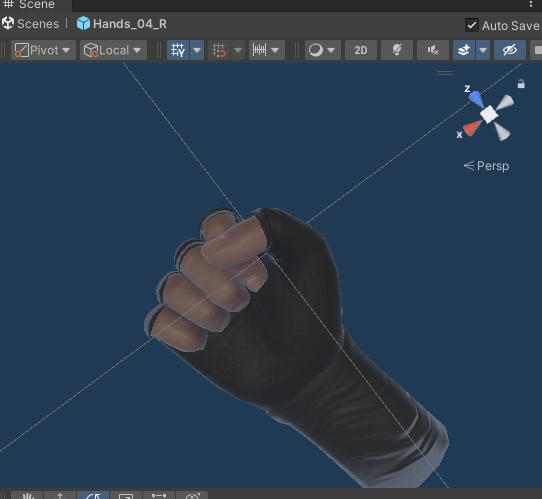
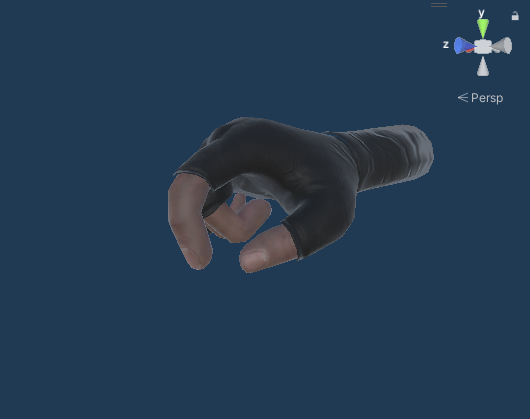
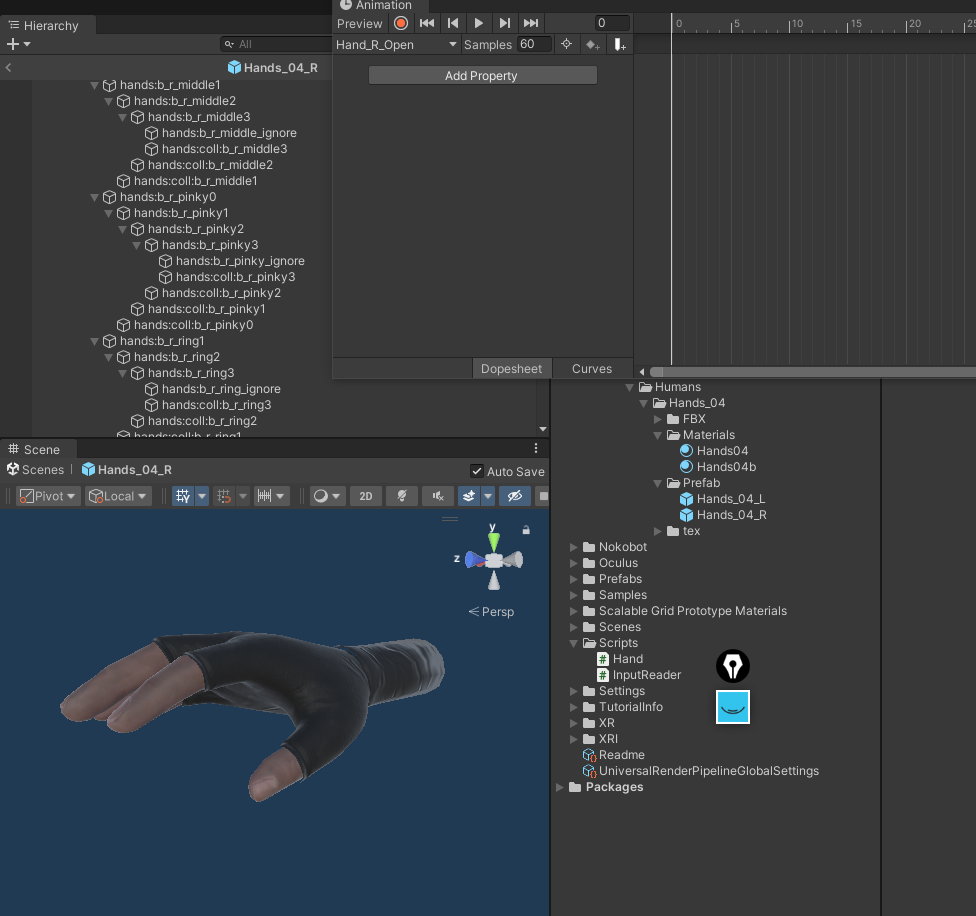
쉽지 않겠지만 손의 포즈를 잡아 준다
스크립트 작성
HandData스크립트를 생성하고 다음과 같이 작성한다
using System;
using System.Collections;
using System.Collections.Generic;
using UnityEditor;
using UnityEngine;
using UnityEngine.XR.Hands;

public class HandData : MonoBehaviour
{
    public enum HandType
    {
        Left, Right
    }

    public HandType handType;
    public Transform root;
    public Animator anim;
    public Transform[] bones;

}
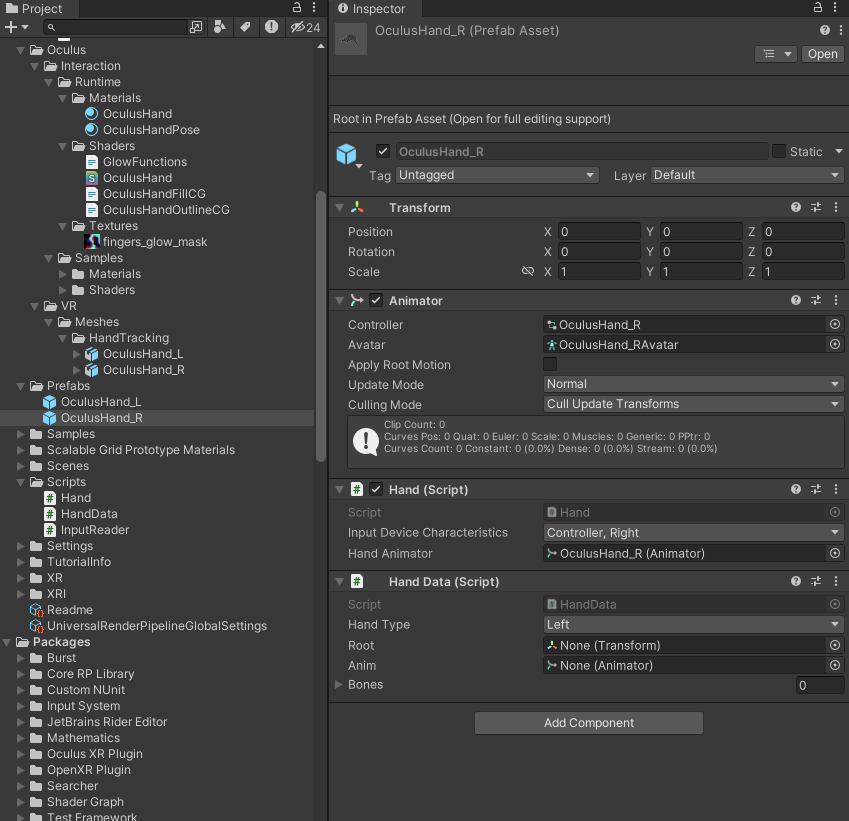
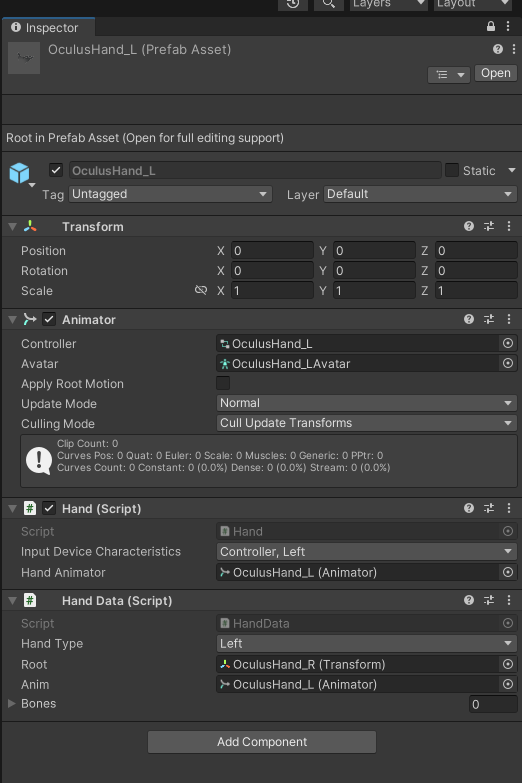
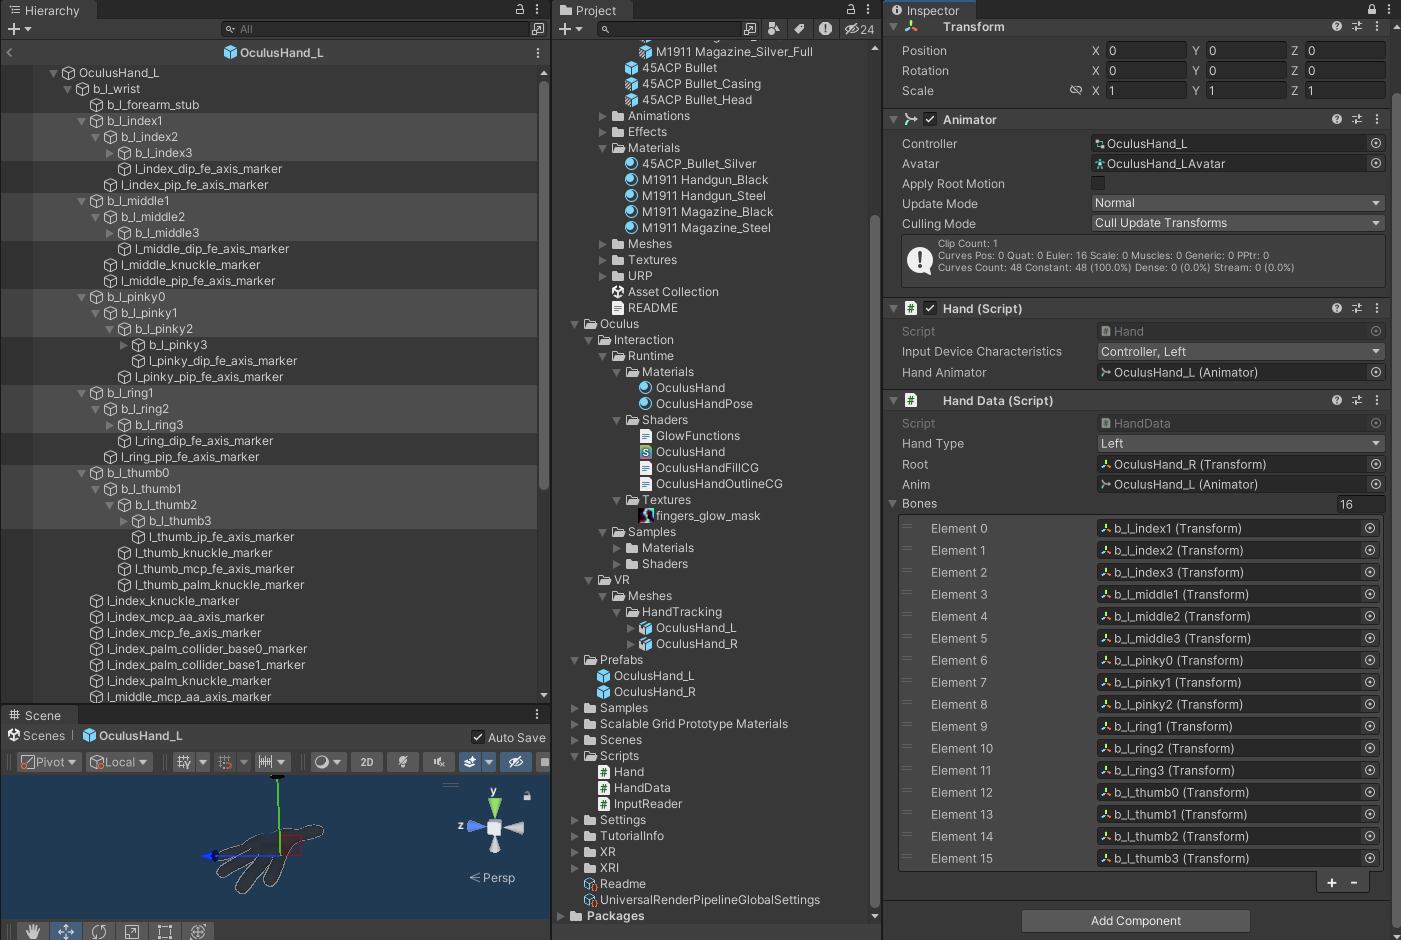
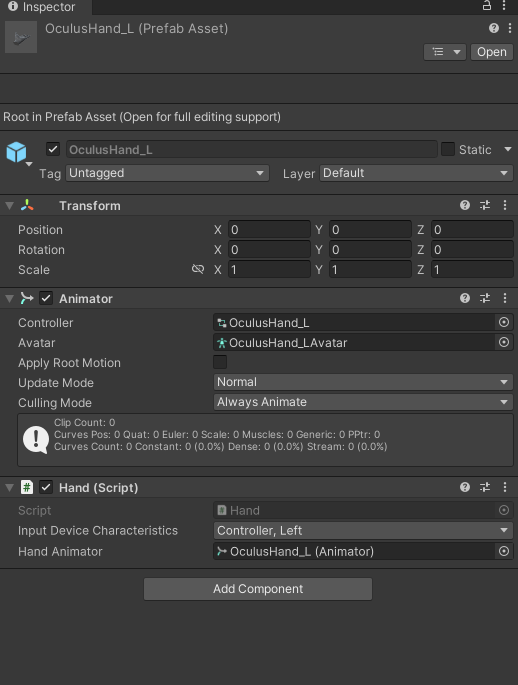
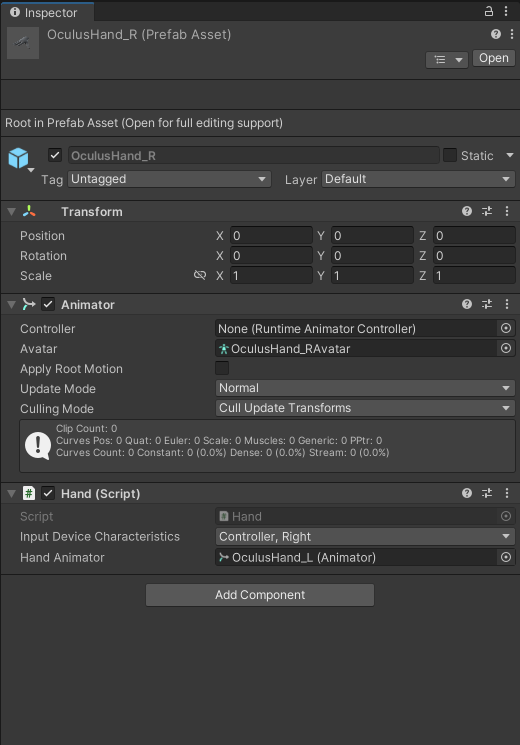
핸드 프리팹에 부착 한다
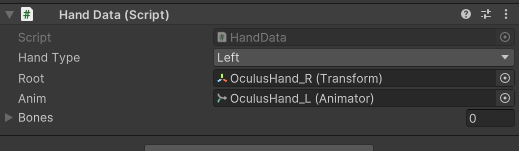
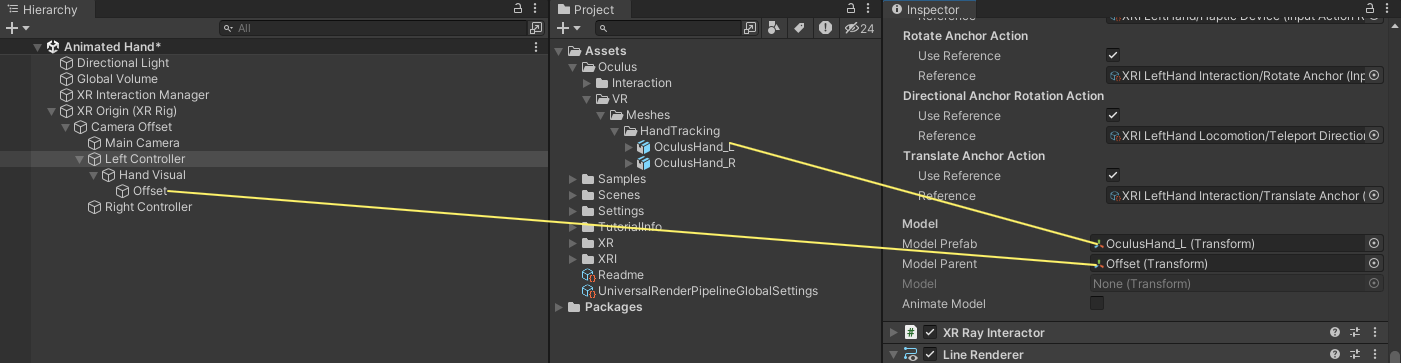
프로퍼티에 오브젝트를 넣어주고
자물쇠로 잠그고
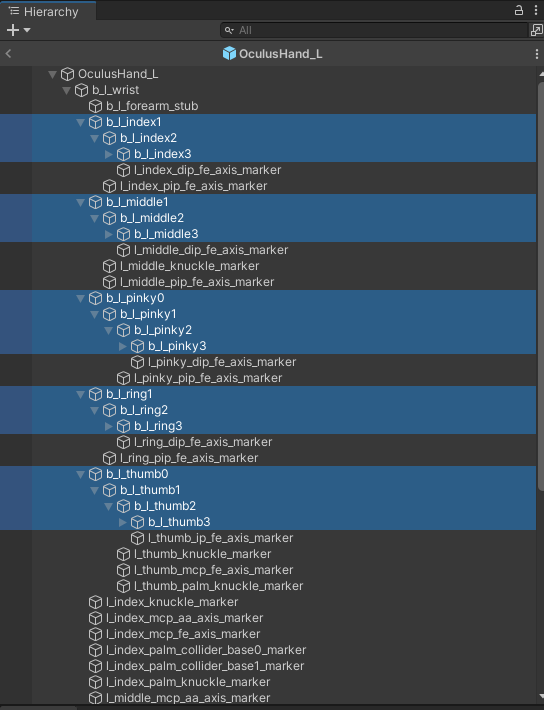
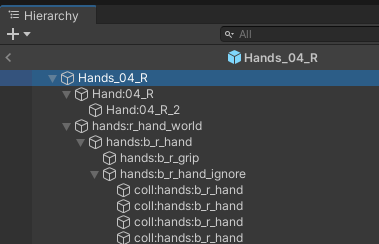
다음 오브젝트들을 선택하고
Bones에 넣어준다
HandPose 스크립트를 생성하고 다음과 같이 작성한다
using System.Collections;
using System.Collections.Generic;
using UnityEngine;
using UnityEngine.XR.Interaction.Toolkit;

public class HandPose : MonoBehaviour
{
    public HandData leftHandData;
    void Start()
    {
        XRGrabInteractable grabInteractable = GetComponent<XRGrabInteractable>();

        grabInteractable.selectEntered.AddListener(this.SetupPose);

        //leftHandData.gameObject.SetActive(false);
    }

    private void SetupPose(SelectEnterEventArgs arg0)
    {
        Debug.LogFormat("SetupPose: <color=yellow>{0}</color>", arg0.interactorObject.transform.name);
        HandData handData = arg0.interactorObject.transform.GetComponentInChildren<HandData>();
        handData.anim.enabled = false;
        handData.gameObject.SetActive(false);
    }
}
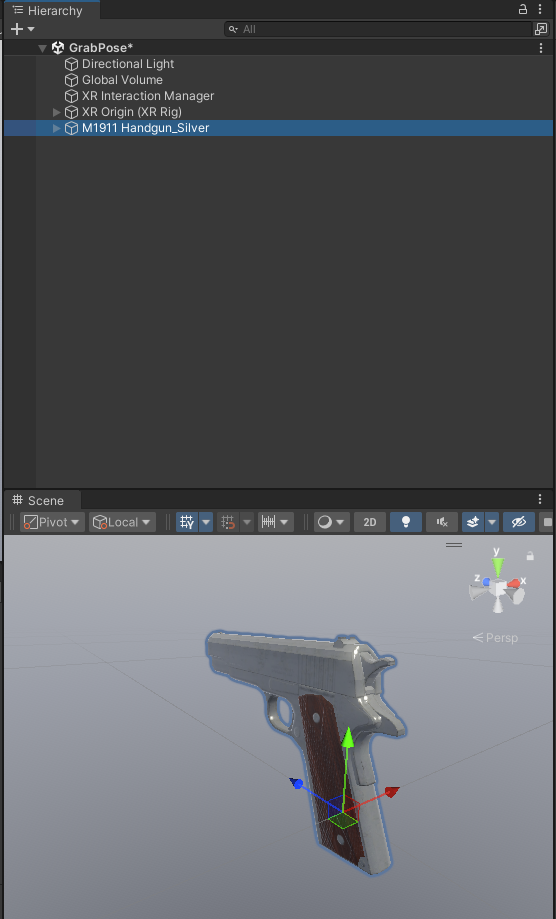
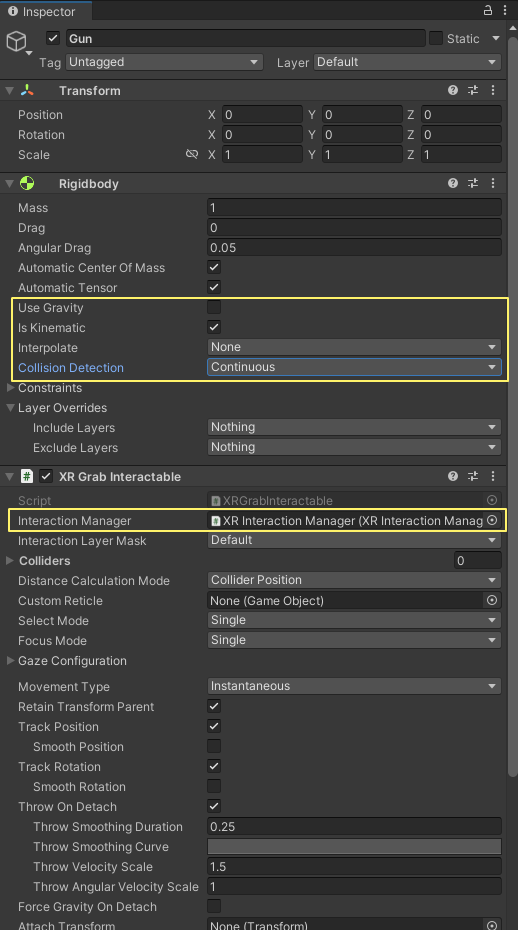
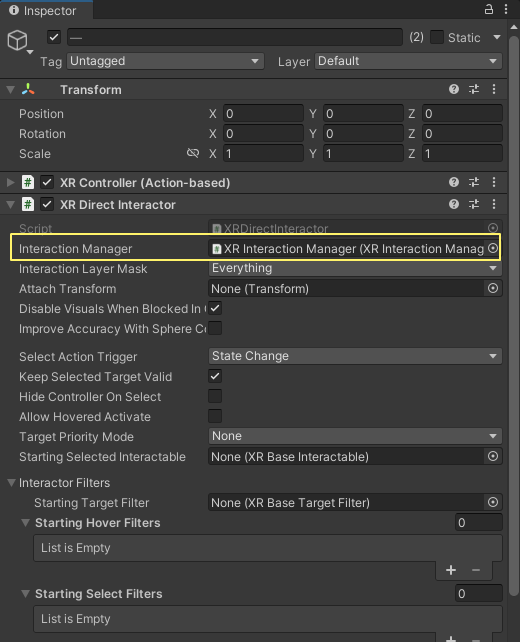
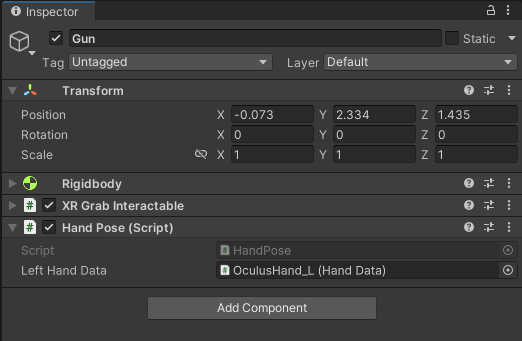
Gun을 선택하고 HandPose 를 부착 한다
Hand Data에는 다음 오브젝트를 넣어준다
실행후 왼손으로 테스트 해본다
핸드의 값 적용하기
using System.Collections;
using System.Collections.Generic;
using UnityEngine;
using UnityEngine.XR.Interaction.Toolkit;

public class HandPose : MonoBehaviour
{
    public HandData leftHandData;

    private Vector3 startingHandPosition;
    private Vector3 finalHandPosition;
    private Quaternion startingHandRotation;
    private Quaternion finalHandRotation;
    private Quaternion[] startingFingerRotaions;
    private Quaternion[] finalFingerRotations;

    void Start()
    {
        XRGrabInteractable grabInteractable = GetComponent<XRGrabInteractable>();

        grabInteractable.selectEntered.AddListener(this.SetupPose);

        //leftHandData.gameObject.SetActive(false);
    }

    private void SetupPose(SelectEnterEventArgs arg0)
    {
        Debug.LogFormat("SetupPose");

        if (arg0.interactorObject is XRDirectInteractor)
        {
            Debug.LogFormat("SetupPose: <color=yellow>{0}</color>", arg0.interactorObject.transform.name);
            HandData handData = arg0.interactorObject.transform.GetComponentInChildren<HandData>();
            handData.anim.enabled = false;
            //handData.gameObject.SetActive(false);

            SetHandDataValues(handData, leftHandData);
            SetHandData(handData, finalHandPosition, finalHandRotation, finalFingerRotations);
        }

    }

    public void SetHandDataValues(HandData h1, HandData h2)
    {
        startingHandPosition = h1.root.localPosition;
        finalHandPosition = h2.root.localPosition;

        startingHandRotation = h1.root.localRotation;
        finalHandRotation = h2.root.rotation;

        startingFingerRotaions = new Quaternion[h1.bones.Length];
        finalFingerRotations = new Quaternion[h2.bones.Length];

        for (int i = 0; i < h1.bones.Length; i++)
        {
            startingFingerRotaions[i] = h1.bones[i].localRotation;
            finalFingerRotations[i] = h2.bones[i].localRotation;
        }
    }

    public void SetHandData(HandData handData, Vector3 newPosition, Quaternion newRotation, Quaternion[] newBonesRotation)
    {
        handData.root.localPosition = newPosition;
        handData.root.localRotation = newRotation;
        for (int i = 0; i < newBonesRotation.Length; i++)
        {
            handData.bones[i].localRotation = newBonesRotation[i];
        }
    }
}
using System.Collections;
using System.Collections.Generic;
using UnityEngine;
using UnityEngine.Serialization;
using UnityEngine.XR.Interaction.Toolkit;

public class HandPose : MonoBehaviour
{
    public HandData handDataRef;
    public XRGrabInteractable grabInteractable;

    private Vector3 startingHandPosition;
    private Vector3 finalHandPosition;
    private Quaternion startingHandRotation;
    private Quaternion finalHandRotation;
    private Quaternion[] startingFingerRotaions;
    private Quaternion[] finalFingerRotations;

    void Start()
    {
        grabInteractable.selectEntered.AddListener(this.SetupPose);
        grabInteractable.selectExited.AddListener(this.UnSetPose);
    }

    private void UnSetPose(SelectExitEventArgs arg0)
    {
        if (arg0.interactorObject is XRDirectInteractor)
        {
            Debug.LogFormat("UnSetPose: <color=yellow>{0}</color>", arg0.interactorObject.transform.name);
            HandData handData = arg0.interactorObject.transform.GetComponentInChildren<HandData>();
            handData.anim.enabled = true;
            //handData.gameObject.SetActive(false);

            //SetHandDataValues(handData, leftHandData);
            SetHandData(handData, startingHandPosition, startingHandRotation, startingFingerRotaions);

            handData.gameObject.transform.localPosition = Vector3.zero;
            handData.gameObject.transform.localRotation = Quaternion.identity;
        }
    }

    private void SetupPose(SelectEnterEventArgs arg0)
    {
        if (arg0.interactorObject is XRDirectInteractor)
        {

            Debug.LogFormat("SetupPose: <color=yellow>{0}</color>", arg0.interactorObject.transform.name);
            HandData handData = arg0.interactorObject.transform.GetComponentInChildren<HandData>();
            handData.anim.enabled = false;


            //handData.gameObject.SetActive(false);

            SetHandDataValues(handData, handDataRef);
            SetHandData(handData, finalHandPosition, finalHandRotation, finalFingerRotations);

            handData.gameObject.transform.localPosition = Vector3.zero;
            handData.gameObject.transform.localRotation = Quaternion.identity;


        }
    }

    public void SetHandDataValues(HandData h1, HandData h2)
    {
        // startingHandPosition = h1.root.localPosition;
        // finalHandPosition = h2.root.localPosition;

        startingHandPosition = new Vector3(h1.root.localPosition.x / h1.root.localScale.x,
            h1.root.localPosition.y / h1.root.localScale.y, h1.root.localPosition.z / h1.root.localScale.z);
        finalHandPosition = new Vector3(h2.root.localPosition.x / h2.root.localScale.x,
            h2.root.localPosition.y / h2.root.localScale.y, h2.root.localPosition.z / h2.root.localScale.z);

        startingHandRotation = h1.root.localRotation;
        finalHandRotation = h2.root.rotation;

        startingFingerRotaions = new Quaternion[h1.bones.Length];
        finalFingerRotations = new Quaternion[h2.bones.Length];

        for (int i = 0; i < h1.bones.Length; i++)
        {
            startingFingerRotaions[i] = h1.bones[i].localRotation;
            finalFingerRotations[i] = h2.bones[i].localRotation;
        }
    }

    public void SetHandData(HandData handData, Vector3 newPosition, Quaternion newRotation,
        Quaternion[] newBonesRotation)
    {
        handData.root.localPosition = newPosition;
        handData.root.localRotation = newRotation;
        for (int i = 0; i < newBonesRotation.Length; i++)
        {
            handData.bones[i].localRotation = newBonesRotation[i];
        }
    }
}
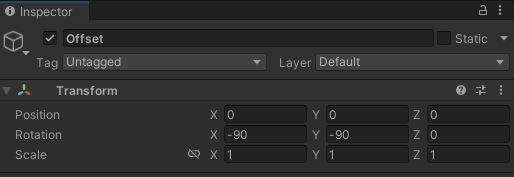
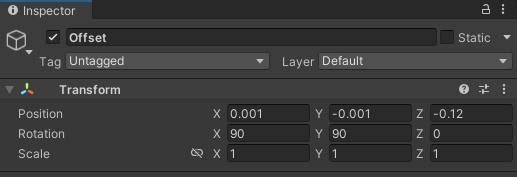
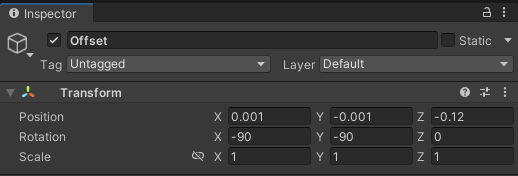
Offset의 위치를 잘 맞춰주면 댄다
using System.Collections.Generic;
using UnityEngine;
using UnityEngine.XR;
public class Hand : MonoBehaviour
{
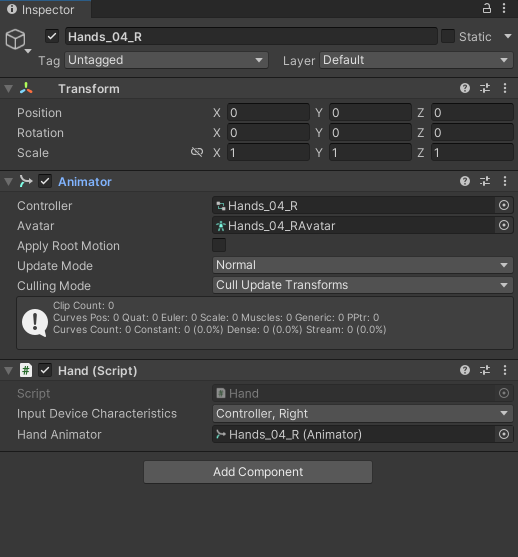
public InputDeviceCharacteristics inputDeviceCharacteristics;
private InputDevice _targetDevice;
[SerializeField] private Animator _handAnimator;
private void Start()
{
InitializeHand();
}
private void InitializeHand()
{
List<InputDevice> devices = new List<InputDevice>();
InputDevices.GetDevicesWithCharacteristics(inputDeviceCharacteristics, devices);
if (devices.Count > 0)
{
_targetDevice = devices[0];
}
}
private void Update()
{
if (!_targetDevice.isValid)
{
InitializeHand();
}
else
{
UpdateHand();
}
}
private void UpdateHand()
{
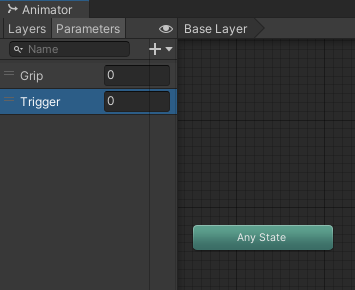
SetAnimatorParameterValue(CommonUsages.grip, "Grip");
SetAnimatorParameterValue(CommonUsages.trigger, "Trigger");
}
private void SetAnimatorParameterValue(InputFeatureUsage<float> feature, string parameterName)
{
if (_targetDevice.TryGetFeatureValue(feature, out float value))
{
_handAnimator.SetFloat(parameterName, value);
}
else
{
_handAnimator.SetFloat(parameterName, 0);
}
}
}
using System;
using System.Collections;
using System.Collections.Generic;
using UnityEditor;
using UnityEngine;
using UnityEngine.XR.Hands;

public class HandData : MonoBehaviour
{
    public enum HandType
    {
        Left, Right
    }

    public HandType handType;
    public Transform root;
    public Animator anim;
    public Transform[] bones;

}
using System.Collections;
using System.Collections.Generic;
using UnityEngine;
using UnityEngine.Serialization;
using UnityEngine.XR.Interaction.Toolkit;

public class HandPose : MonoBehaviour
{
    public HandData handDataRef;
    public XRGrabInteractable grabInteractable;

    private Vector3 startingHandPosition;
    private Vector3 finalHandPosition;
    private Quaternion startingHandRotation;
    private Quaternion finalHandRotation;
    private Quaternion[] startingFingerRotaions;
    private Quaternion[] finalFingerRotations;

    void Start()
    {
        grabInteractable.selectEntered.AddListener(this.SetupPose);
        grabInteractable.selectExited.AddListener(this.UnSetPose);
    }

    private void UnSetPose(SelectExitEventArgs arg0)
    {
        if (arg0.interactorObject is XRDirectInteractor)
        {
            Debug.LogFormat("UnSetPose: <color=yellow>{0}</color>", arg0.interactorObject.transform.name);
            HandData handData = arg0.interactorObject.transform.GetComponentInChildren<HandData>();
            handData.anim.enabled = true;
            //handData.gameObject.SetActive(false);

            //SetHandDataValues(handData, leftHandData);
            SetHandData(handData, startingHandPosition, startingHandRotation, startingFingerRotaions);

            handData.gameObject.transform.localPosition = Vector3.zero;
            handData.gameObject.transform.localRotation = Quaternion.identity;
        }
    }

    private void SetupPose(SelectEnterEventArgs arg0)
    {
        if (arg0.interactorObject is XRDirectInteractor)
        {

            Debug.LogFormat("SetupPose: <color=yellow>{0}</color>", arg0.interactorObject.transform.name);
            HandData handData = arg0.interactorObject.transform.GetComponentInChildren<HandData>();
            handData.anim.enabled = false;


            //handData.gameObject.SetActive(false);

            SetHandDataValues(handData, handDataRef);
            SetHandData(handData, finalHandPosition, finalHandRotation, finalFingerRotations);

            handData.gameObject.transform.localPosition = Vector3.zero;
            handData.gameObject.transform.localRotation = Quaternion.identity;


        }
    }

    public void SetHandDataValues(HandData h1, HandData h2)
    {
        // startingHandPosition = h1.root.localPosition;
        // finalHandPosition = h2.root.localPosition;

        startingHandPosition = new Vector3(h1.root.localPosition.x / h1.root.localScale.x,
            h1.root.localPosition.y / h1.root.localScale.y, h1.root.localPosition.z / h1.root.localScale.z);
        finalHandPosition = new Vector3(h2.root.localPosition.x / h2.root.localScale.x,
            h2.root.localPosition.y / h2.root.localScale.y, h2.root.localPosition.z / h2.root.localScale.z);

        startingHandRotation = h1.root.localRotation;
        finalHandRotation = h2.root.rotation;

        startingFingerRotaions = new Quaternion[h1.bones.Length];
        finalFingerRotations = new Quaternion[h2.bones.Length];

        for (int i = 0; i < h1.bones.Length; i++)
        {
            startingFingerRotaions[i] = h1.bones[i].localRotation;
            finalFingerRotations[i] = h2.bones[i].localRotation;
        }
    }

    public void SetHandData(HandData handData, Vector3 newPosition, Quaternion newRotation,
        Quaternion[] newBonesRotation)
    {
        handData.root.localPosition = newPosition;
        handData.root.localRotation = newRotation;
        for (int i = 0; i < newBonesRotation.Length; i++)
        {
            handData.bones[i].localRotation = newBonesRotation[i];
        }
    }
}
using System.Collections;
using System.Collections.Generic;
using UnityEngine;
//This will allow us to get InputDevice
using UnityEngine.XR;

public class InputReader : MonoBehaviour
{
//Creating a List of Input Devices to store our Input Devices in
    List<InputDevice> inputDevices = new List<InputDevice>();

// Start is called before the first frame update
    void Start()
    {
//We will try to Initialize the InputReader here, but all components may not be loaded
        InitializeInputReader();
    }

//This will try to initialize the InputReader by getting all the devices and printing them to the debugger.
    void InitializeInputReader()
    {
        InputDevices.GetDevices(inputDevices);

        foreach (var inputDevice in inputDevices)
        {
            Debug.Log(inputDevice.name + " " + inputDevice.characteristics);
        }
    }

// Update is called once per frame
    void Update()
    {
//We should have a total of 3 Input Devices. If it’s less, then we try to initialize them again.
        if (inputDevices.Count < 2)
        {
            InitializeInputReader();
        }
    }
}