msvcp140.dll 오류는 주로 Microsoft Visual C++ 재배포 가능 패키지(VCRuntime)가 제대로 설치되지 않았거나 손상되었을 때 발생합니다. 이 파일은 Windows에서 C++ 프로그램 실행 시 필요한 라이브러리 파일 중 하나입니다. 오류를 해결하려면 아래 단계를 따라 보세요.
1. Microsoft Visual C++ 재배포 가능 패키지 설치 • 최신 버전의 Visual C++ 재배포 가능 패키지를 다운로드하여 설치합니다. 1. Microsoft 공식 다운로드 페이지로 이동. 2. “x86” (32비트) 및 “x64” (64비트) 버전을 모두 다운로드합니다. 3. 다운로드한 파일을 실행하여 설치합니다. 4. 설치 후 시스템을 재부팅합니다.
2. msvcp140.dll 파일 재등록 • DLL 파일이 시스템에서 제대로 등록되지 않았을 수 있습니다. 다음 단계를 실행하세요: 1. 명령 프롬프트(CMD)를 관리자 권한으로 실행: • Windows 검색창에 cmd 입력 → 오른쪽 클릭 → 관리자 권한으로 실행. 2. 아래 명령어 입력:
regsvr32 msvcp140.dll
3. 성공 메시지가 뜨는지 확인합니다.
3. 파일 손상 시 복구 1. 시스템 파일 검사 도구(SFC) 실행: • 관리자 권한 CMD에서 아래 명령어를 실행:
using System;
using System.Collections.Generic;
using System.Linq;
using System.Text;
using System.Threading.Tasks;
namespaceHelloWorld
{
internalclassProgram
{
staticvoidMain(string[] args)
{
Console.WriteLine("Hello World!");
}
}
}
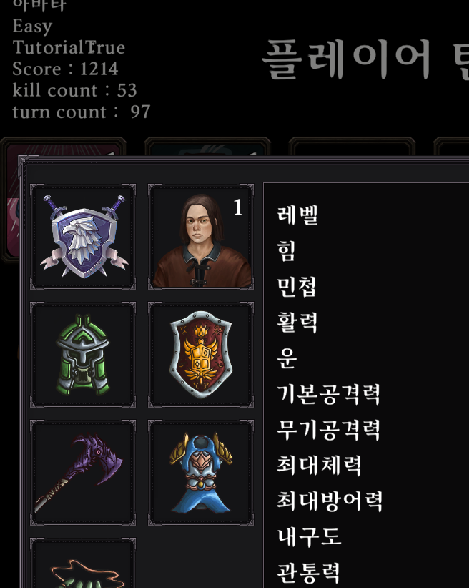
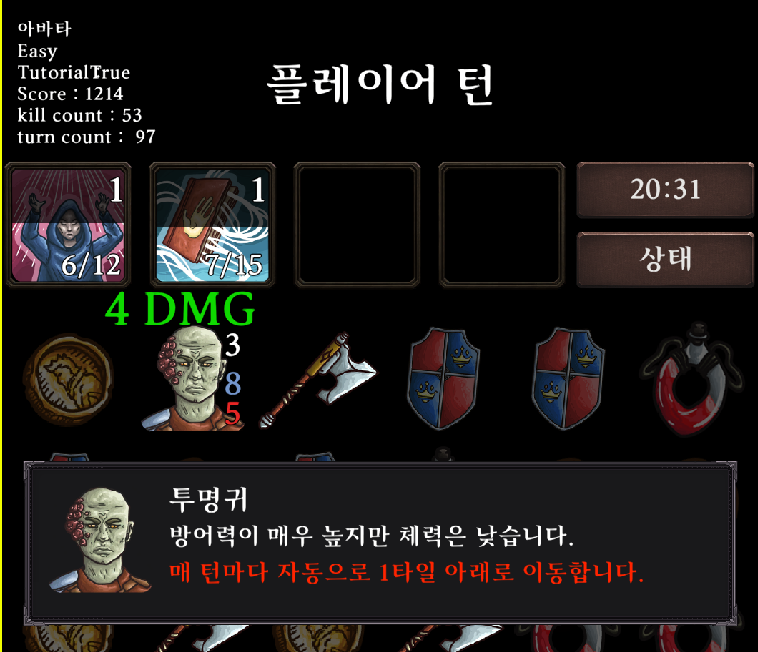
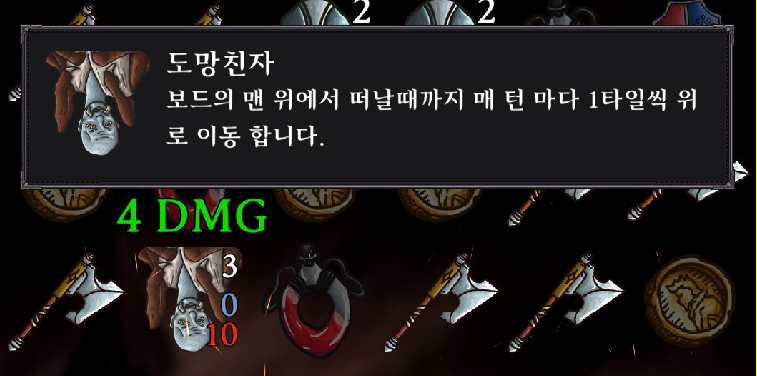
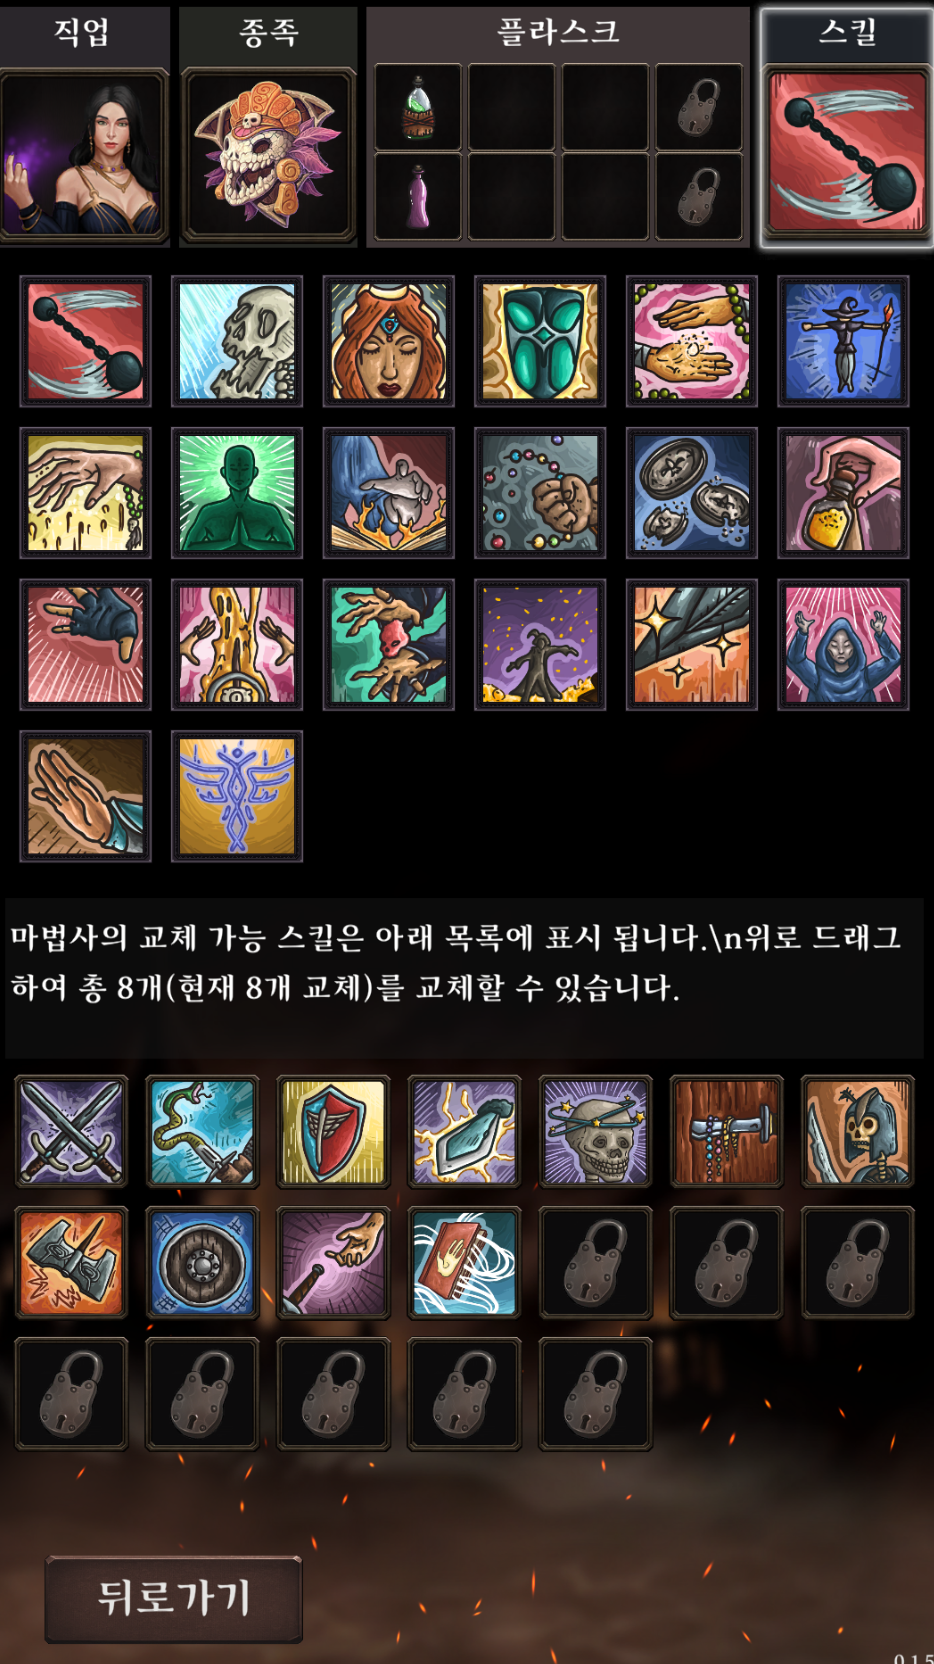
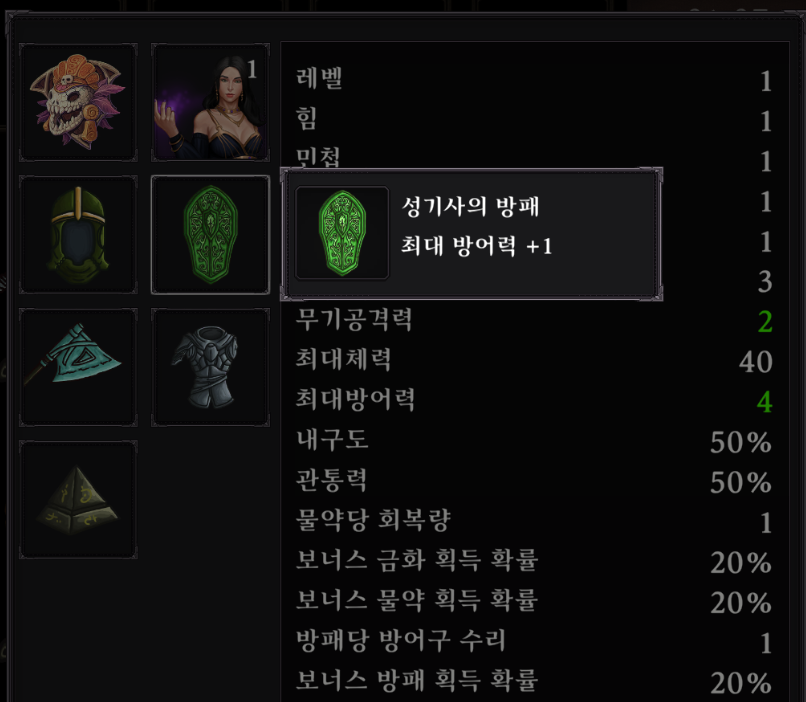
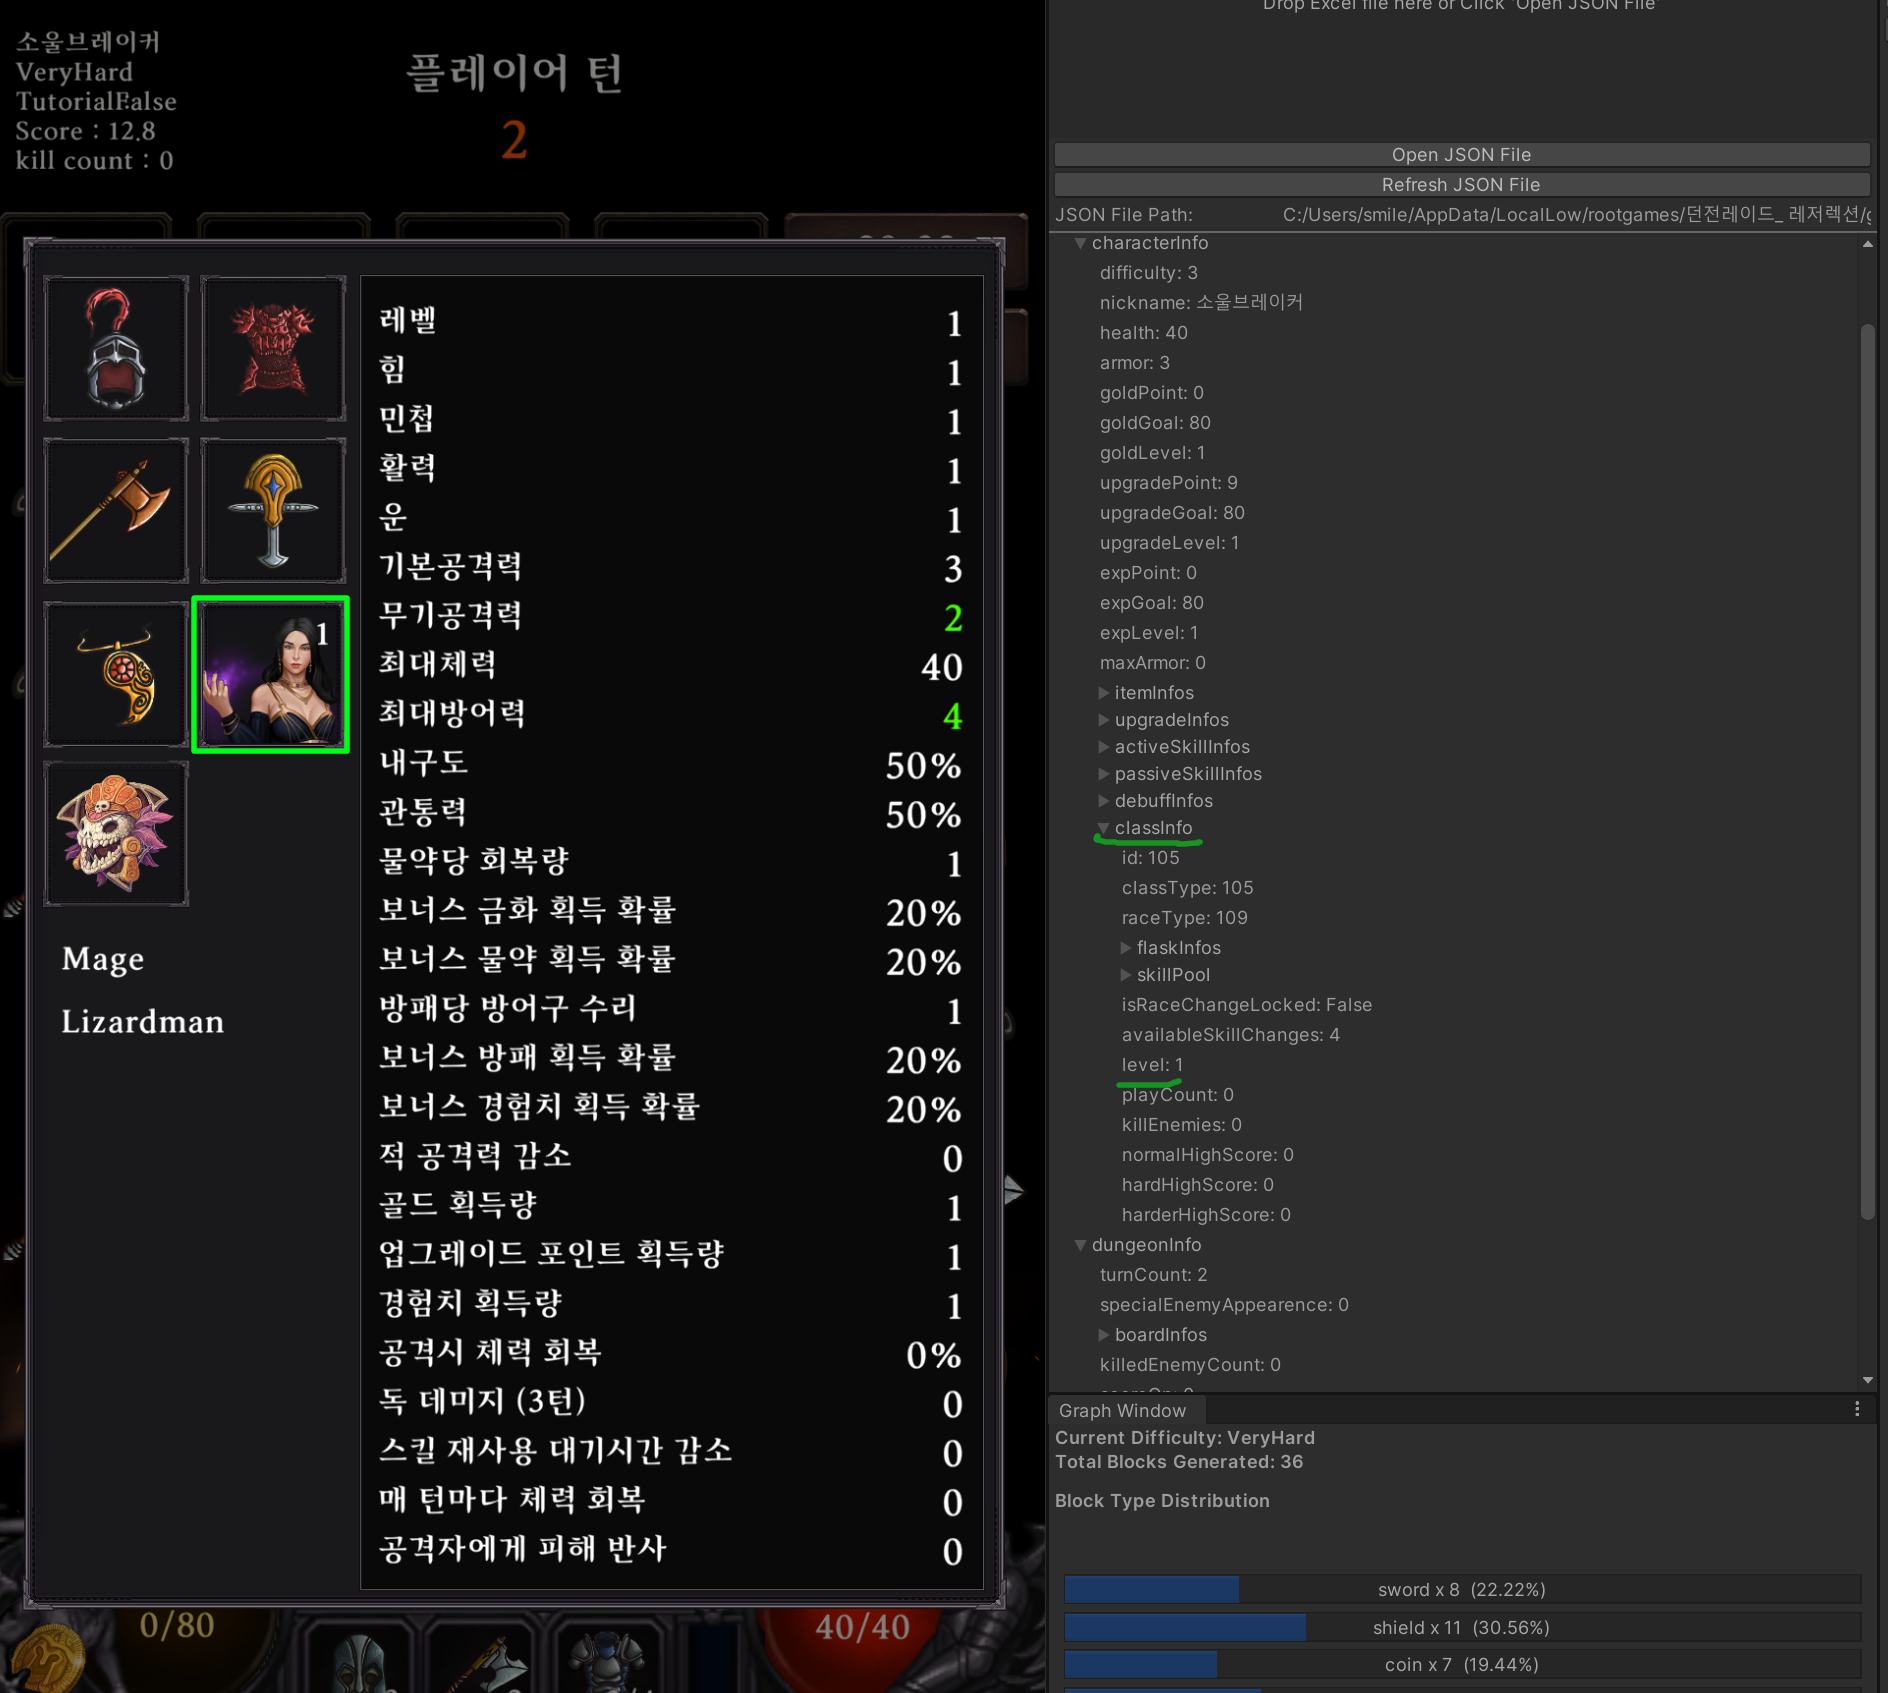
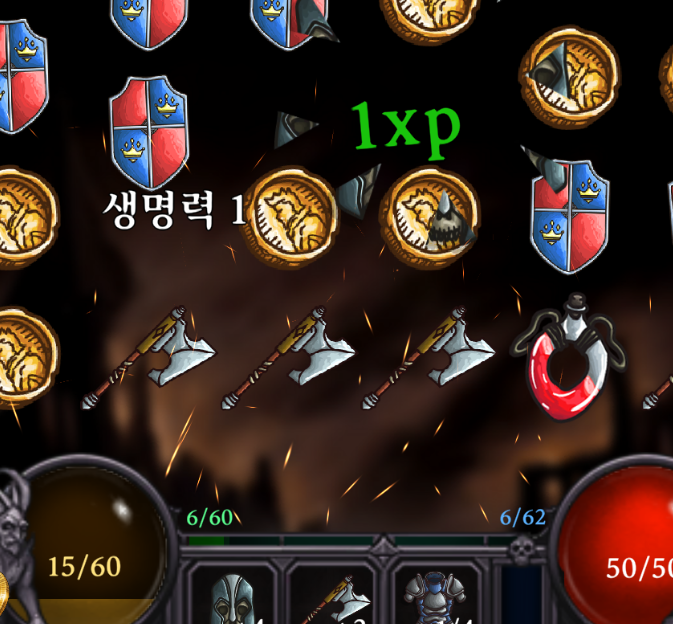
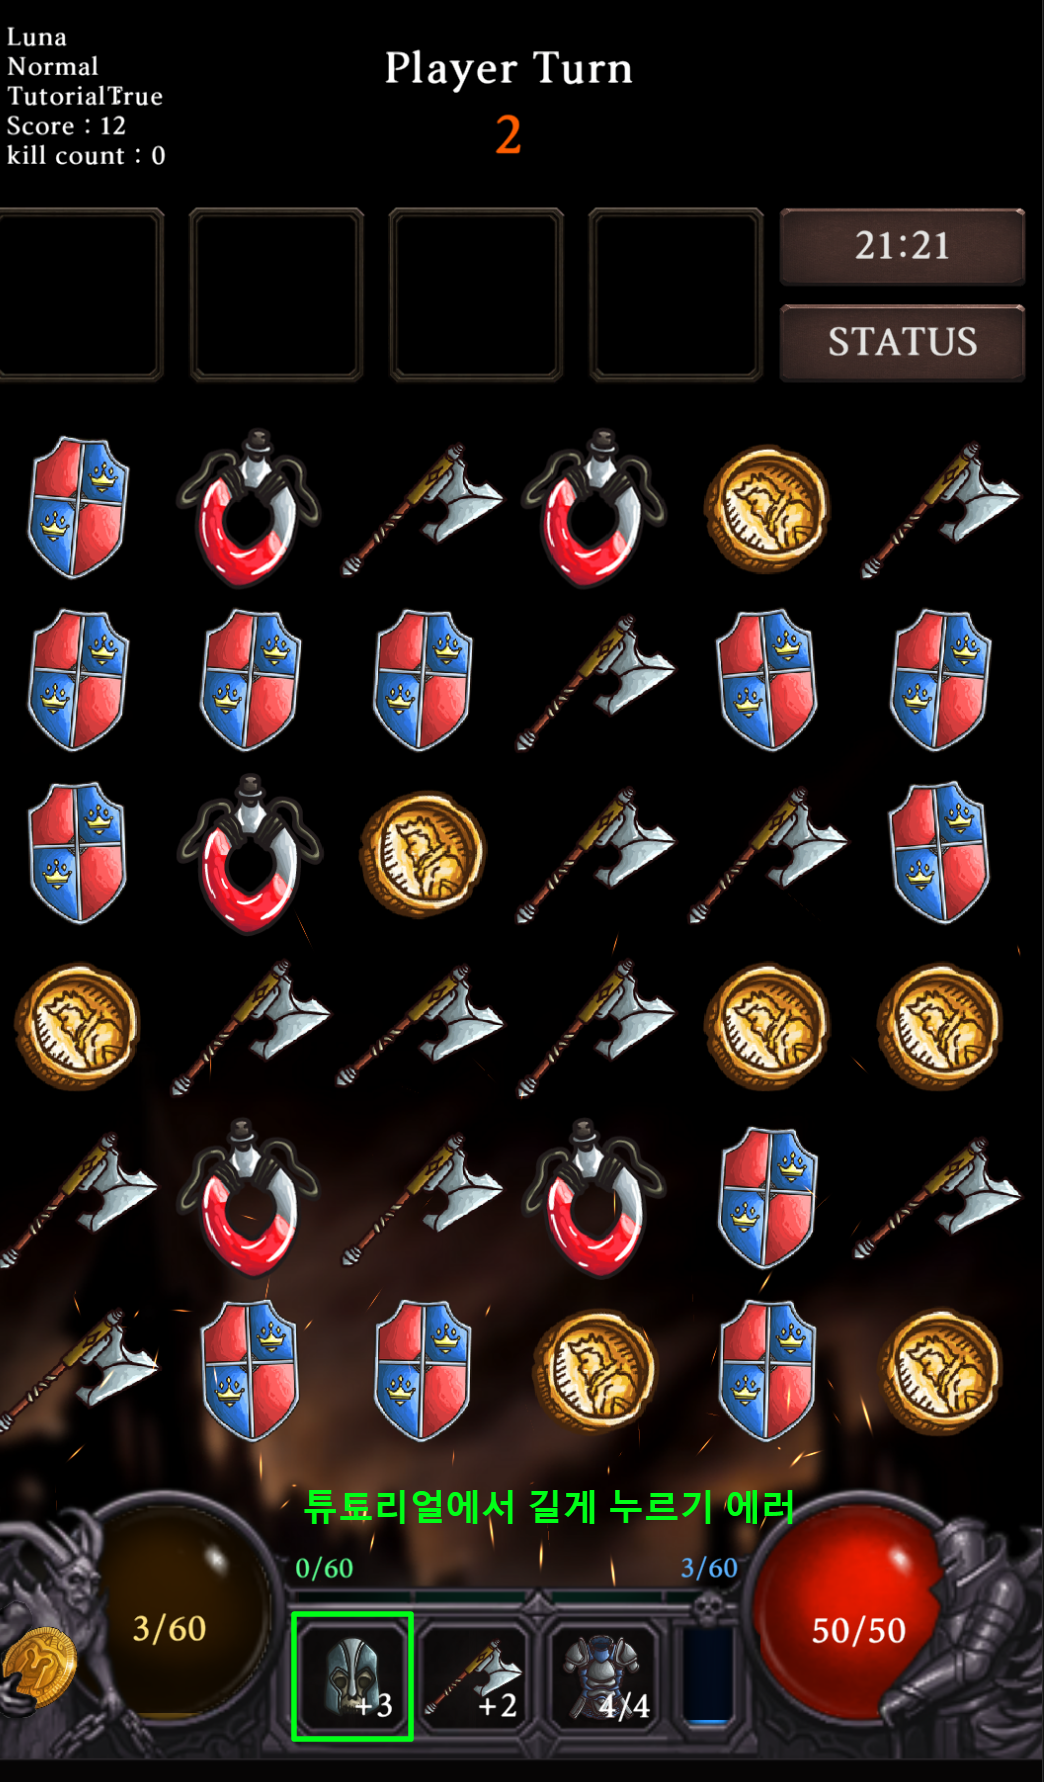
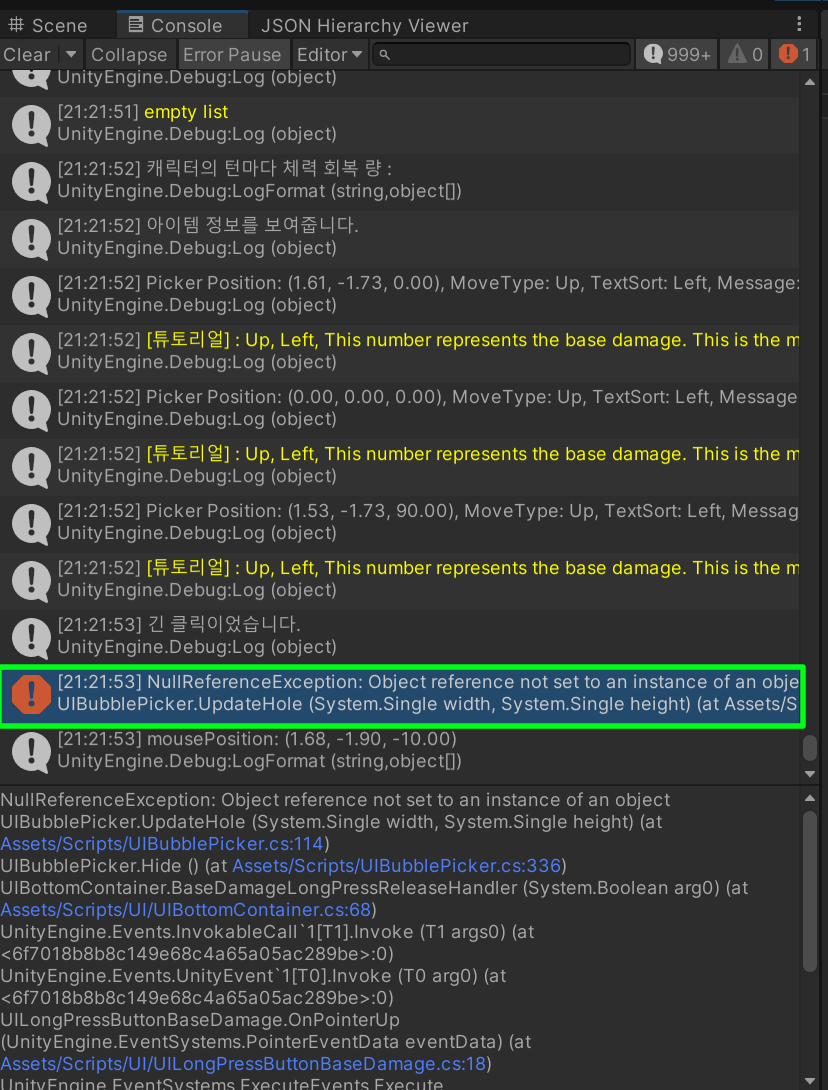
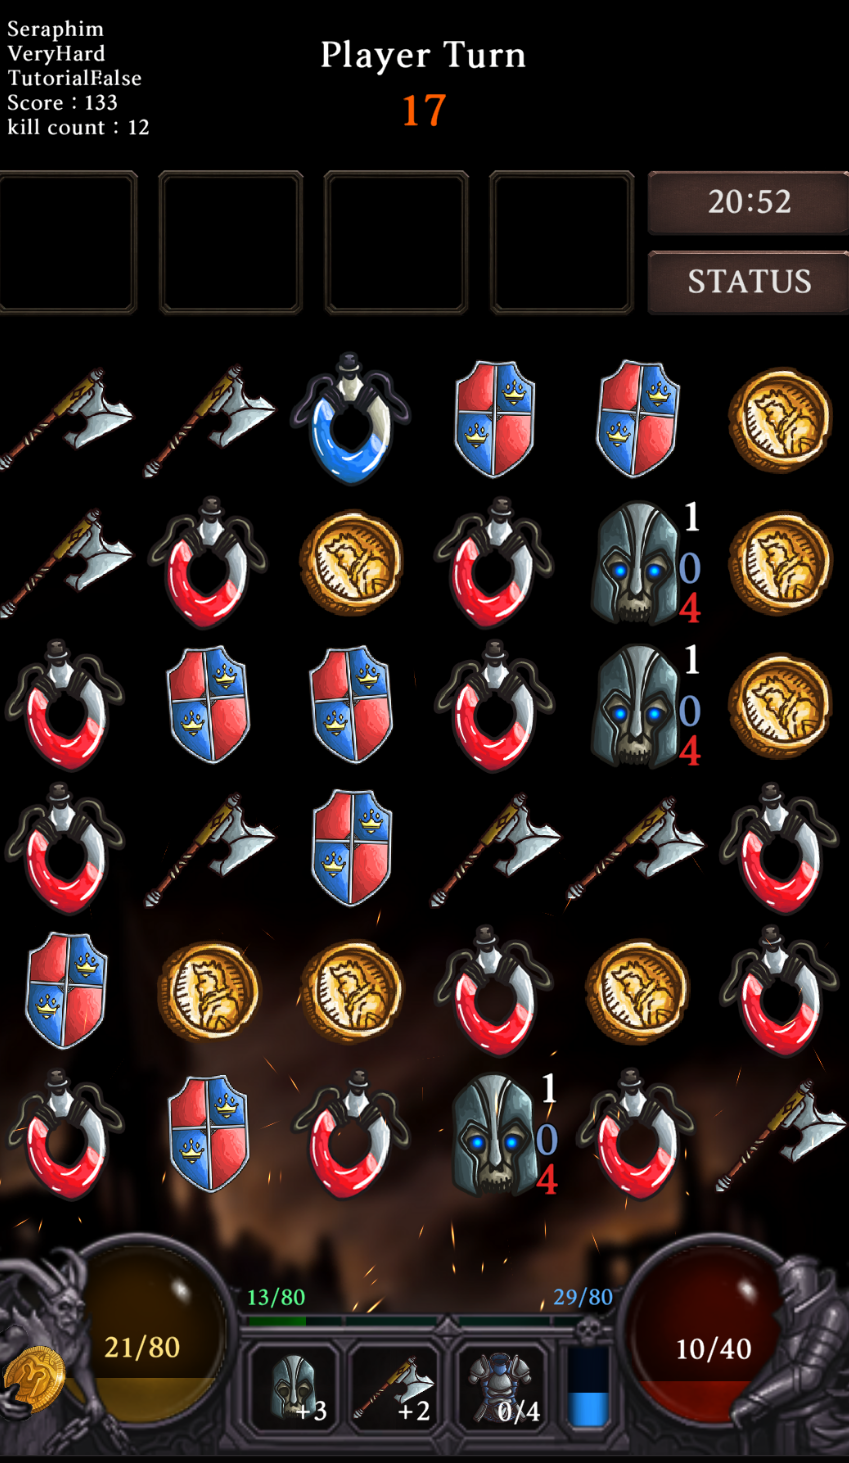
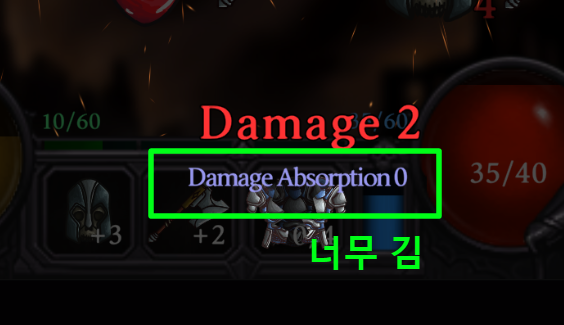
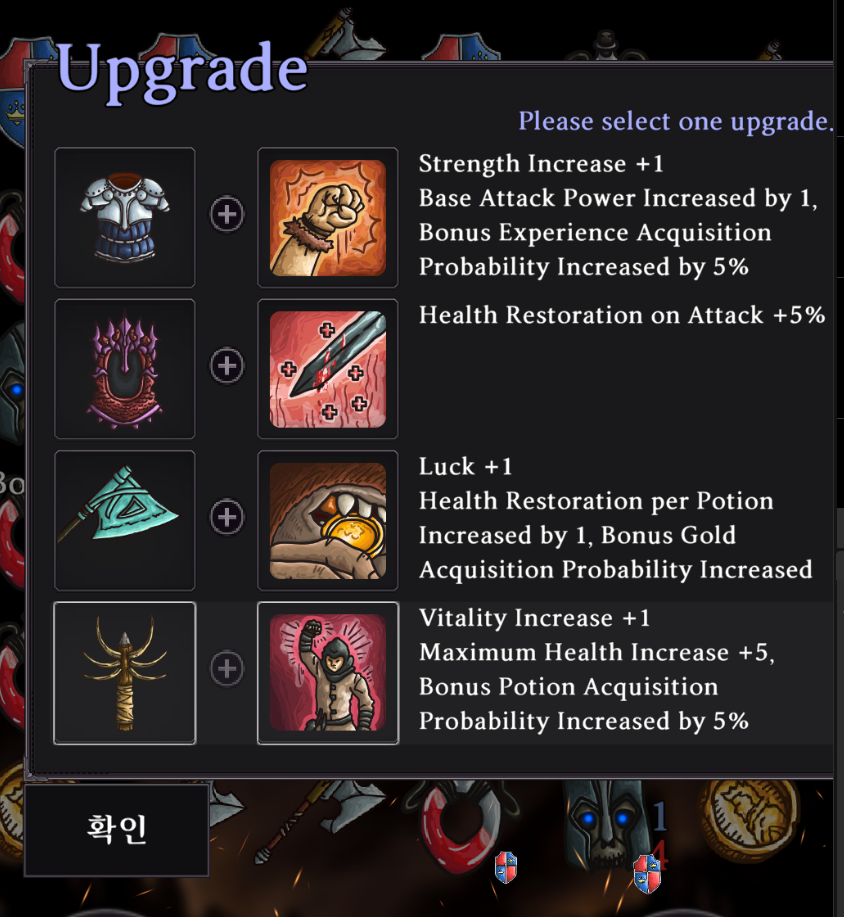
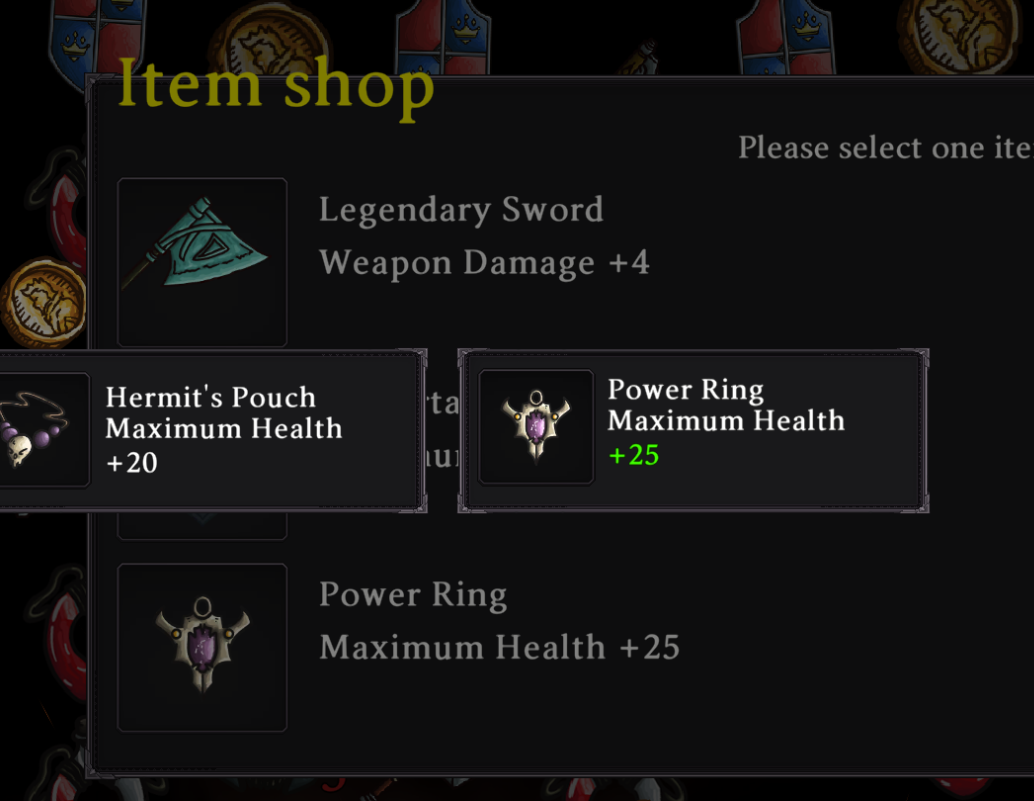
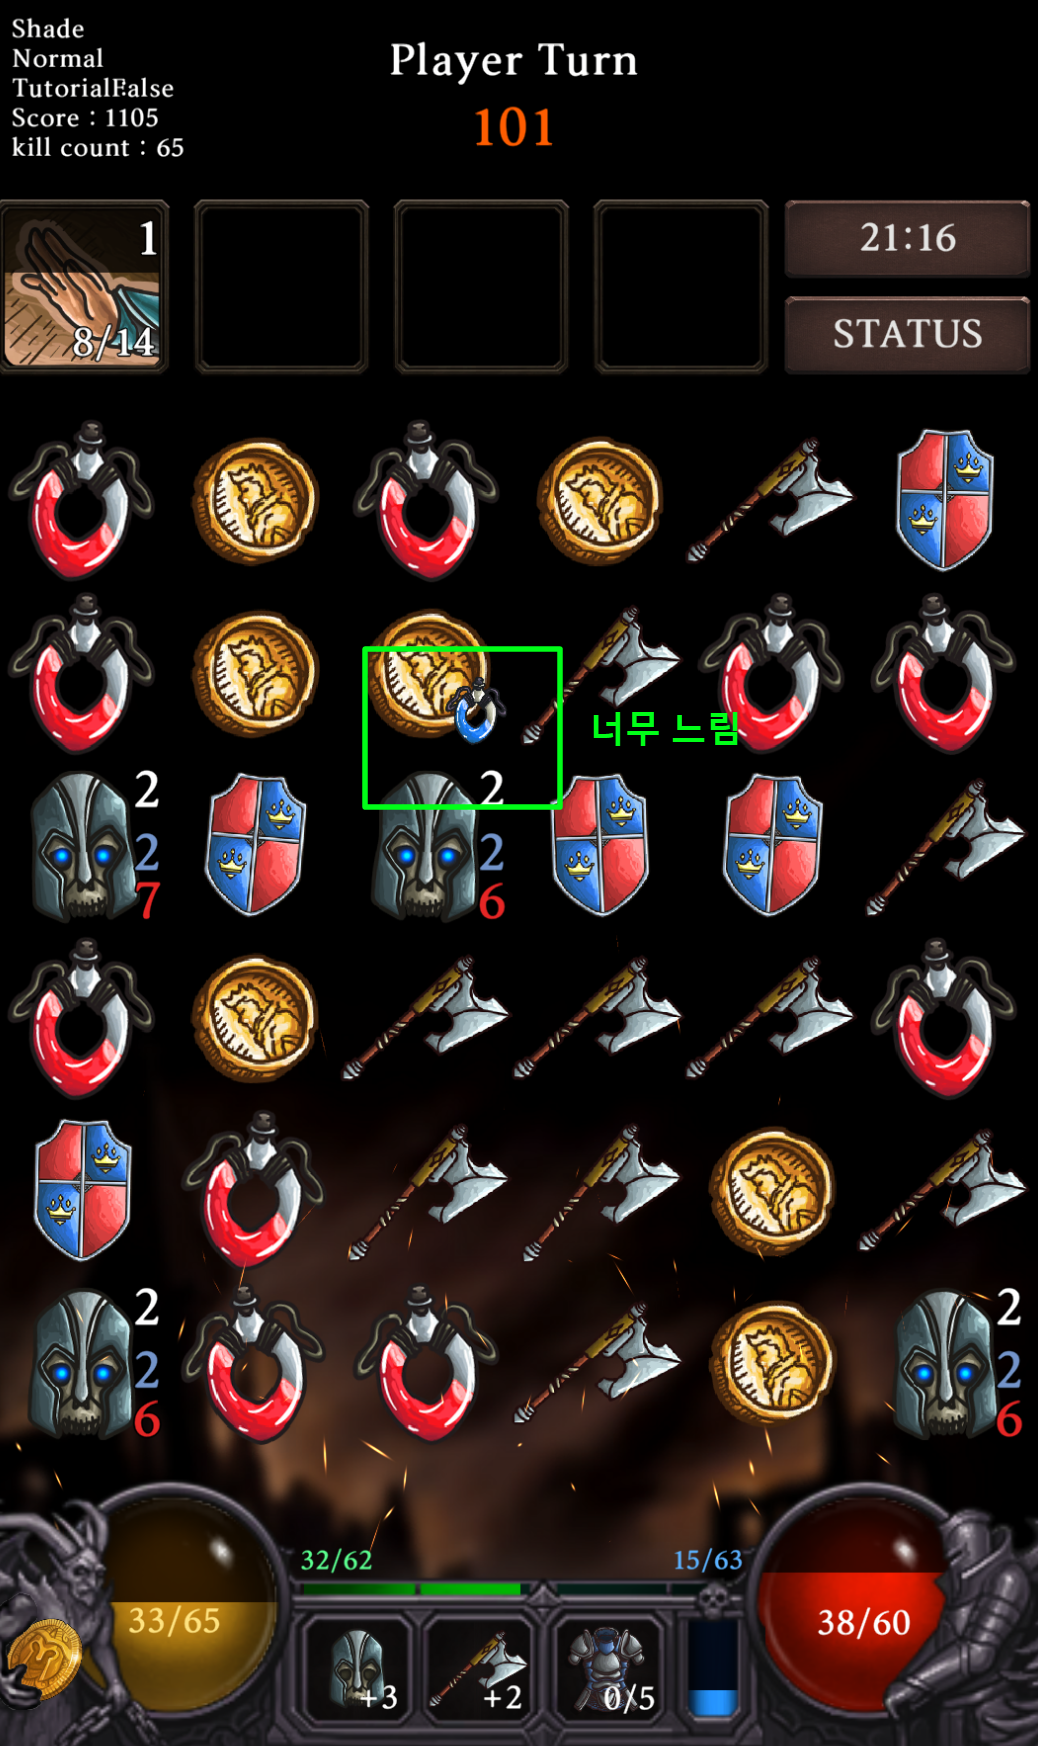
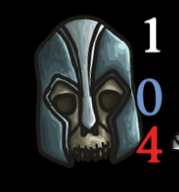
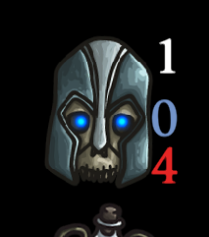
미트쉴드가 있을때 해골들의 '피해면역' 표시가 정상적으로 표시 되며 공격을 할수 없음 '피해 면역' 영문, 일본어 번역이 추가됨 '피해 면역' 텍스트가 유저 인터렉션이 끝난후 안보이게 수정 아이템 샵에서 베이스 스텟이 2배 증가되는 아이템이 나올경우 베이스 스텟의 색상을 녹색으로 표시 (실제 베이스 스텟이 2배 증가되는지는 체크 해야함) 피해반사로 죽은 해골들이 경험치를 줍니다.