

XR Interaction Toolkit 2.4.3 (OpenXR) Animated Hand Model
VR/XR Interaction Toolkit 2023. 12. 26. 16:07 https://youtube.com/playlist?list=PLTFRwWXfOIYBIPKhWi-ZO_ITXqtNuqj6j&si=9t2YSxJcsw7fRNMR
새 씬을 만들고 메인 카메라를 제거 한다

오큘러스 핸드 모델을 넣어주고

물론 XRHands에 있는걸 써도 된다

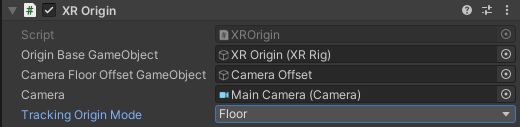
XR Origin을 만들어 준다

Origin Mode를 설정 하고
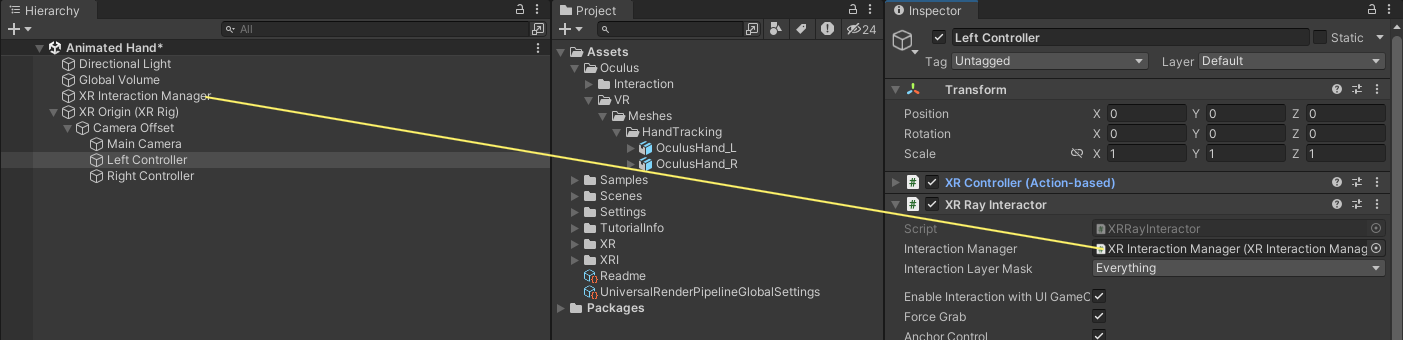
Left Controller를 선택해 매니저를 넣어주자
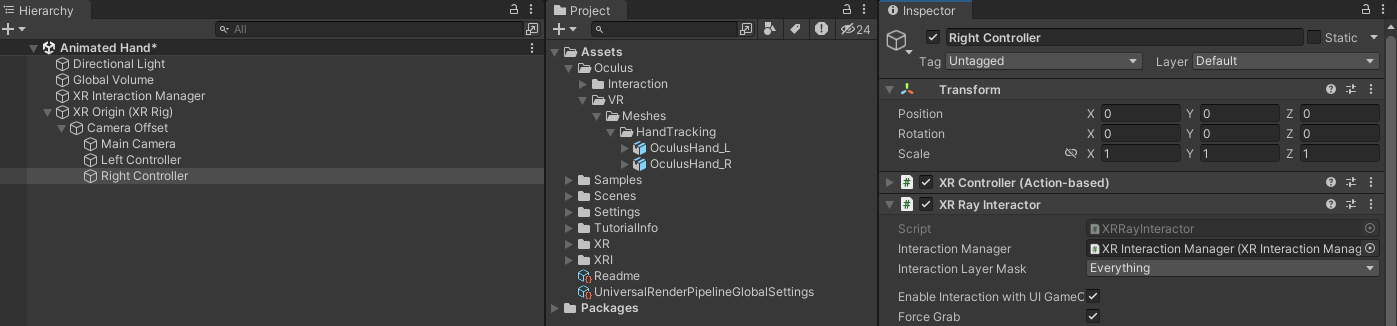
오른쪽도 똑같이 해준다
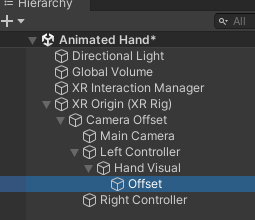
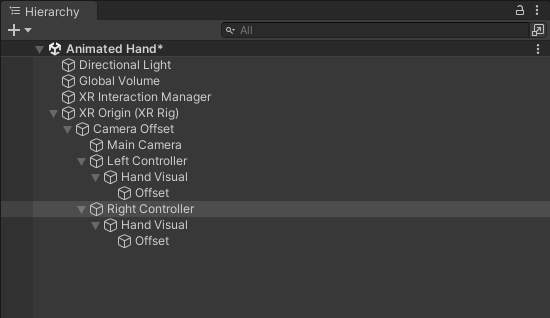
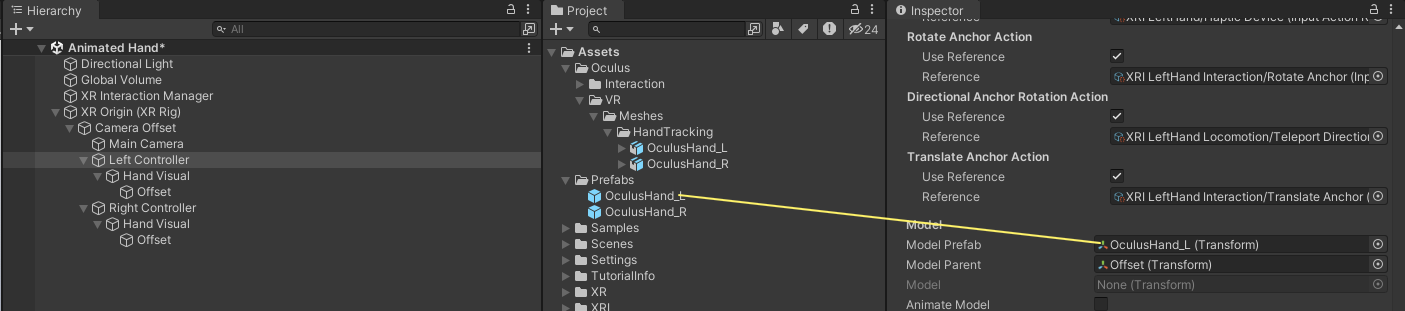
Left Controller를 선택하고 자식으로 빈 오브젝트(Hand Visual)를 만든다

그 자식으로 빈오브젝트(Offset)을 또 만들어 주고
Left Controller 오브젝트를 선택하고 XR Controller 컴포넌트의 Model 프로퍼티의 Model Prefab에는 왼손 모델을
Model Parent에는 Offset 오브젝트를 넣어준다
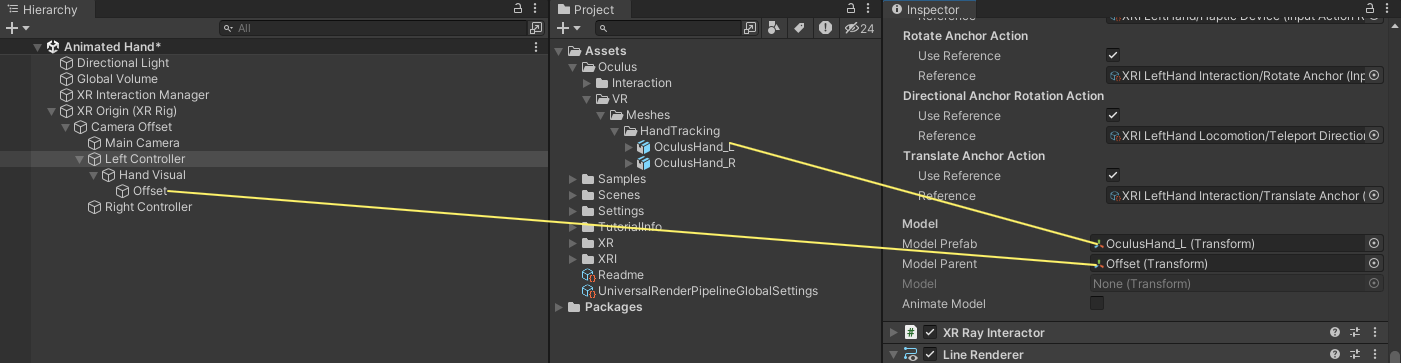
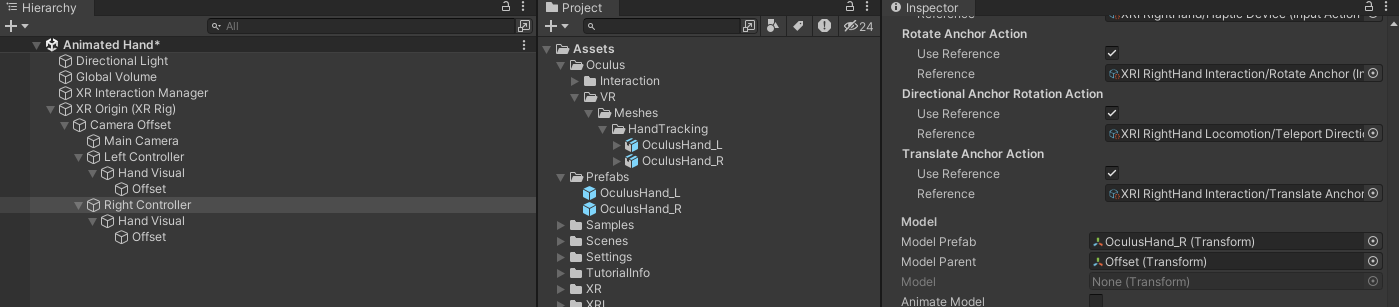
오른손도 똑같이 한다

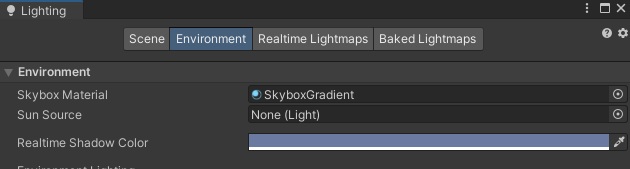
Skybox를 간지나게 하고 싶다면 다음패키지를 설치 하고
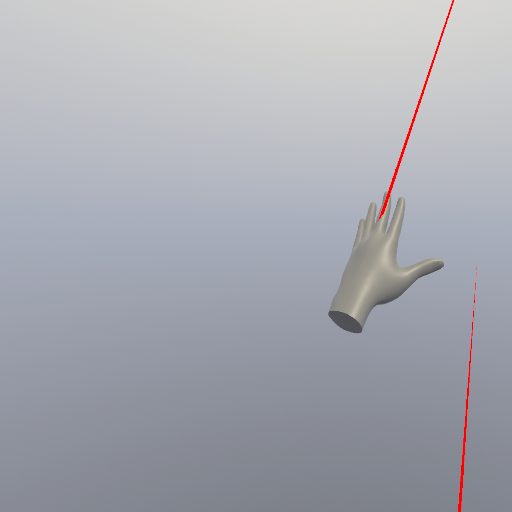
이제 플레이를 해보고 결과를 확인 하자
손은 잘 나오는데 회전을 좀 해야 할거 같다
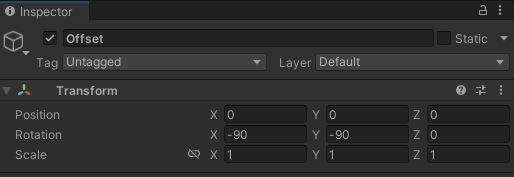
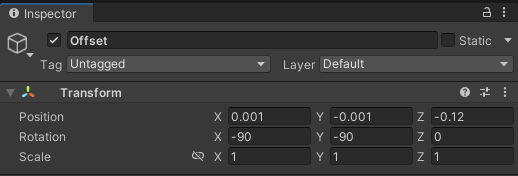
다음과 같이 Offset오브젝트의 Rotation X , Y 를 90으로 설정 한다

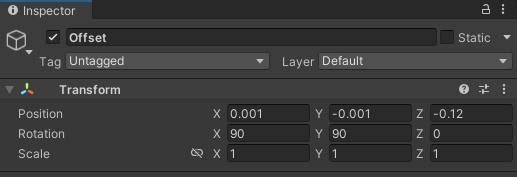
오른손은 다음과 같이 설정한다
다시 실행후 결과를 확인 하자
위치도 조금 내려주자
다시 실행해보고 확인해보자
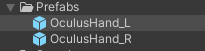
이제 왼손모델을 가져와서 언팩하고 프리팹으로 만들어 준다
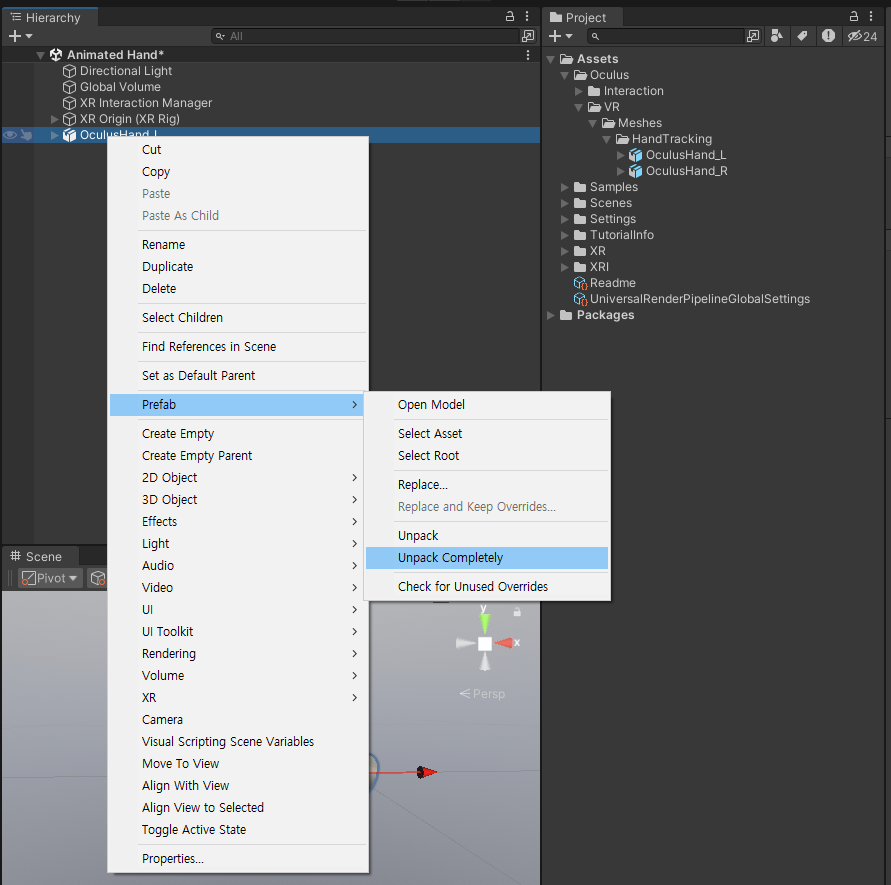
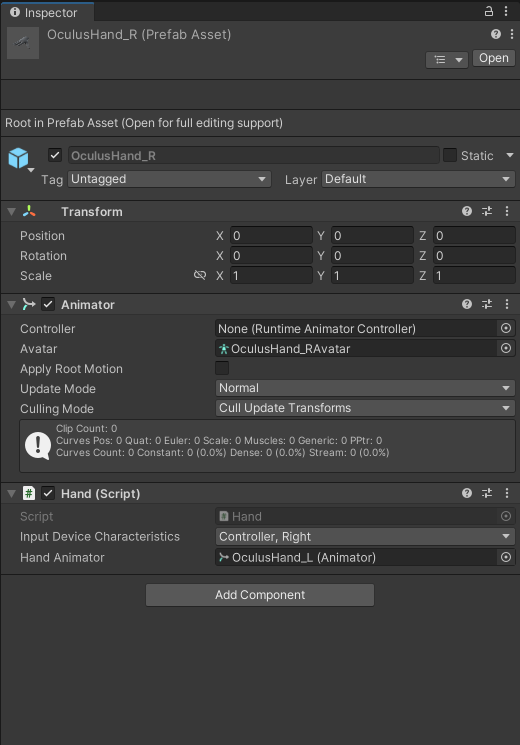
오른손도 똑같이 해준다
Left / Right Controller의 모델 프리팹을 다시 연결해주자
애니메이션을 만들어 주고
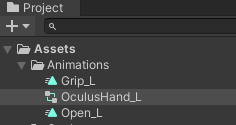
블랜드 트리를 생성하고
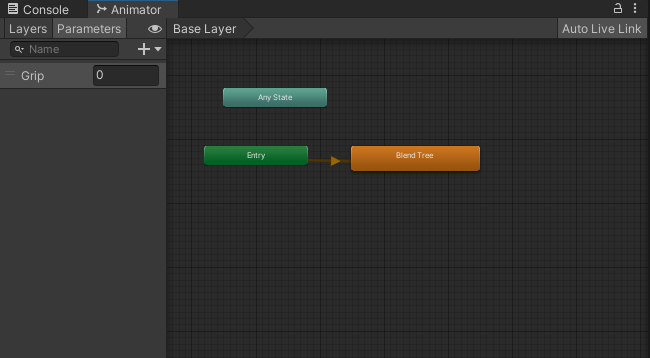

테스트
스크립트를 하나 만들고

using System.Collections.Generic;
using UnityEngine;
using UnityEngine.XR;

public class Hand : MonoBehaviour
{
    public InputDeviceCharacteristics inputDeviceCharacteristics;

    private InputDevice _targetDevice;
    [SerializeField] private Animator _handAnimator;

    private void Start()
    {
        InitializeHand();
    }

    private void InitializeHand()
    {
        List<InputDevice> devices = new List<InputDevice>();
        InputDevices.GetDevicesWithCharacteristics(inputDeviceCharacteristics, devices);

        if (devices.Count > 0)
        {
            _targetDevice = devices[0];
        }
    }

    private void Update()
    {
        if (!_targetDevice.isValid)
        {
            InitializeHand();
        }
        else
        {
            UpdateHand();
        }
    }

    private void UpdateHand()
    {
        SetAnimatorParameterValue(CommonUsages.grip, "Grip");
    }

    private void SetAnimatorParameterValue(InputFeatureUsage<float> feature, string parameterName)
    {
        if (_targetDevice.TryGetFeatureValue(feature, out float value))
        {
            _handAnimator.SetFloat(parameterName, value);
        }
        else
        {
            _handAnimator.SetFloat(parameterName, 0);
        }
    }
}
오른손도 똑같이 해준다
참고
using System.Collections;
using System.Collections.Generic;
using UnityEngine;
//This will allow us to get InputDevice
using UnityEngine.XR;

public class InputReader : MonoBehaviour
{
//Creating a List of Input Devices to store our Input Devices in
    List<InputDevice> inputDevices = new List<InputDevice>();

// Start is called before the first frame update
    void Start()
    {
//We will try to Initialize the InputReader here, but all components may not be loaded
        InitializeInputReader();
    }

//This will try to initialize the InputReader by getting all the devices and printing them to the debugger.
    void InitializeInputReader()
    {
        InputDevices.GetDevices(inputDevices);

        foreach (var inputDevice in inputDevices)
        {
            Debug.Log(inputDevice.name + " " + inputDevice.characteristics);
        }
    }

// Update is called once per frame
    void Update()
    {
//We should have a total of 3 Input Devices. If it’s less, then we try to initialize them again.
        if (inputDevices.Count < 2)
        {
            InitializeInputReader();
        }
    }
}
https://fistfullofshrimp.com/unity-vr-inputs-and-hand-animation/
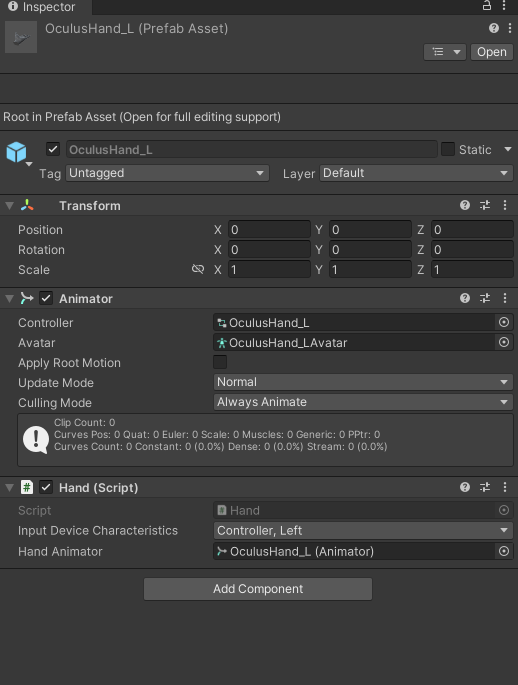
'VR > XR Interaction Toolkit' 카테고리의 다른 글
| Access hand data from Unity components in the scene (0) | 2023.12.27 |
|---|---|
| XR Interaction Toolkit 2.4.3 OpenXR Throw Object (0) | 2023.12.27 |
| [OpenXR] XR Interaction Toolkit 2.4.3 컨트롤러와 핸드트래킹 (0) | 2023.12.26 |
| At least one interaction profile must be added. Please select which controllers you will be testing against in the Feature menu. (0) | 2023.12.26 |
| XRI 샘플 프로젝트 열어보기 (Starter Assets) (0) | 2023.12.26 |