

Unity 2022.3.5f1 + Oculus Integration 56.0 (Create Poke Interactions)
VR/Oculus Integration 2023. 9. 27. 13:25Create Poke Interactions
손이나 컨트롤러로 물체를 찌르려면 찌르기 상호작용을 사용하세요.
찌르기 상호 작용을 만들려면 손 찌르기 상호 작용기(손 또는 컨트롤러를 손으로 사용하는 경우) 또는 컨트롤러 찌르기 상호 작용기(컨트롤러를 사용하는 경우)를 추가합니다.
그런 다음 포크할 수 있어야 하는 각 GameObject에 상호작용 가능한 포크를 추가합니다. 이 튜토리얼에서는 찌를 수 있는 직사각형 버튼을 만듭니다.
To try poke interactions in a pre-built scene, see the PokeExamples scene.
Before You Begin
- Complete Getting Started with Interaction SDK.
Add Poke Interactors
포크 인터랙터를 사용하면 손이나 컨트롤러로 포크 상호작용이 가능한 개체를 찌를 수 있습니다.
Adding Hand Poke Interactors for Hands
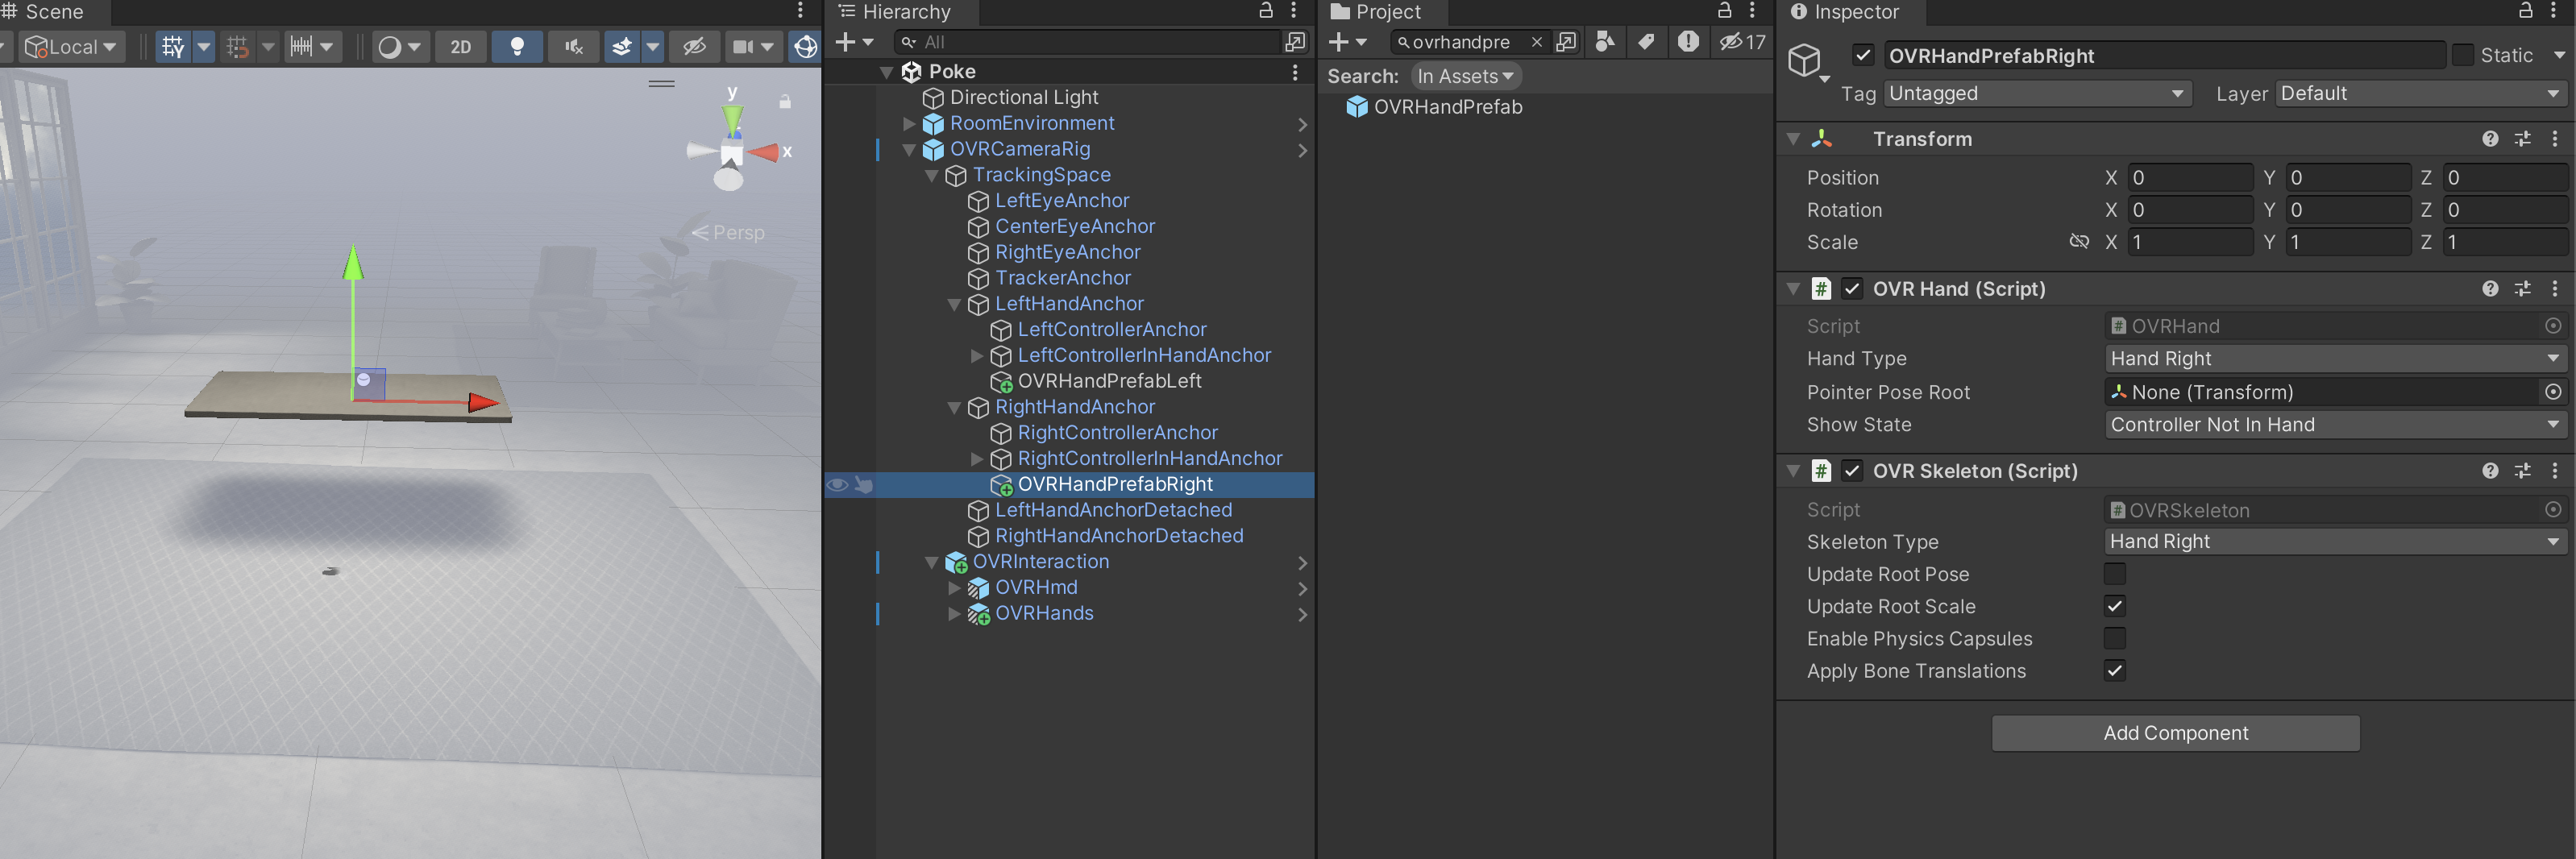
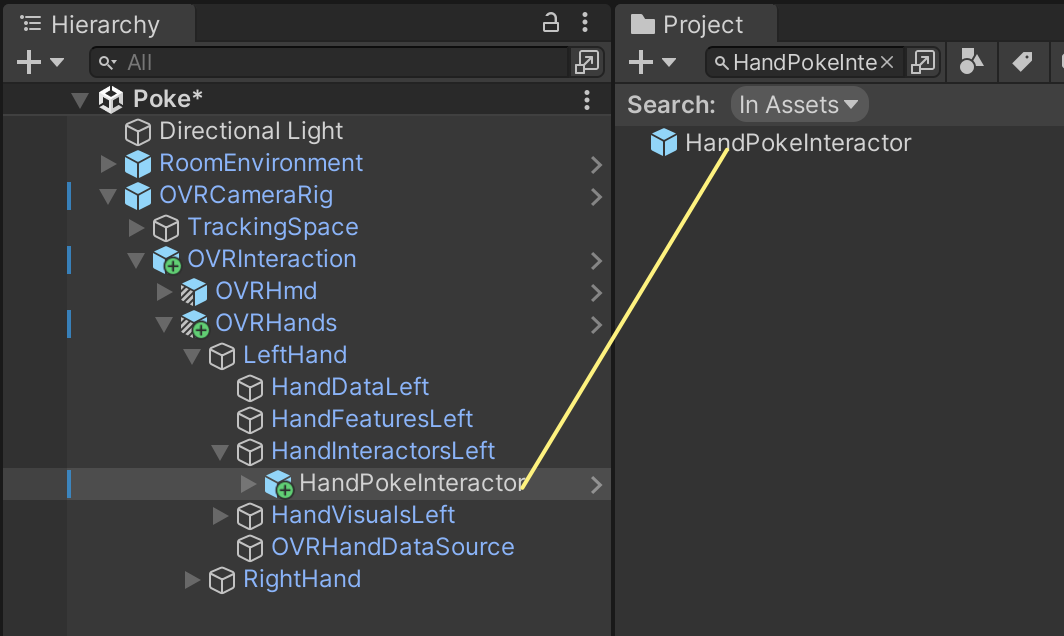
Under Project, search for HandPokeInteractor,
and drag the HandPokeInteractor prefab from the search results onto OVRInteraction > OVRHands > LeftHand > HandInteractorsLeft.
The prefab contains all the components needed for poke to work out of the box.
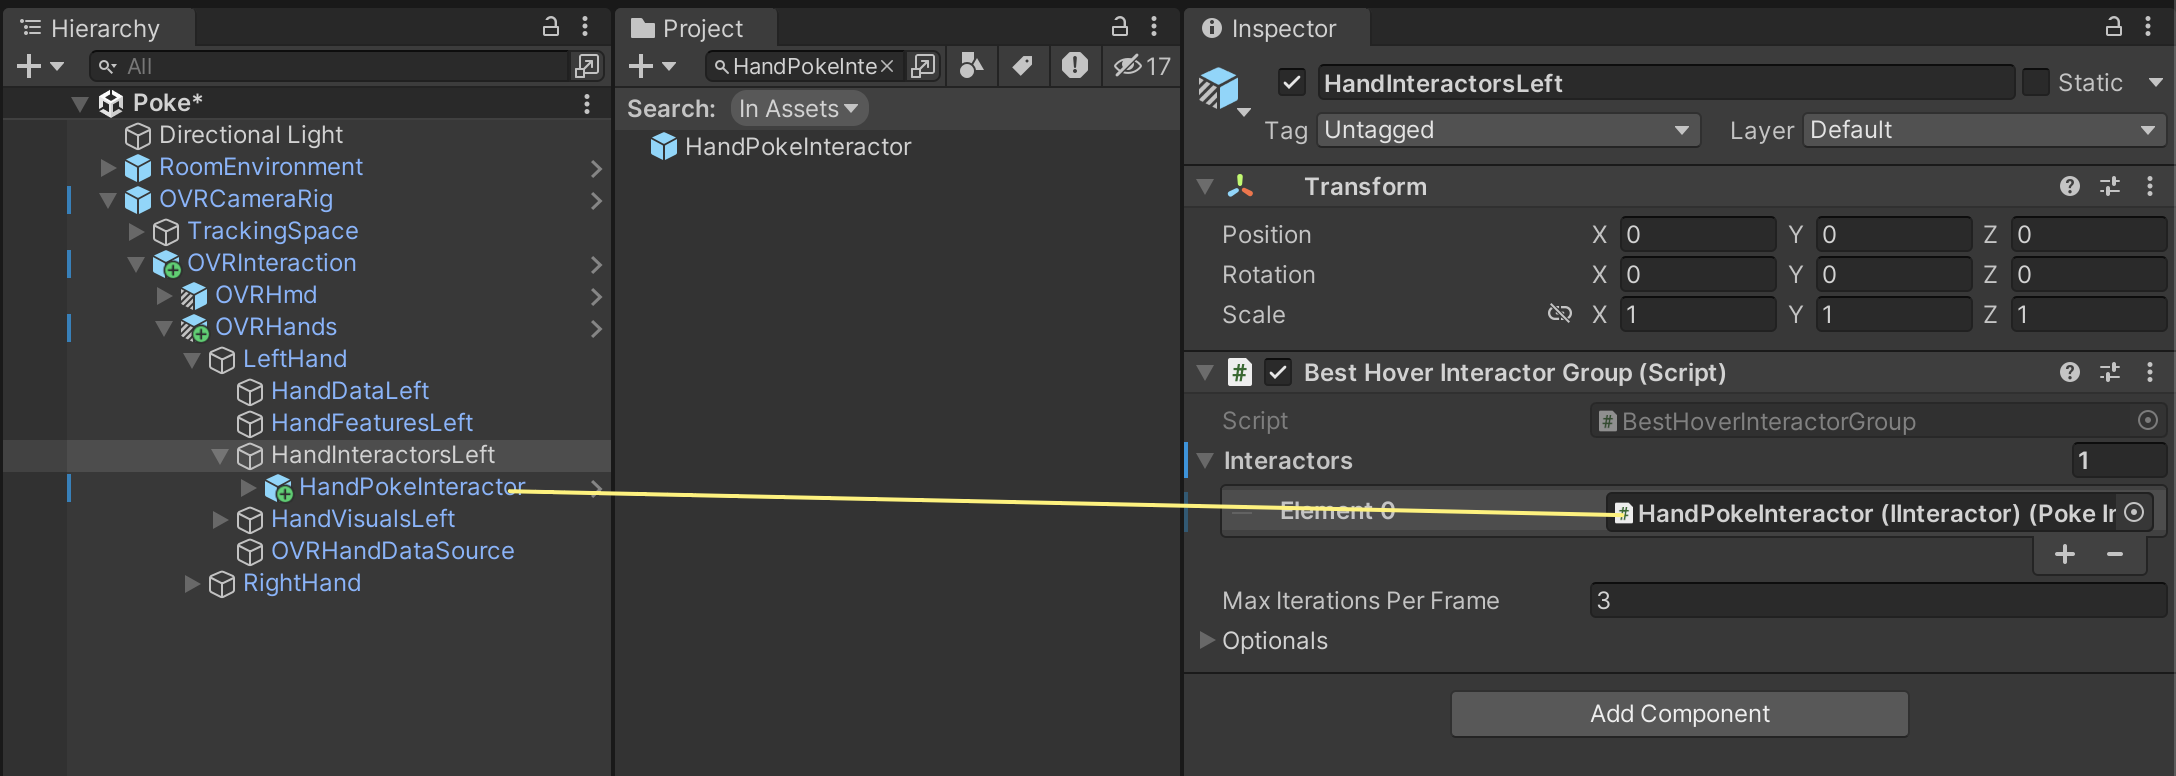
Under Hierarchy, select HandInteractorsLeft.
Under Inspector, add a new element to the Interactors list by clicking +.
Set the element to HandPokeInteractor by dragging HandPokeInteractor from Hierarchy to the element’s property.
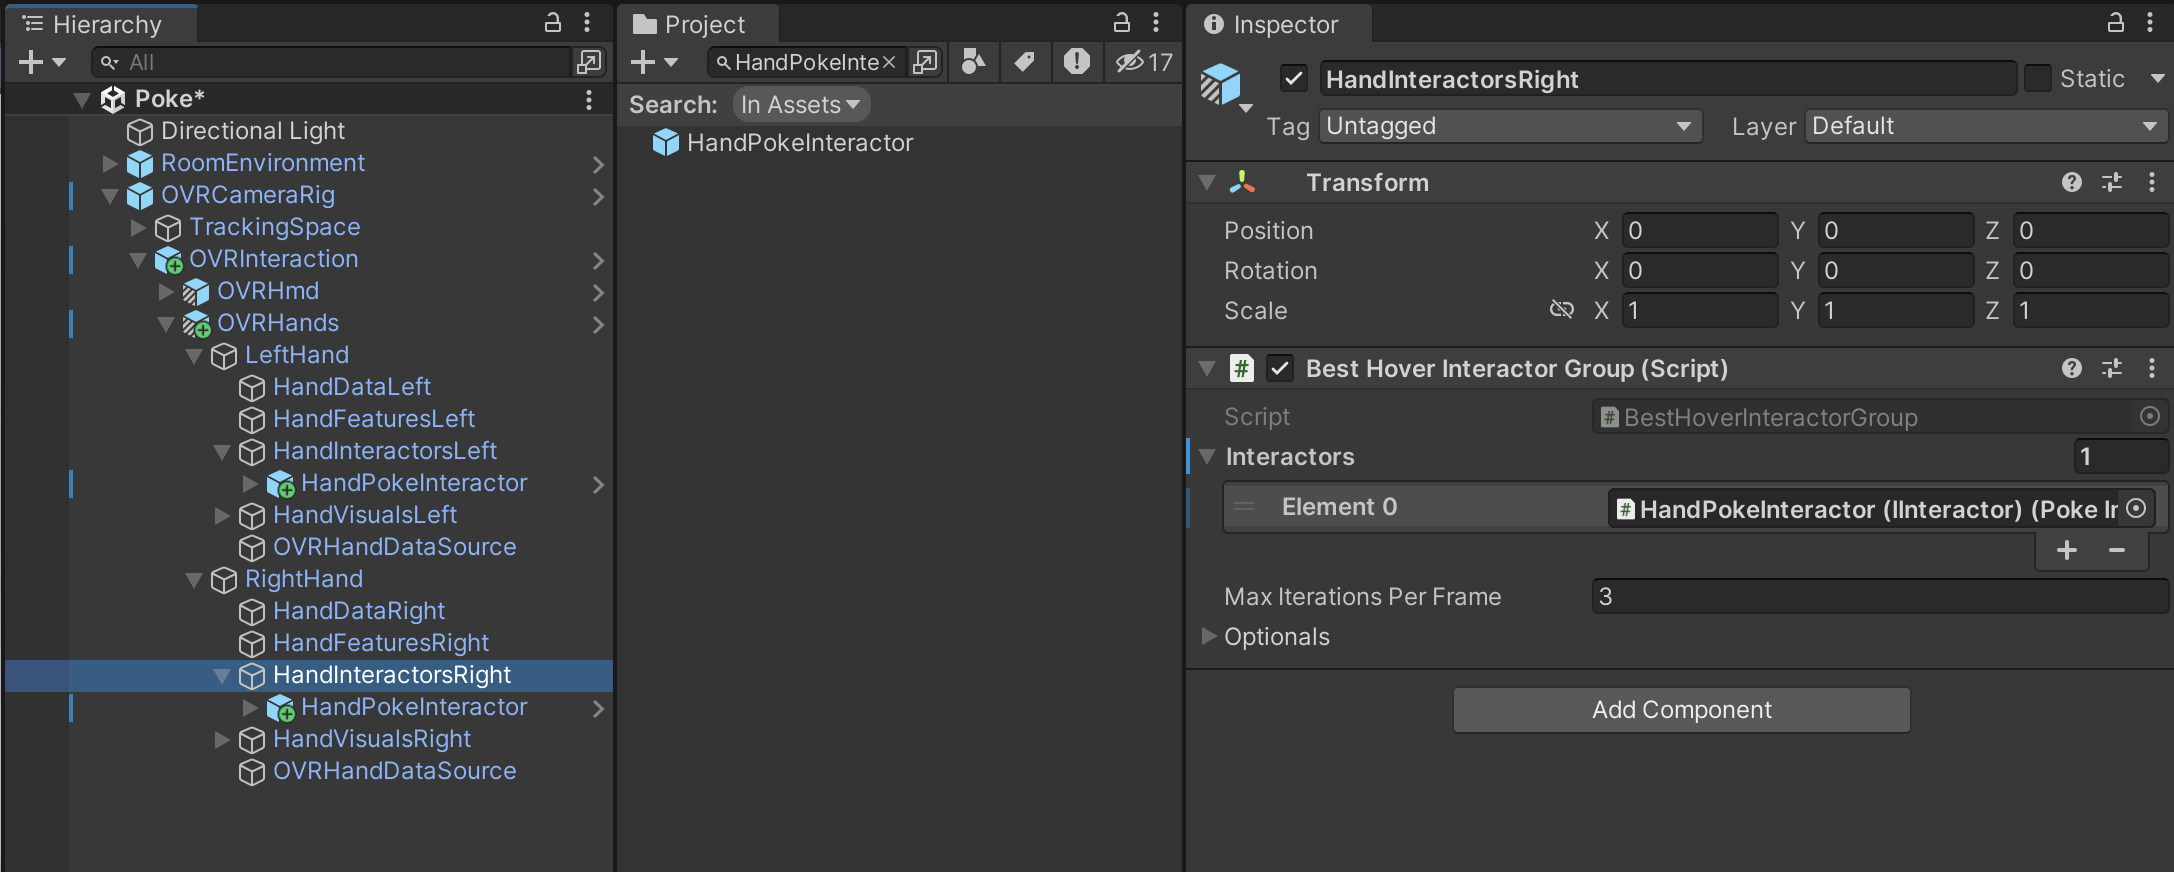
Repeat these steps for the right hand.
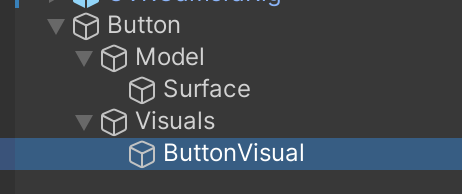
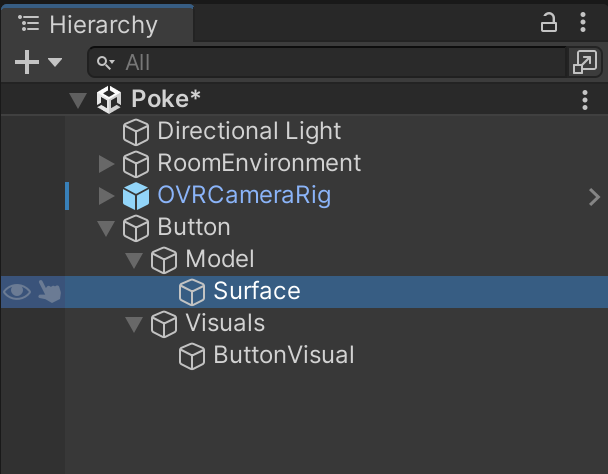
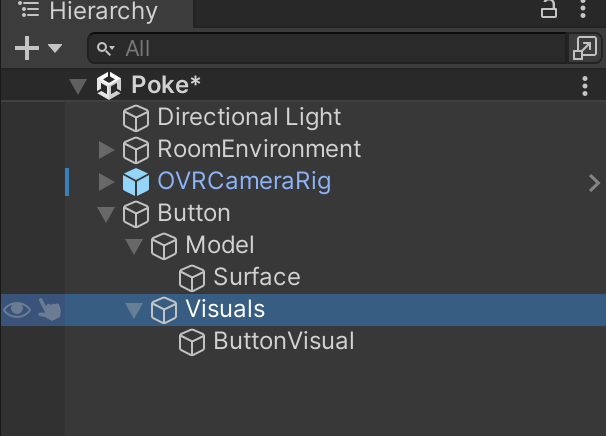
Your hierarchy should look like this, with a HandPokeInteractor for each hand.
Add Poke Interactable
Poke 상호작용 가능 항목을 사용하면 연결된 개체를 찌를 수 있습니다.
Create Empty GameObjects
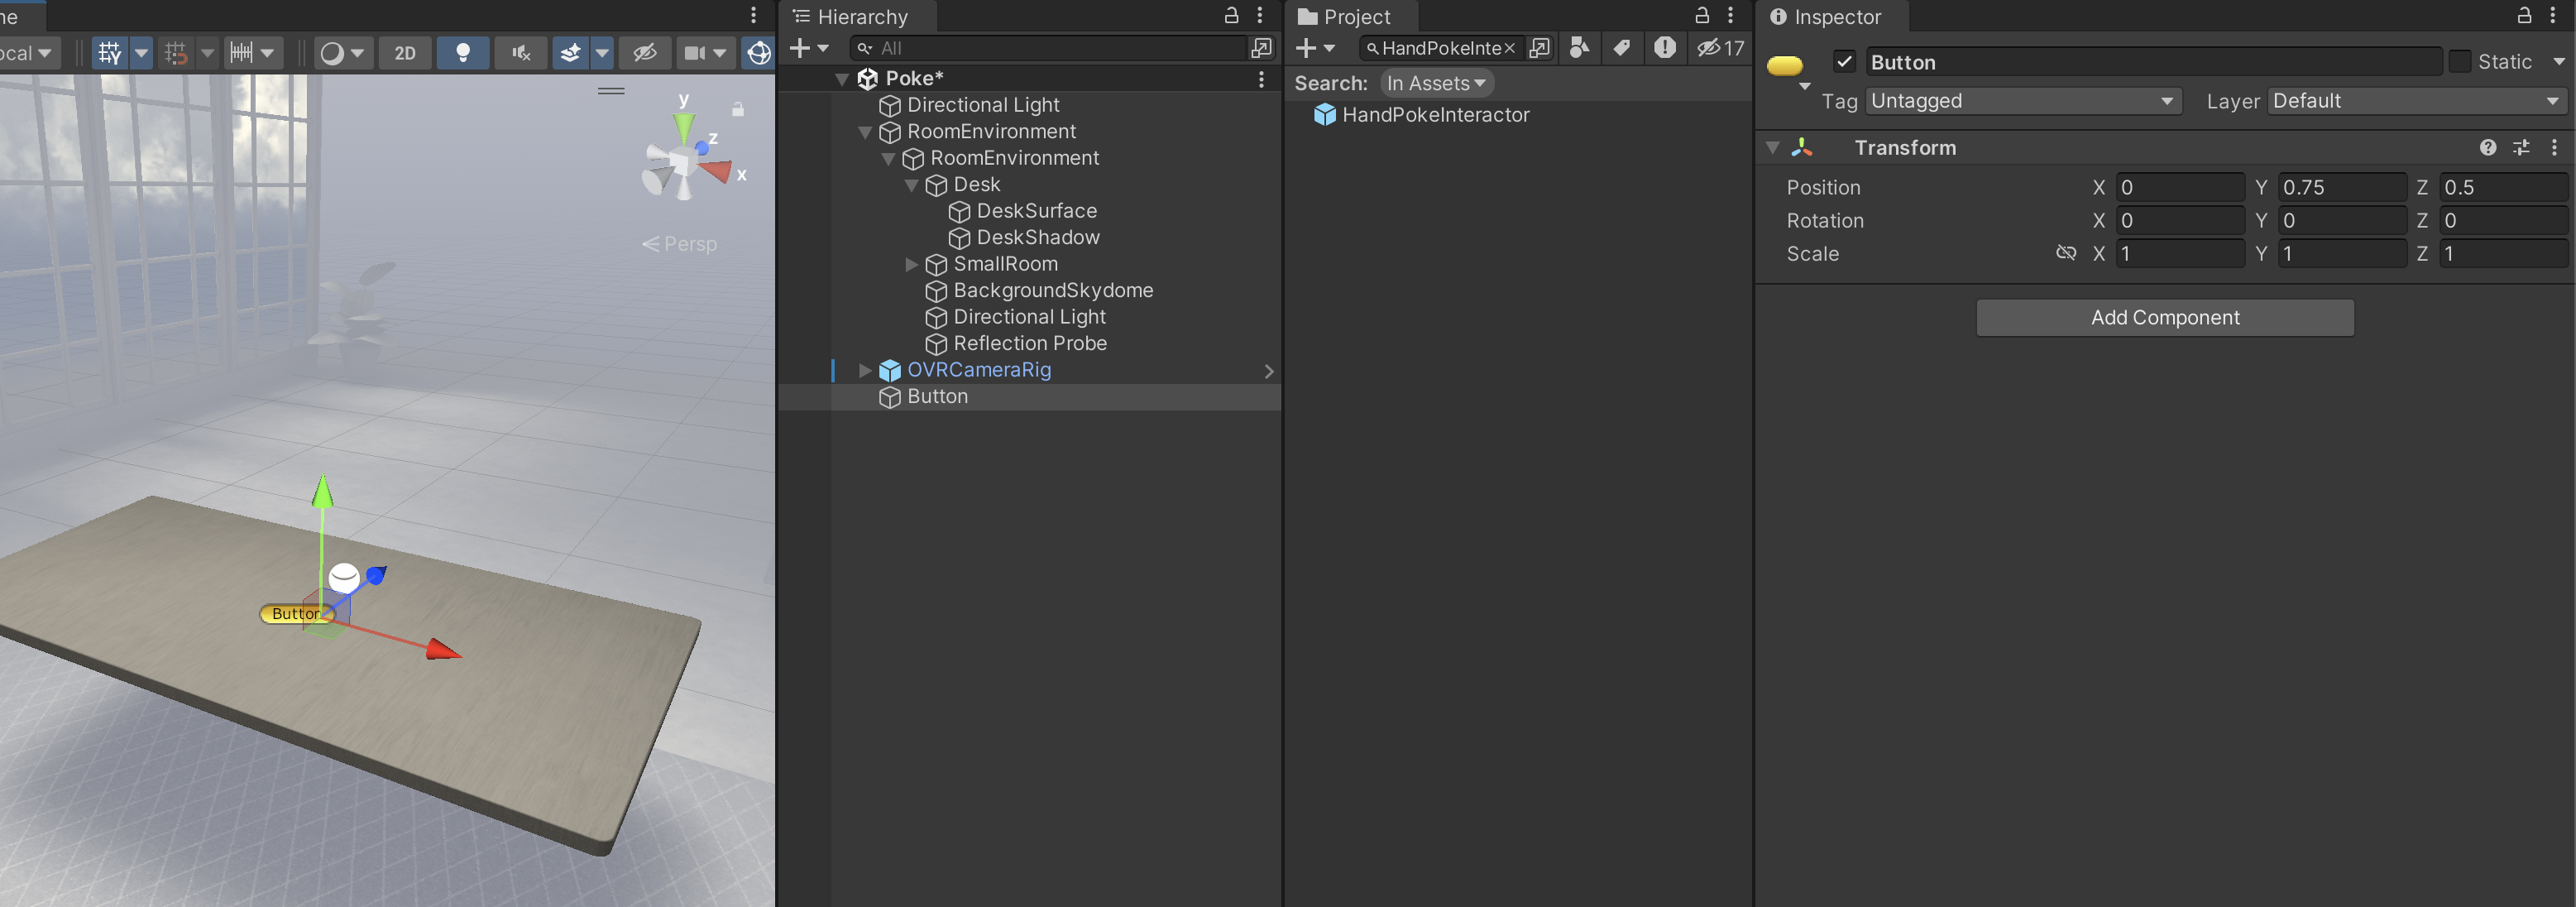
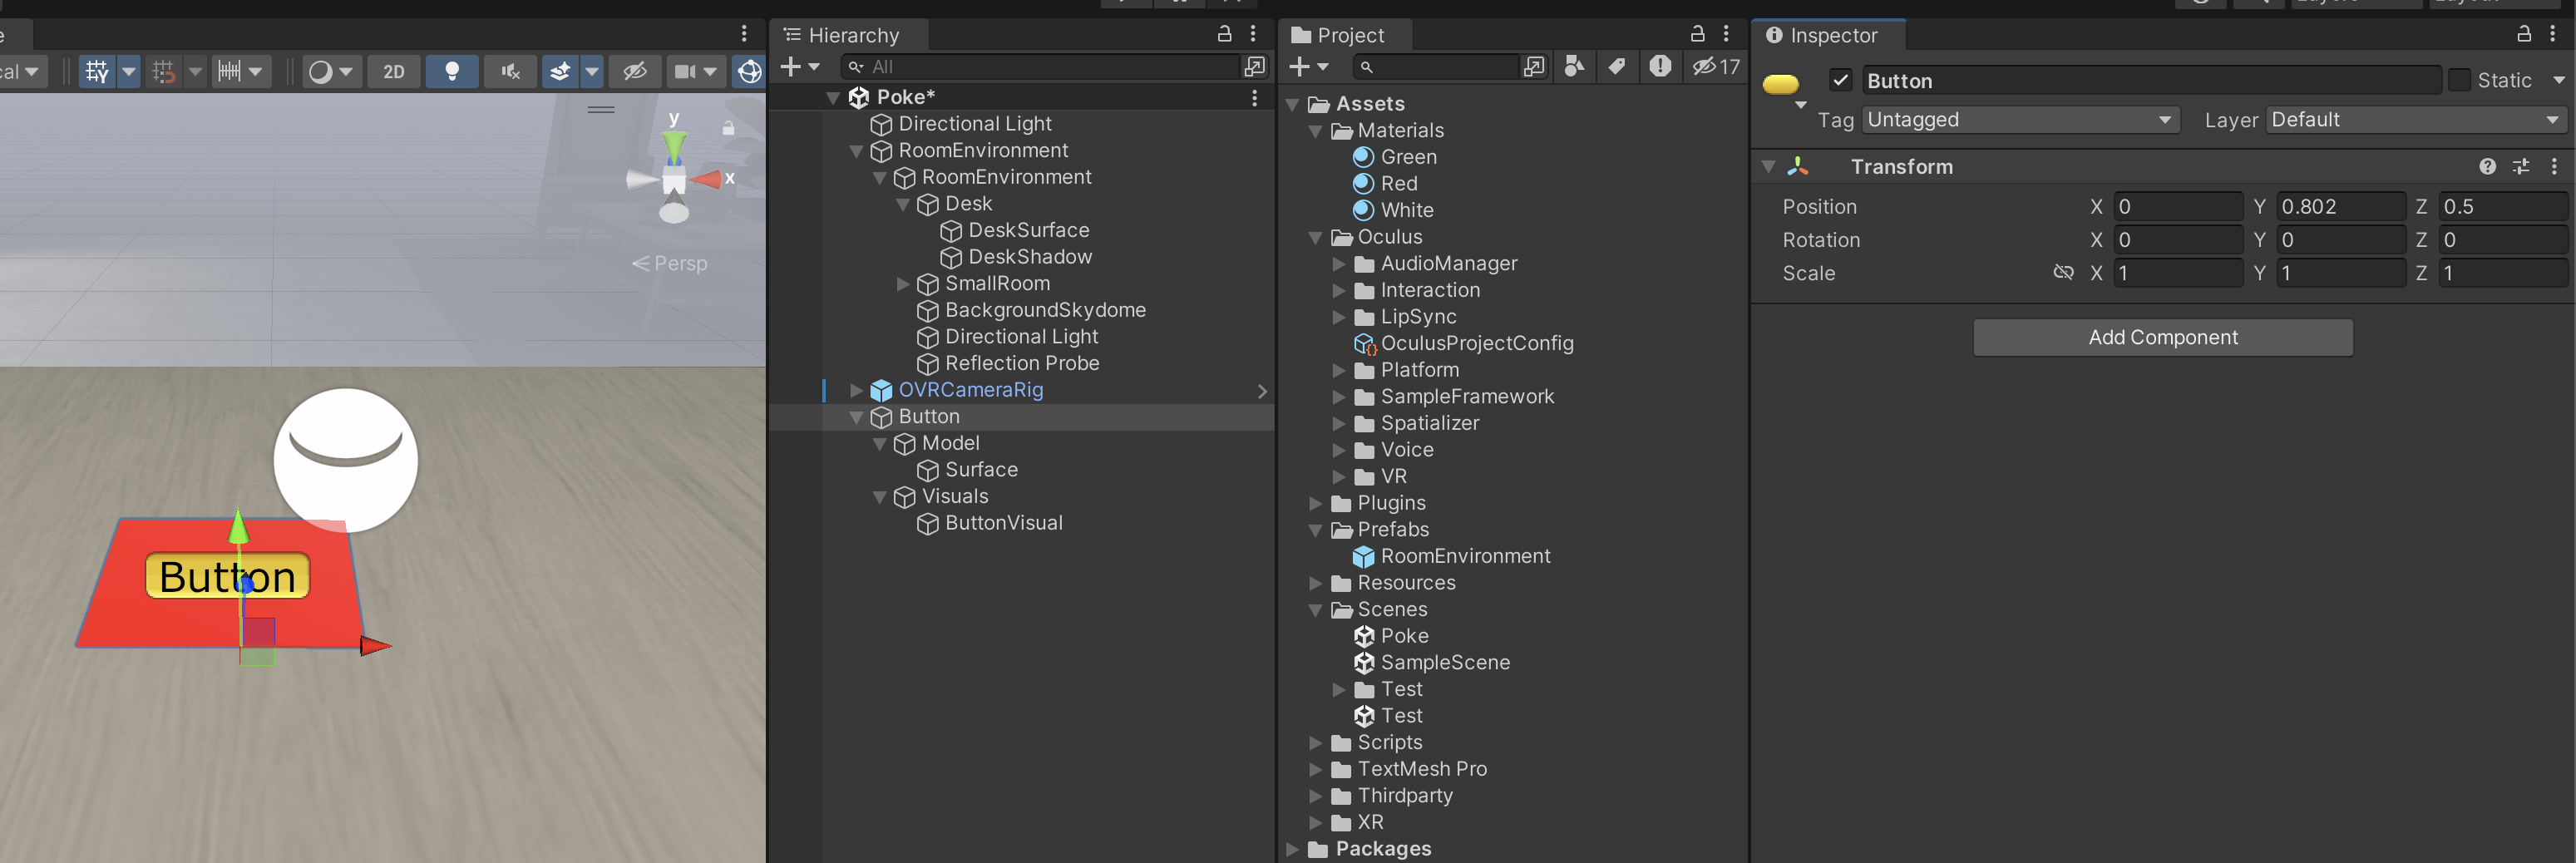
Add an empty GameObject named Button to your scene by right-clicking in Hierarchy and selecting Create Empty.
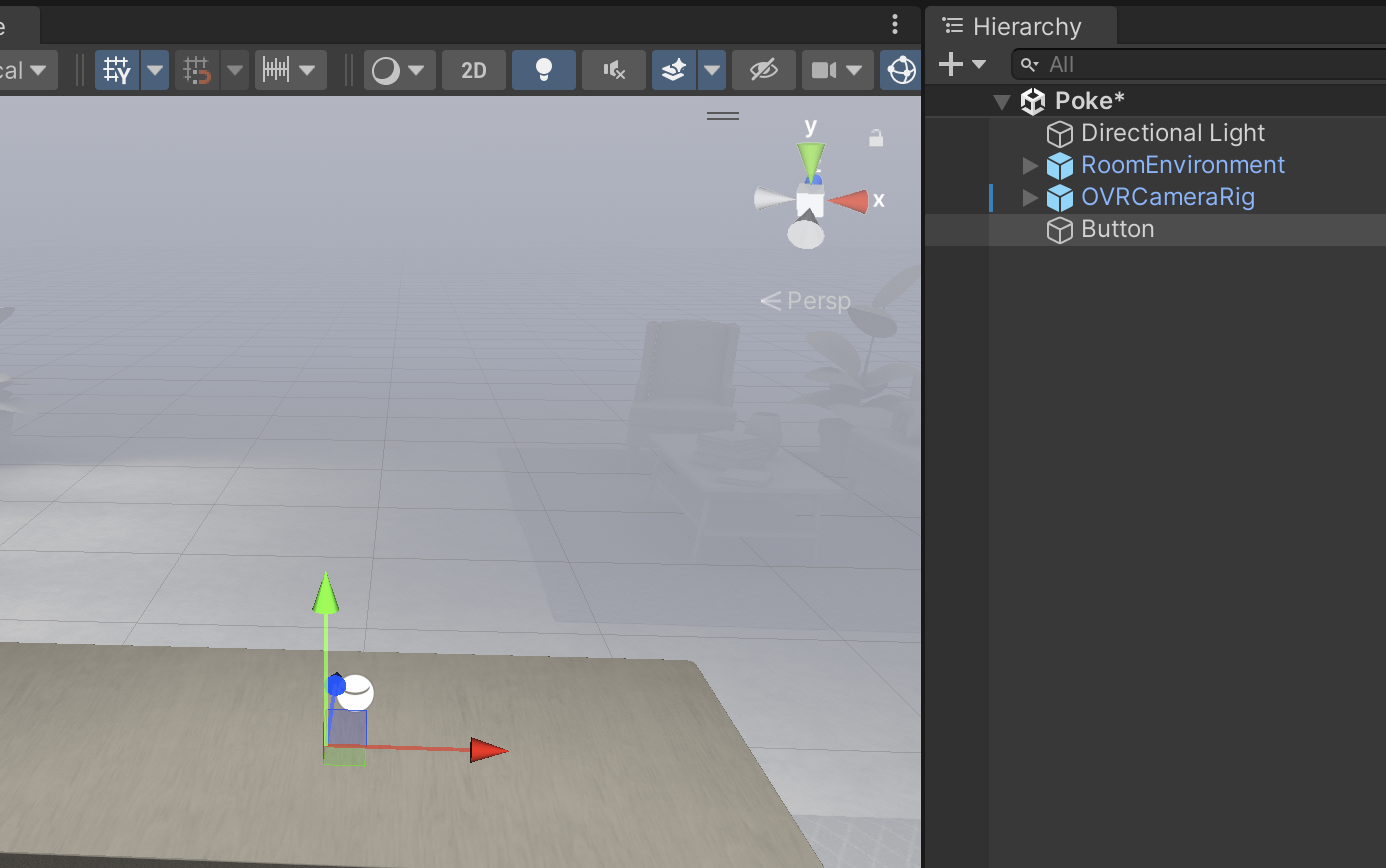
Position Button in front of the camera.
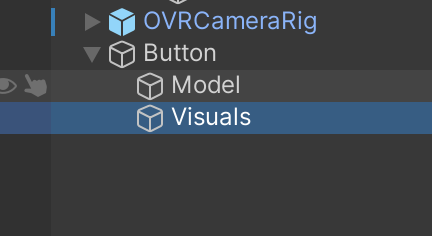
- Add two empty children to Button named Model and Visuals by right-clicking Button and then selecting Create Empty.
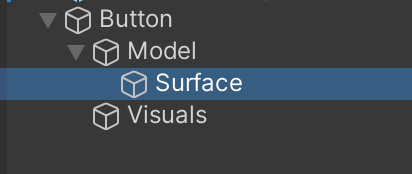
- Add an empty child to Model named Surface. Surface will determine the backstop of the button.
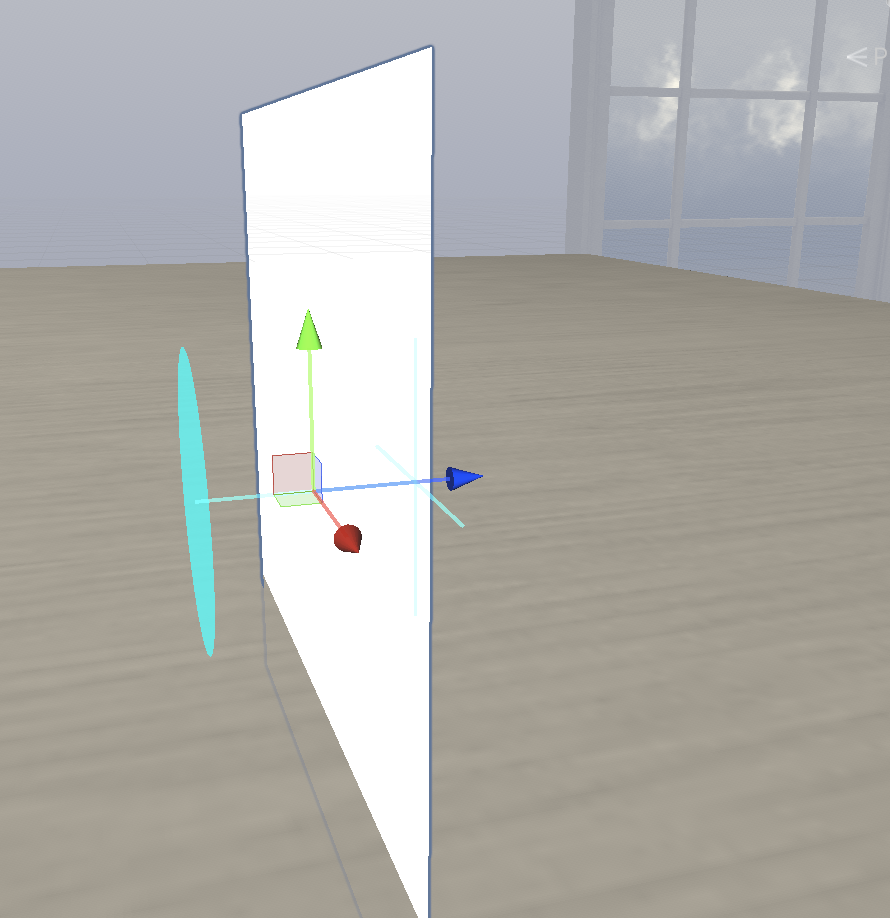
Add a plane to Visuals named ButtonVisual by right-clicking Visuals and then selecting 3D Object > Plane.
Add Components
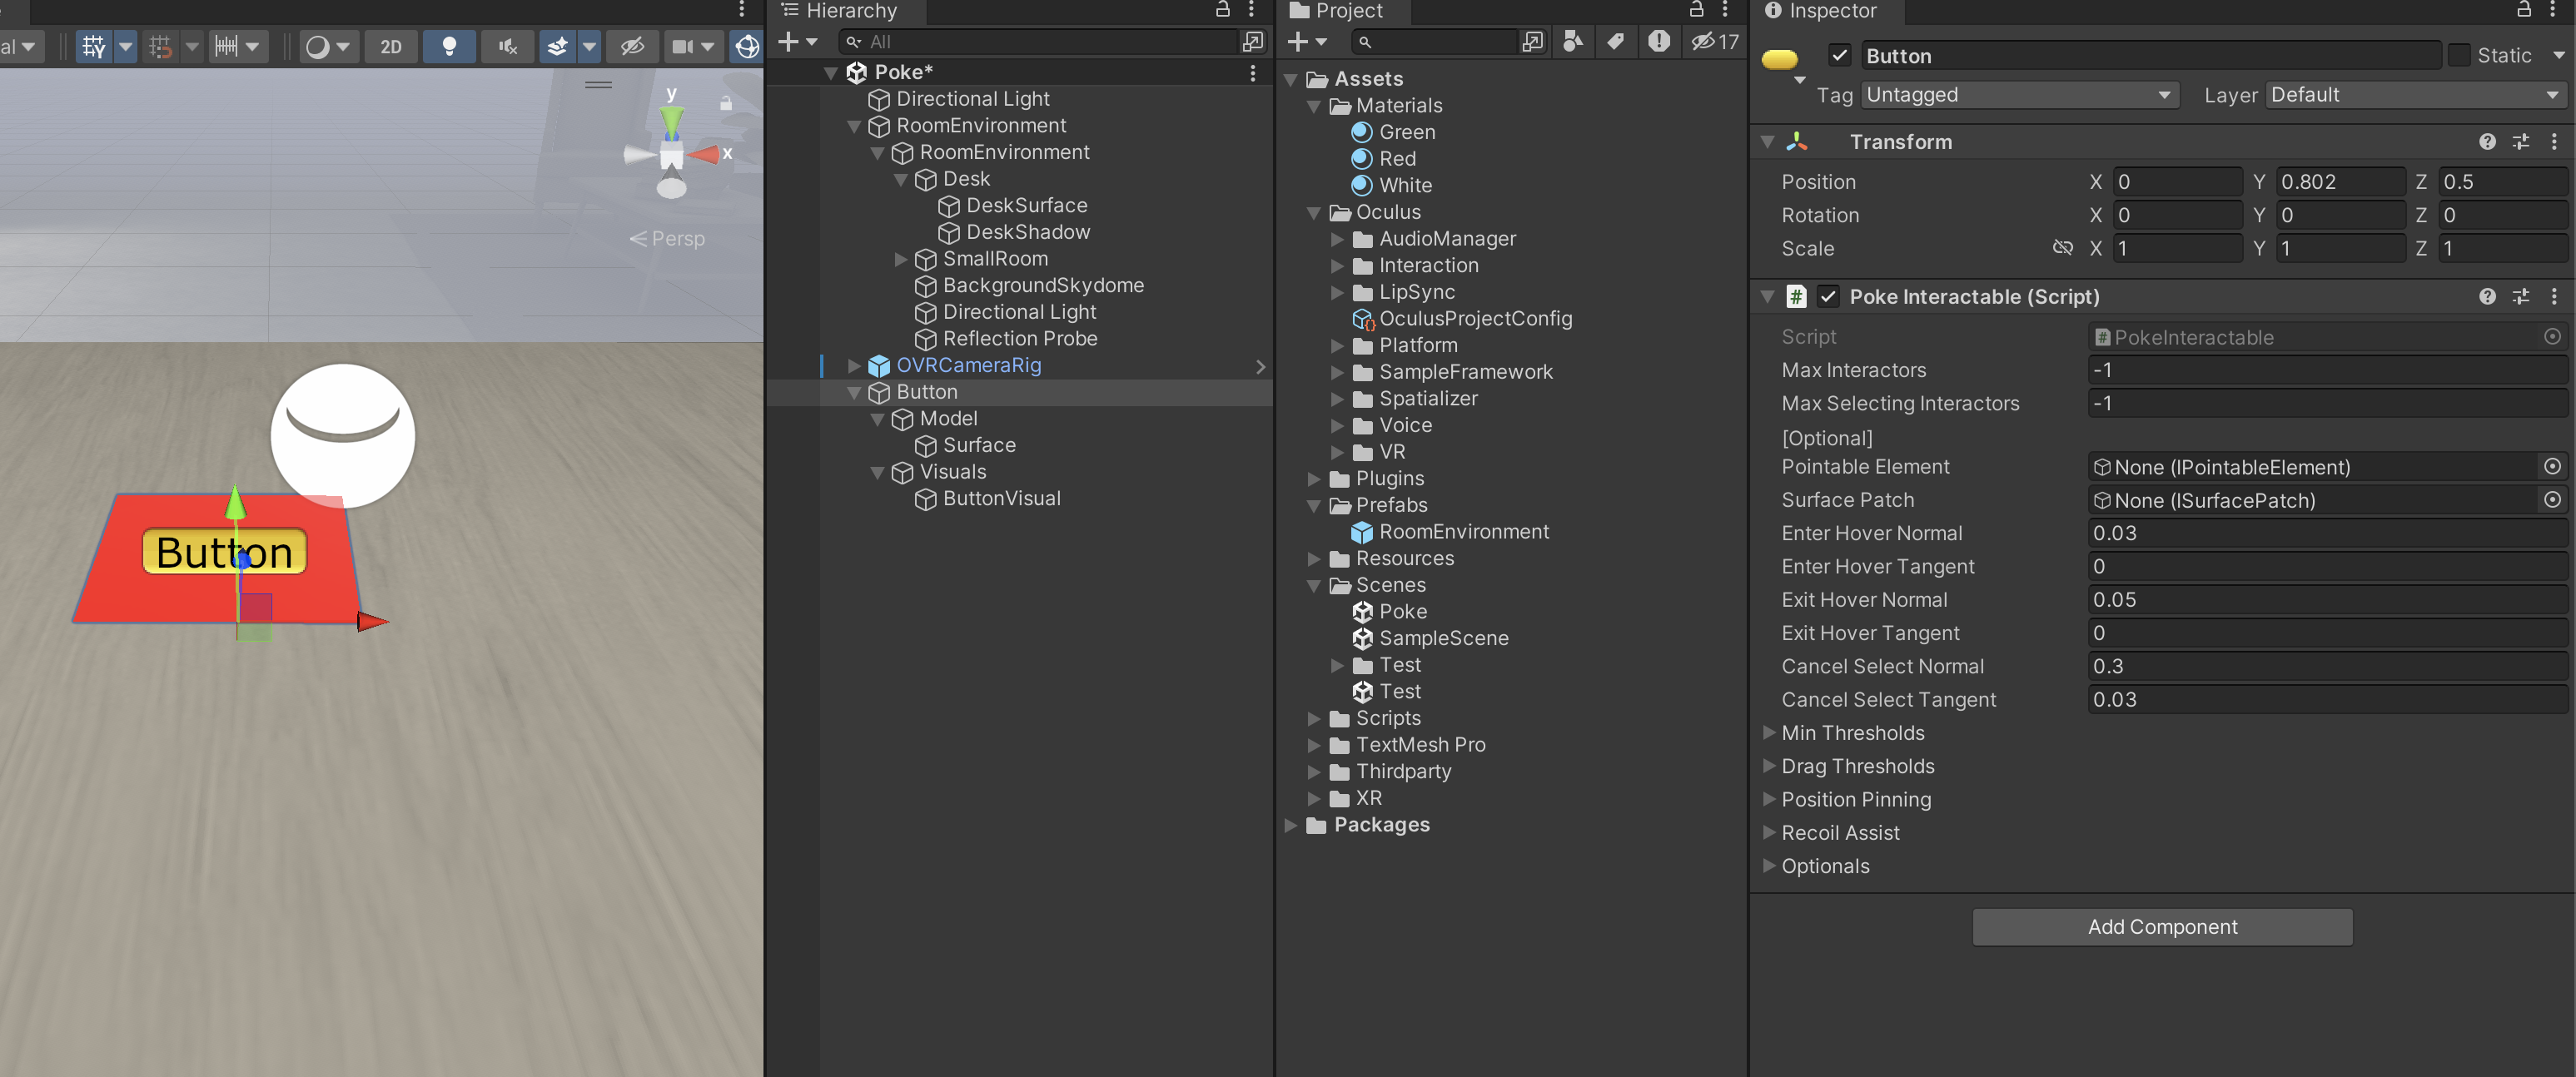
- Under Hierarchy, select Button.
- Under Inspector, add a Poke Interactable by clicking Add Component and then searching for Poke Interactable.
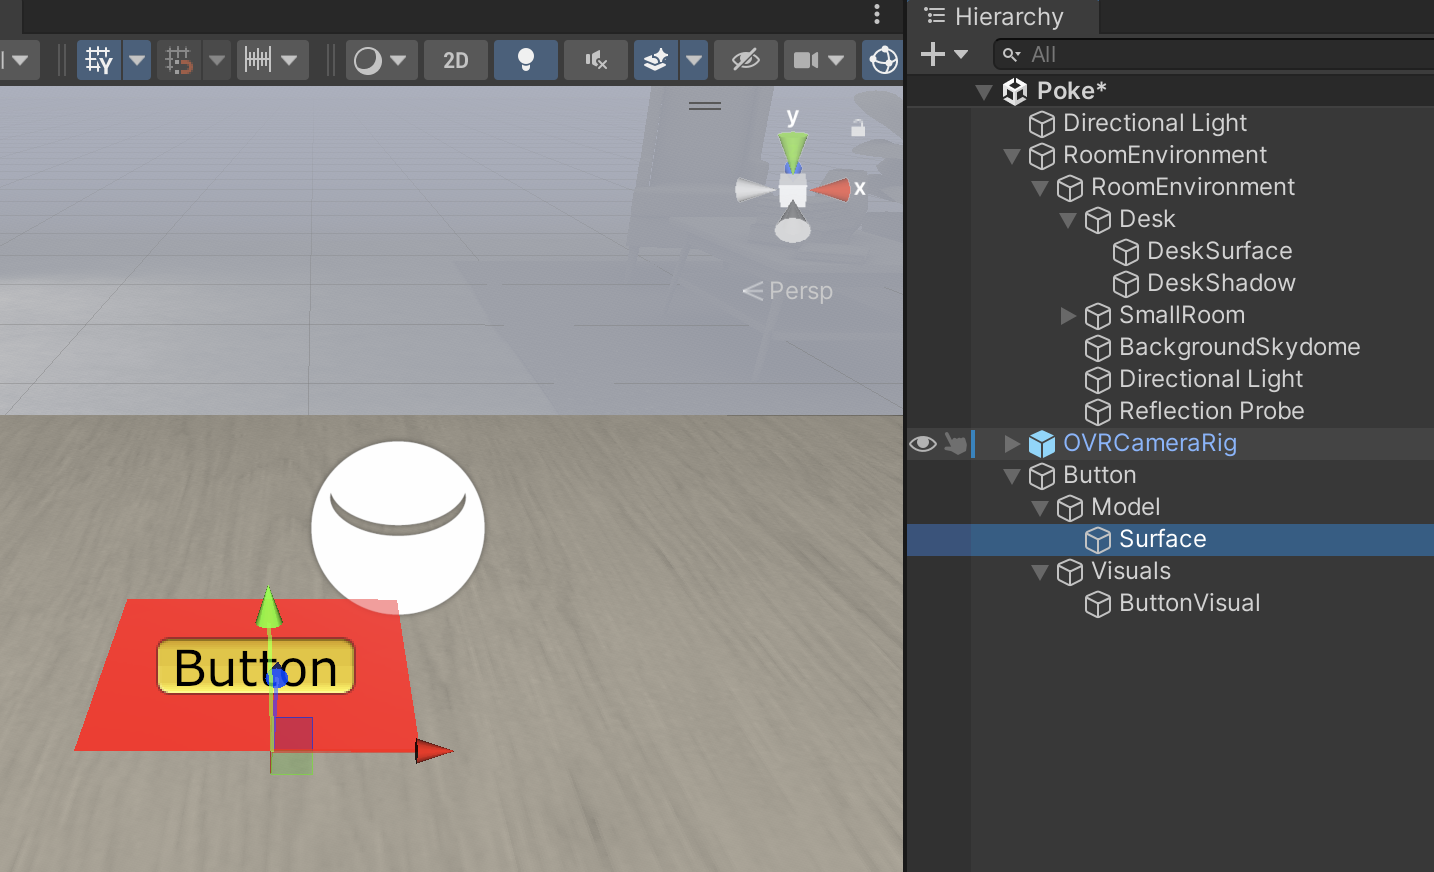
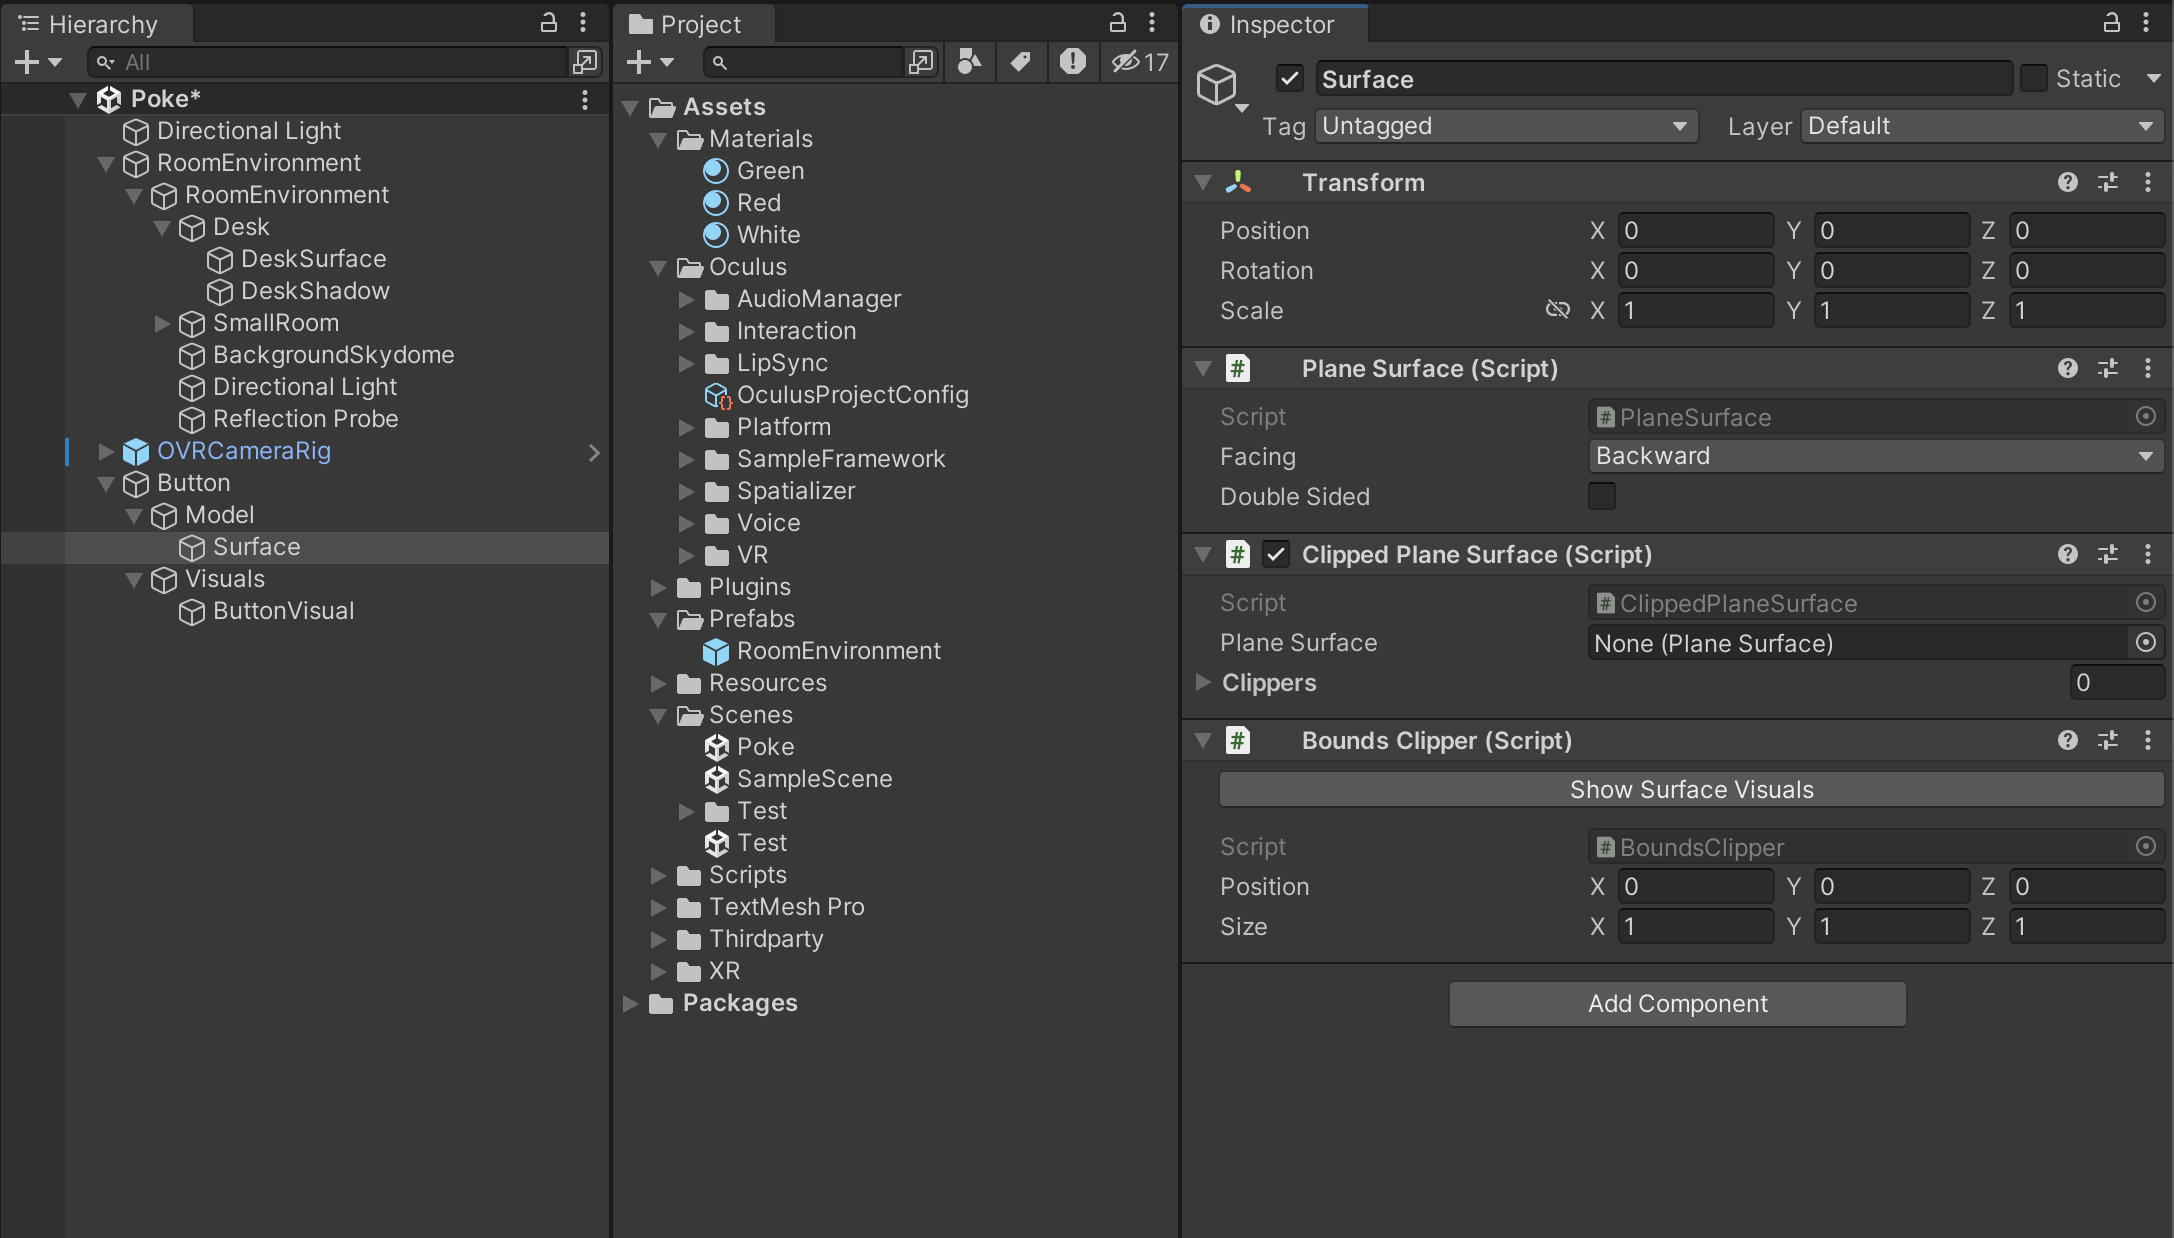
- Under Hierarchy, select Surface.
Under Inspector, add a Plane Surface, Clipped Plane Surface, and Bounds Clipper. Together, these components define the button’s pokable surface.
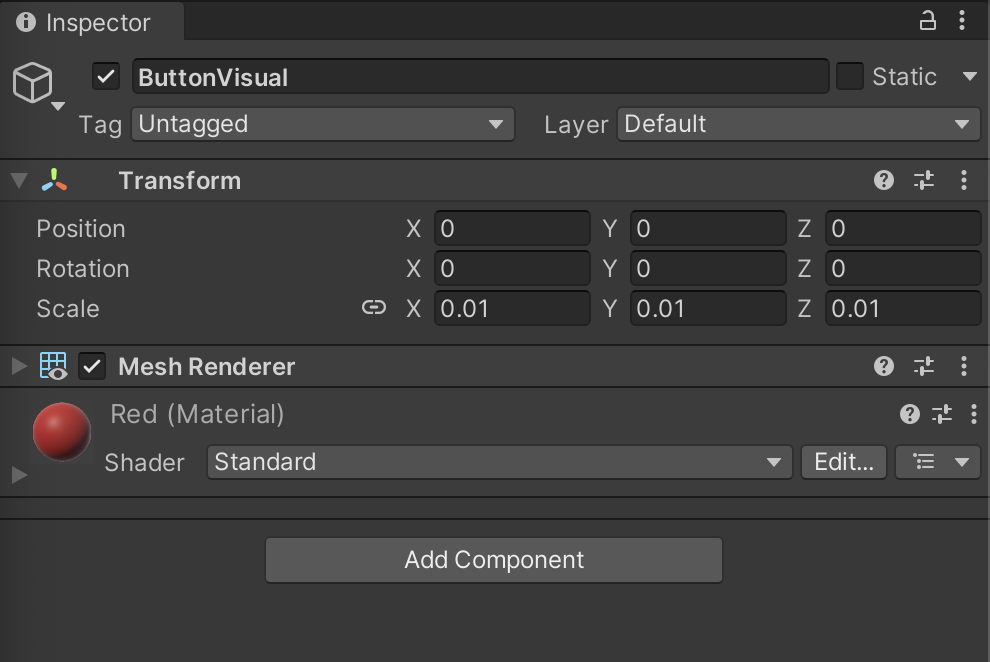
- Under Hierarchy, select ButtonVisual.

Under Inspector, remove Plane (Mesh Filter) and Mesh Collider by clicking the 3 dots on each component and then selecting Remove Component.
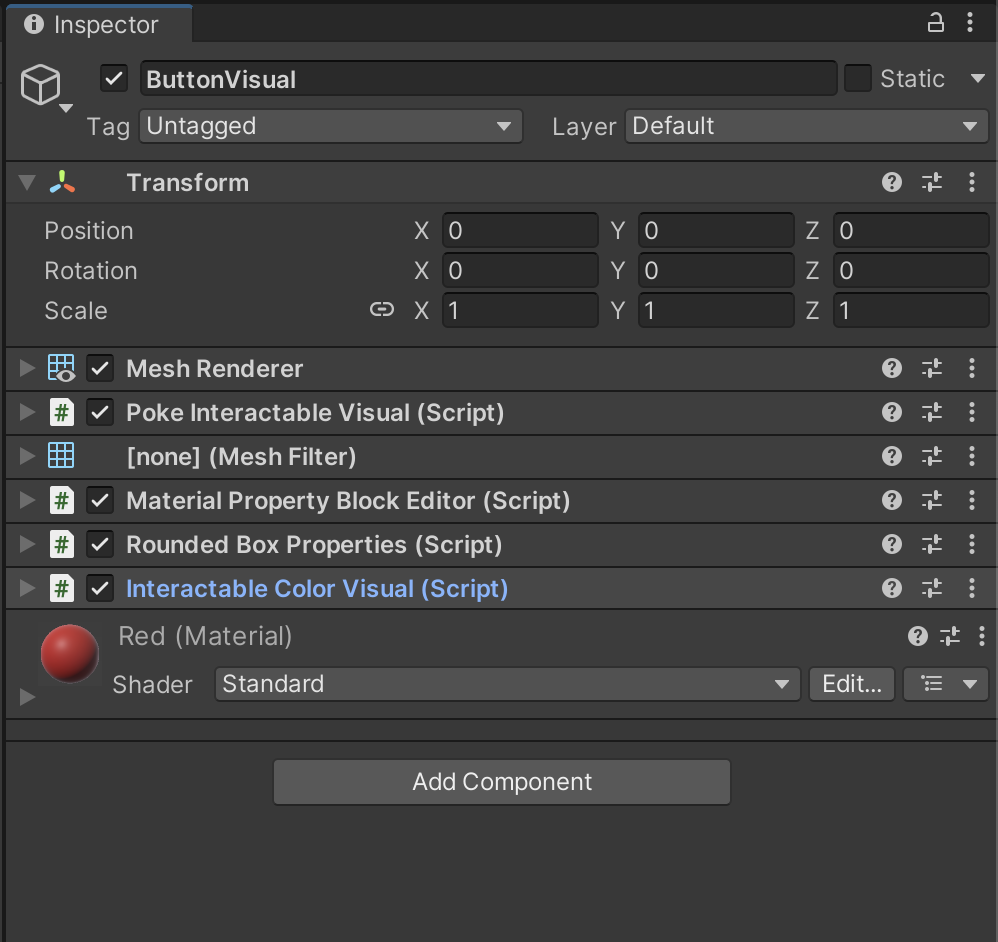
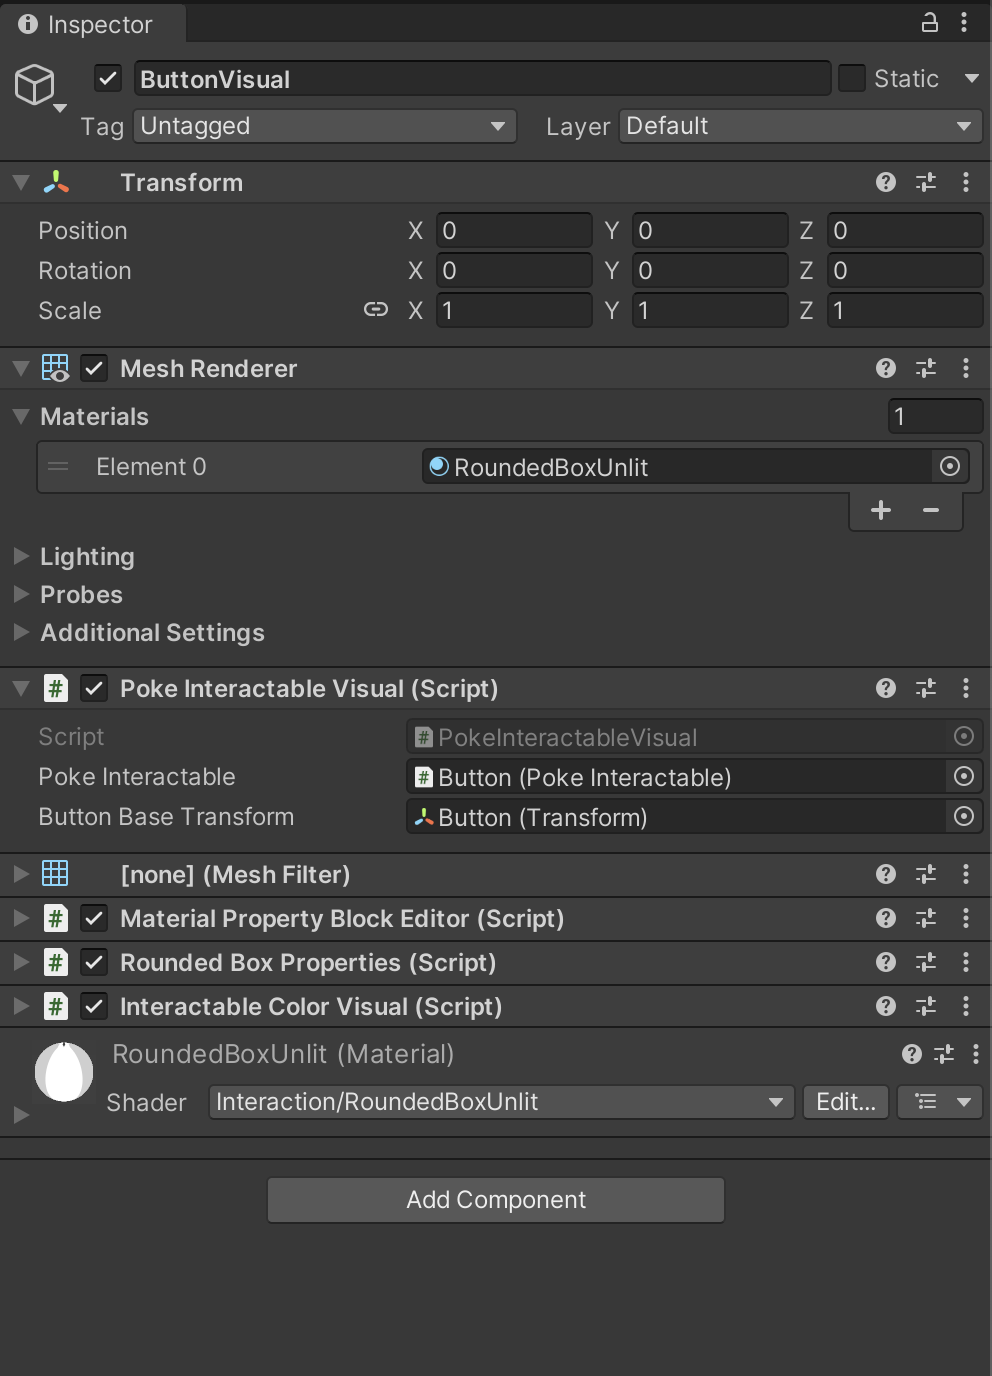
Add Poke Interactable Visual, Mesh Filter, Material Property Block Editor, Rounded Box Properties, and Interactable Color Visual components. Together, they will define how the button looks.
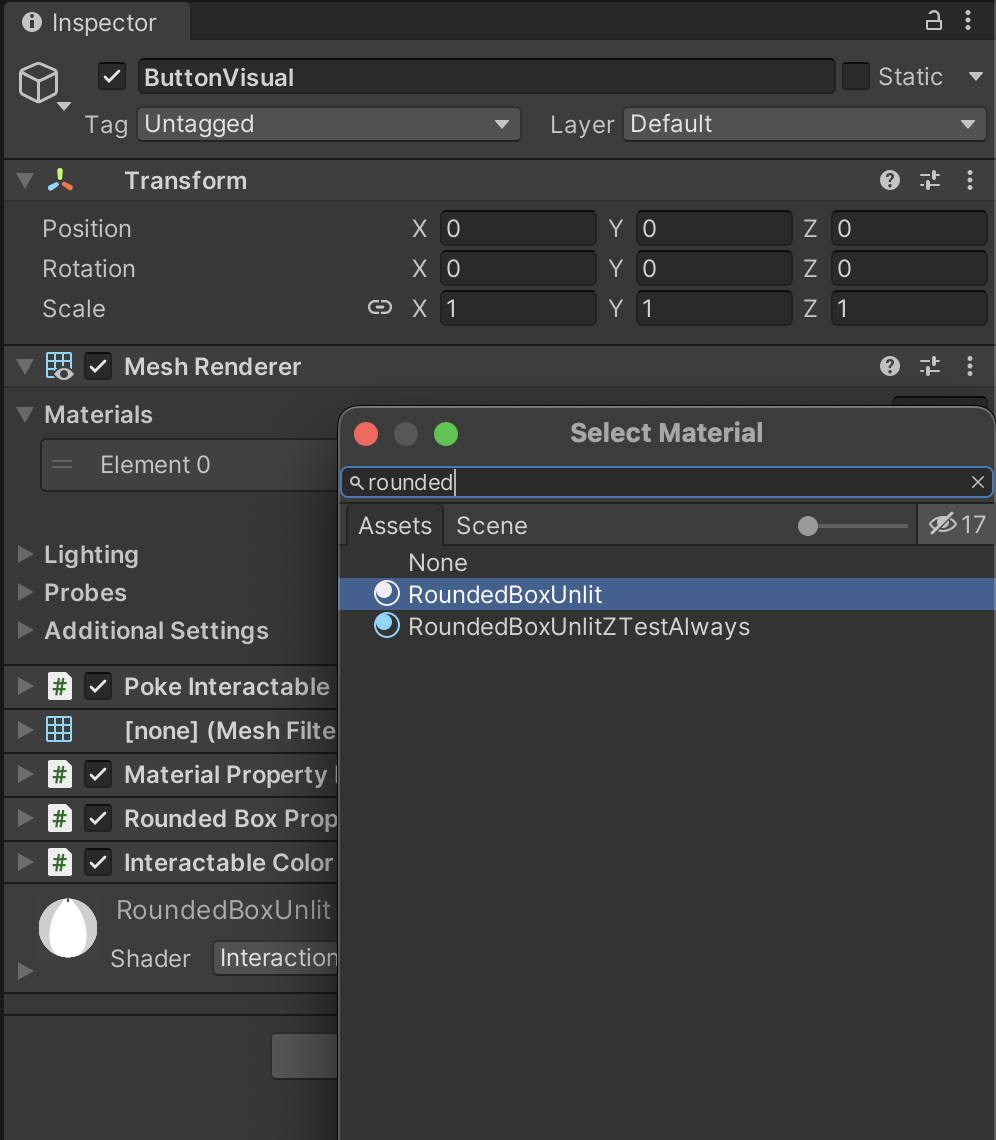
In the Mesh Renderer component, in the Materials list, set the Element 0 property to RoundedBoxUnlit by clicking the small round button to the right of the input field and searching for RoundedBoxUnlit.
- In the Poke Interactable Visual component, set the Poke Interactable property to Button and the Button Base Transform property to Surface.
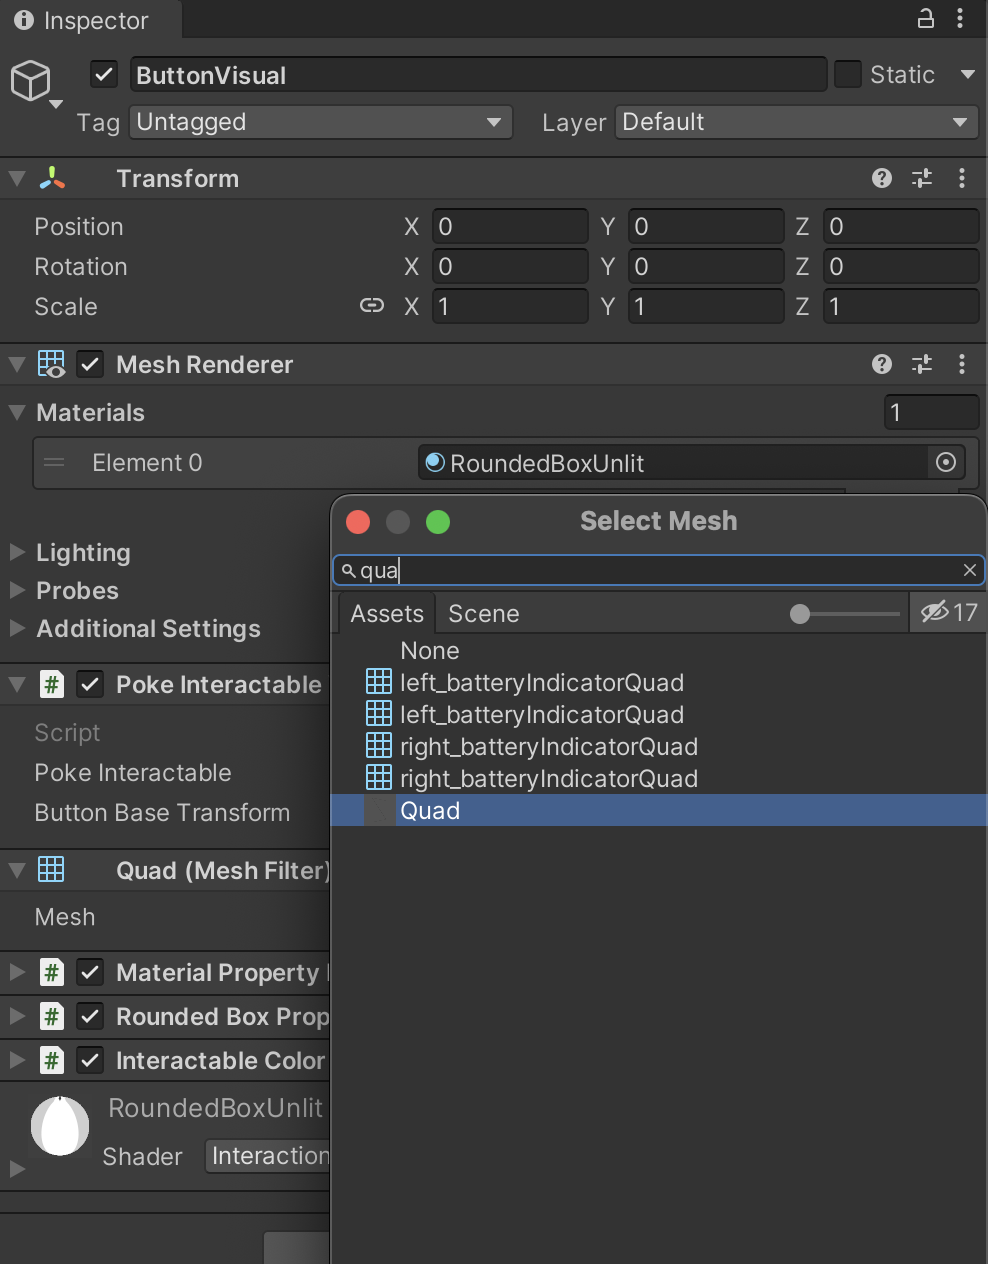
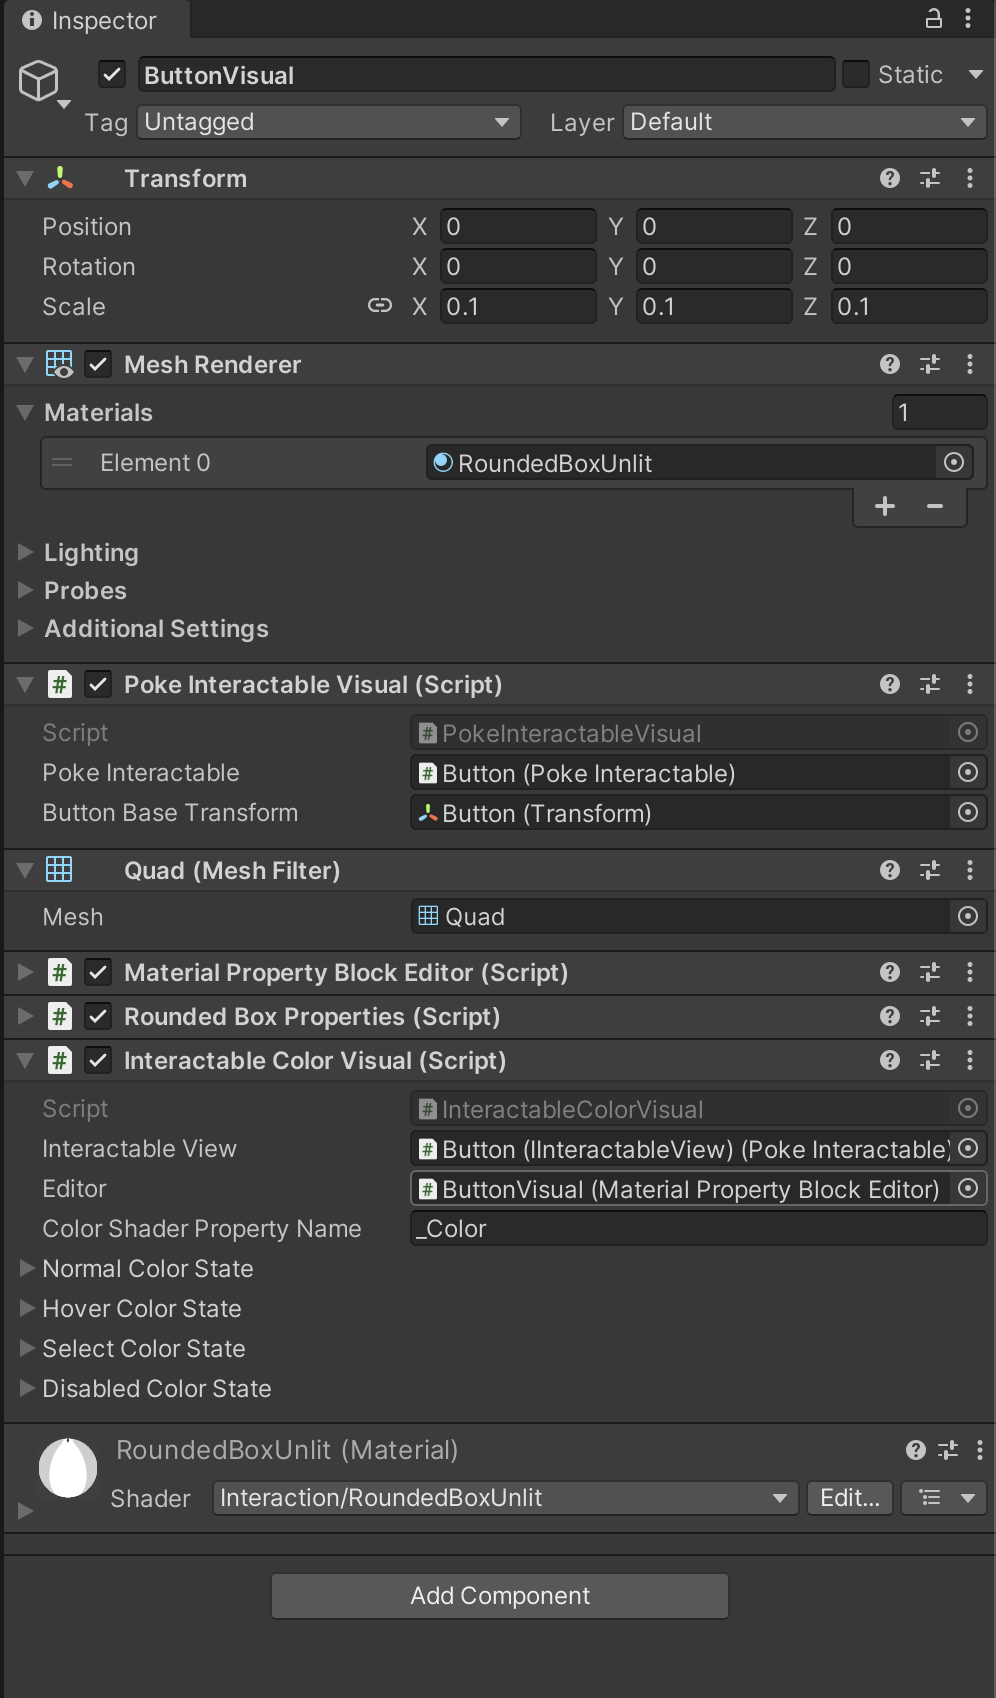
- In the Mesh Filter component, set the Mesh property to Quad by clicking the Object Picker button (the small round button to the right of the input field) and searching for Quad. Quad makes the button a rectangle. However, you can choose a different option if you’d rather use a different shape.
In the Interactable Color Visual component, set the Interactable View property to Button and the Editor property to ButtonVisual.
- Under Hierarchy, select Surface.
- Under Inspector, in the Transform component, in the Scale property, set Z to 0.001.
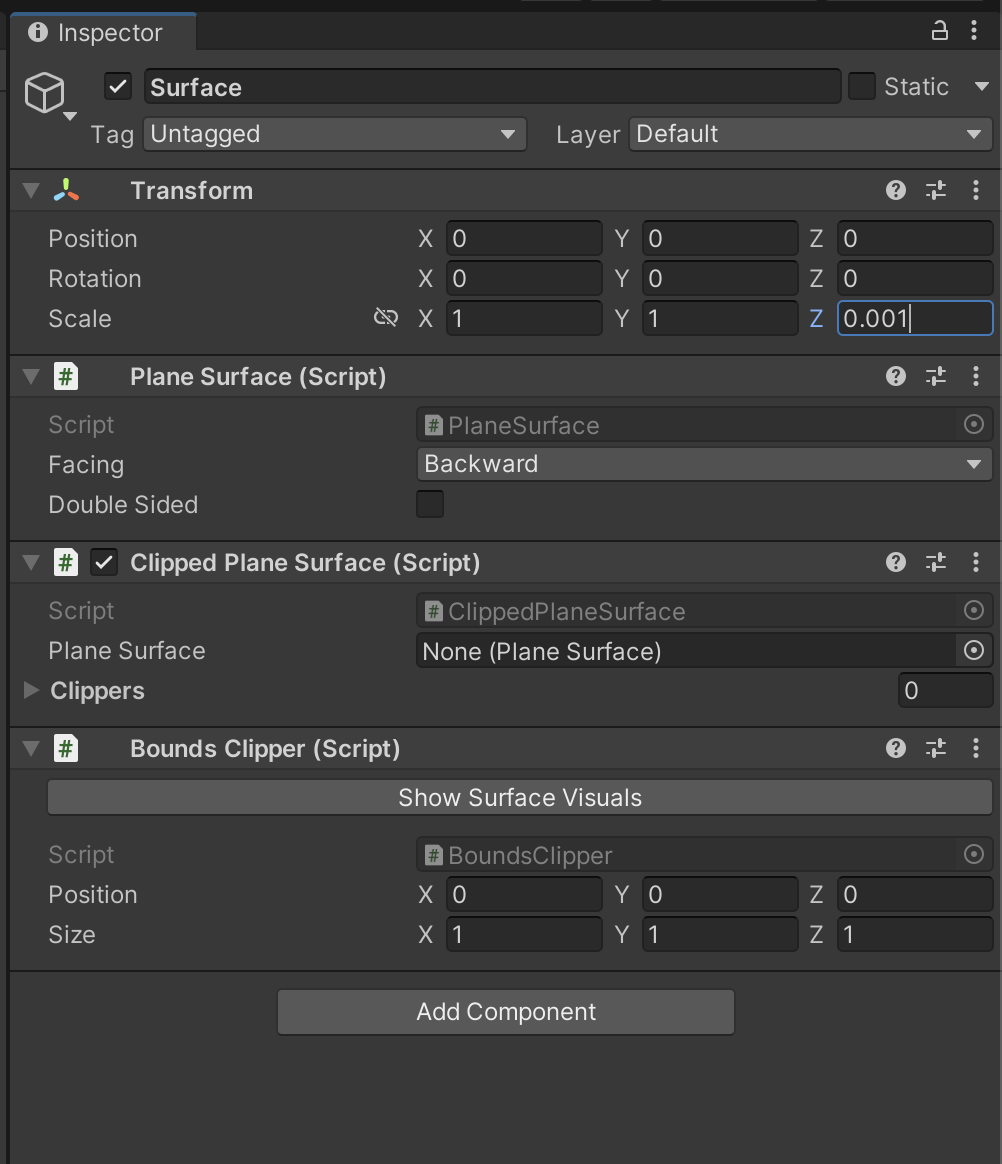
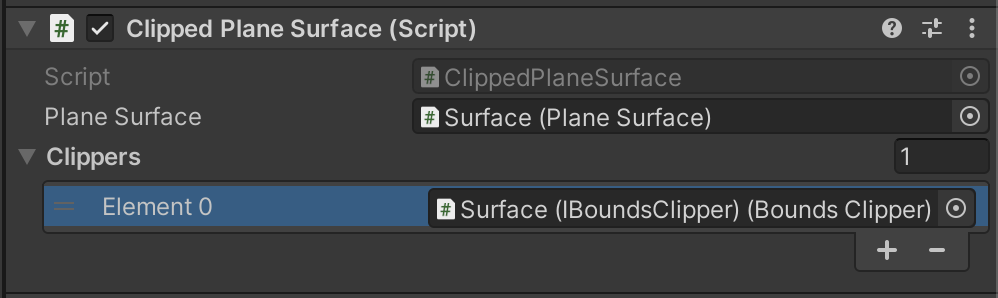
- In the Clipped Plane Surface component, set the Plane Surface property to Surface.
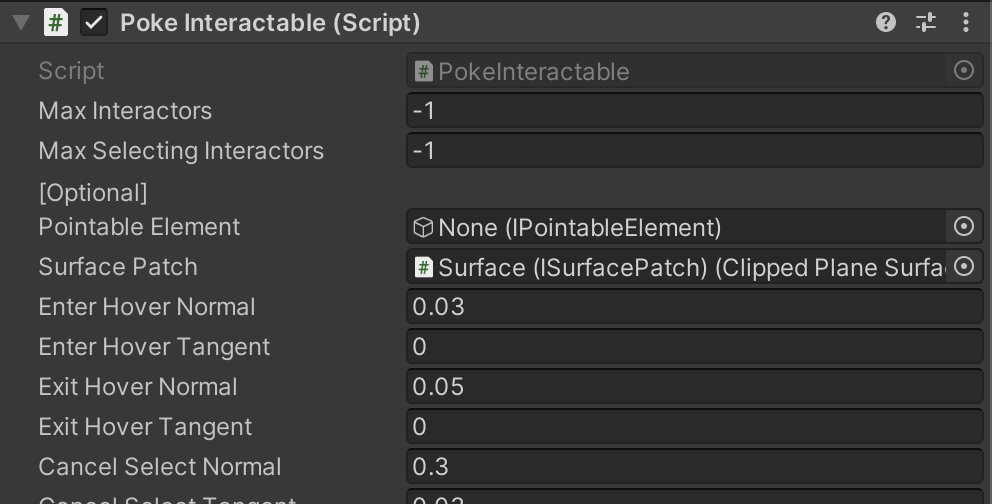
- Under Hierarchy, select Button.
- Under Inspector, in the Poke Interactable component, set the Surface Patch property to Surface.
- Under Hierarchy, select Visuals.
- Move Visuals on the Z-axis so it is slightly closer to the camera than the Model GameObject. This allows the button to visually move backwards when you poke it.
Z축에서 비주얼을 이동하여 모델 게임 오브젝트보다 카메라에 약간 더 가까워지게 합니다. 이렇게 하면 버튼을 찔렀을 때 버튼이 시각적으로 뒤로 움직일 수 있습니다.
Select File > Build And Run, or if you have an Oculus Link connected, click Play.
Related Topics
- To learn about the components of a poke interaction, see Poke Interactions.
- To learn how to add ray interactions, see Create Ray Interactions.
- To learn about the components that create pokable surfaces like buttons, see Surface Patch.
참고
https://developer.oculus.com/documentation/unity/unity-isdk-create-poke-interactions/
'VR > Oculus Integration' 카테고리의 다른 글
| Unity 2022.3.5f1 + Oculus Integration 56.0 (Create Locomotion Interactions) (0) | 2023.10.02 |
|---|---|
| VR Locomotion Design Guide (0) | 2023.10.02 |
| Unity 2022.3.5f1 + Oculus Integration 56.0 (Throw an Object) (0) | 2023.09.27 |
| Unity 2022.3.5f1 + Oculus Integration 56.0 Create a Hand Grab Pose (Mac) (0) | 2023.09.26 |
| Unity 2022.3.5f1 + Oculus Integration 56.0 (Create Ghost Reticles) (0) | 2023.09.26 |